Projects (page 1 of 2)

A way to view progress and before-and-after pictures. Expect some technical and logistics talk.

Log: October 13 and 14, 2018 (The Battlement Project)

Saturday

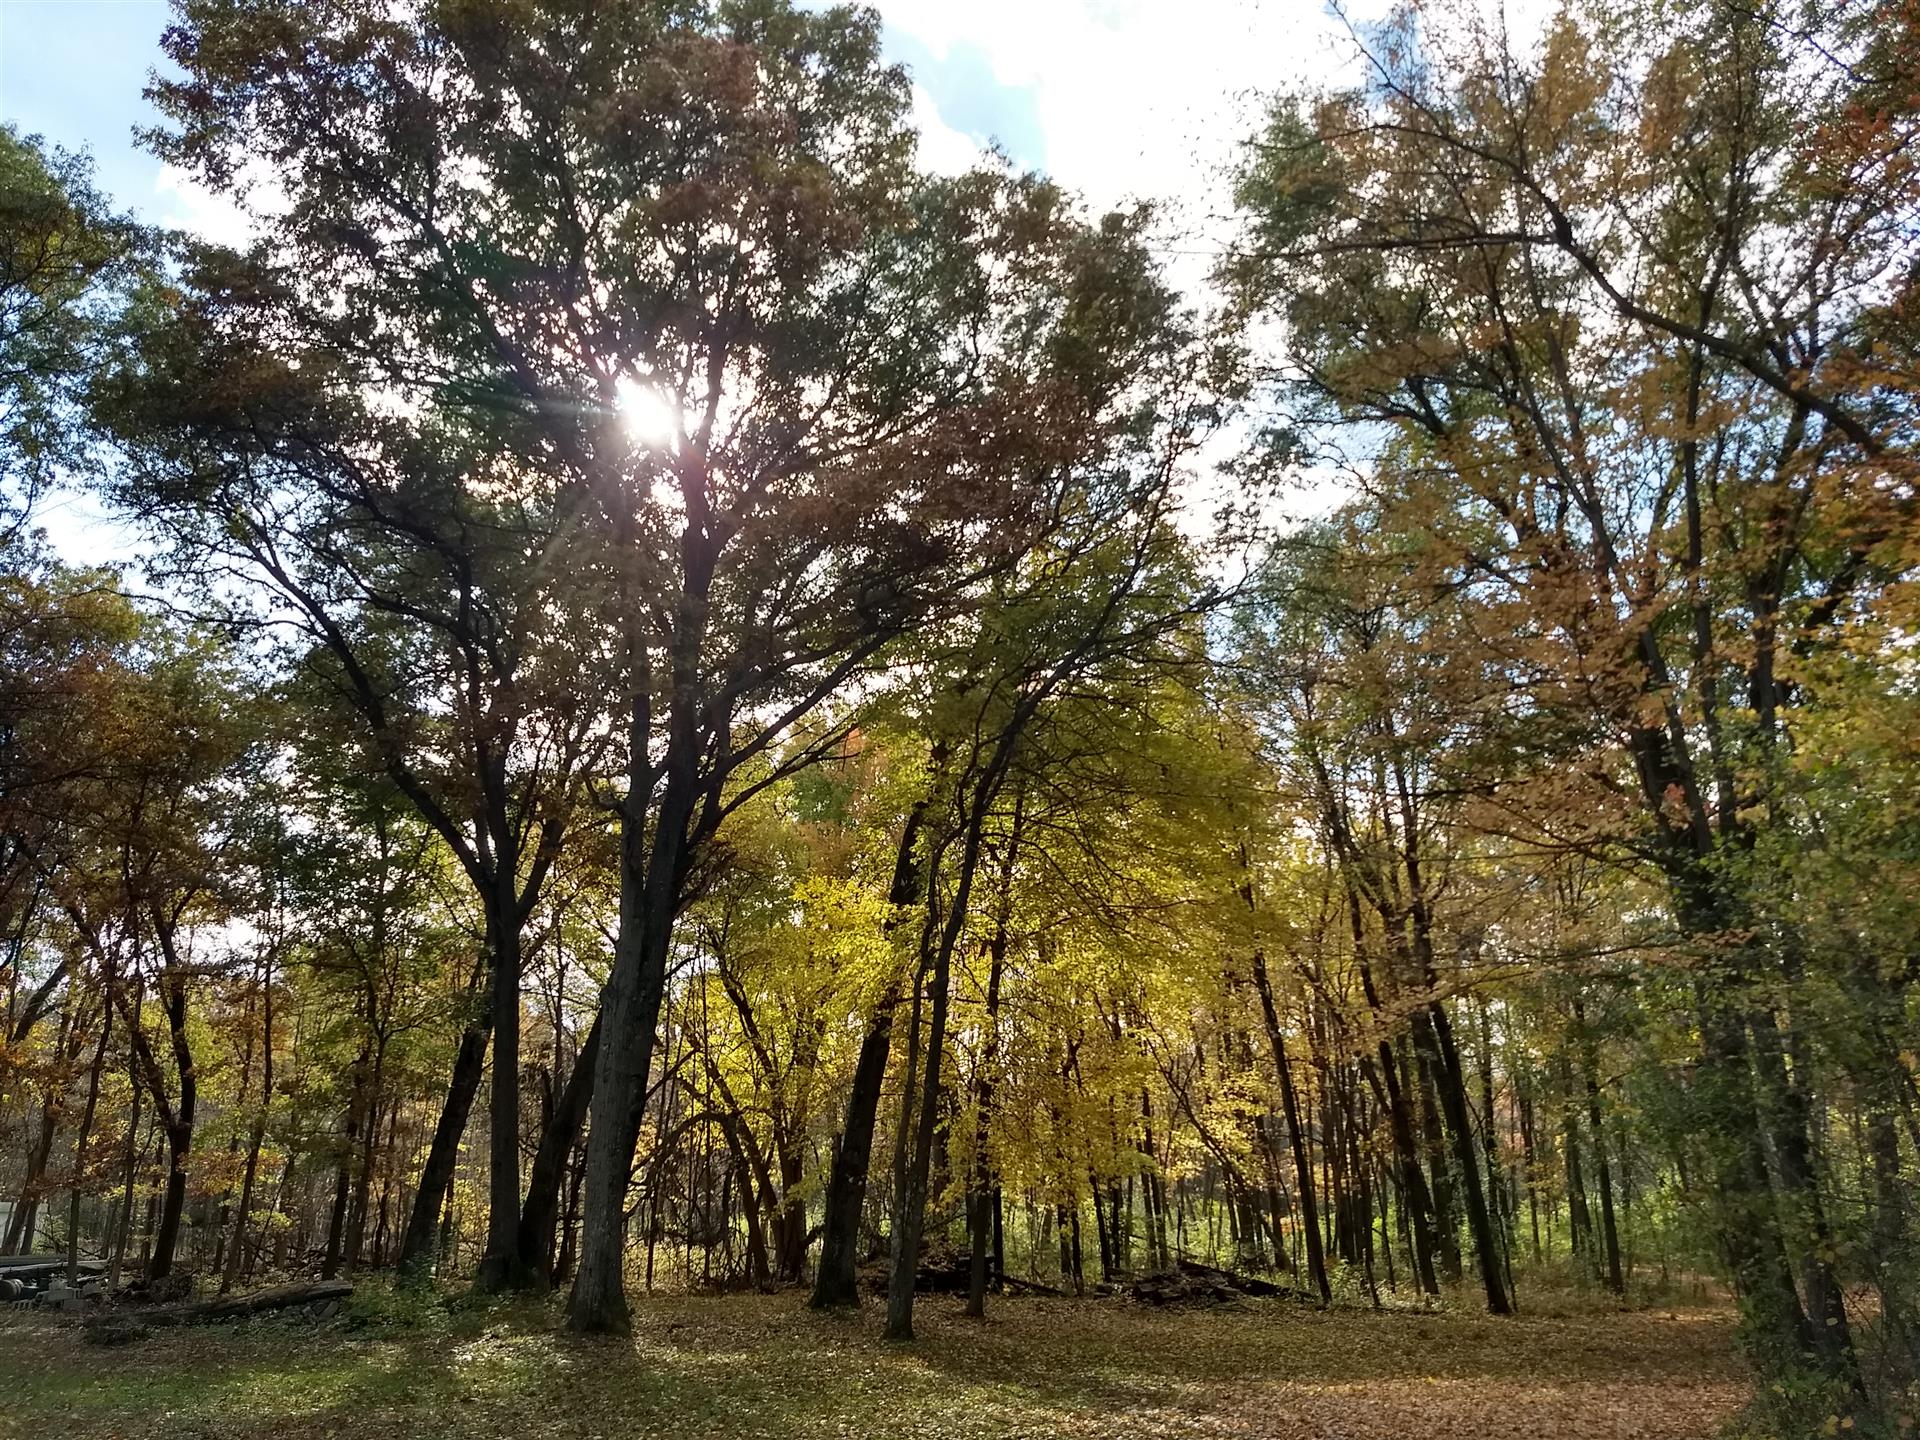
‘Bout time Fall decided to show up.

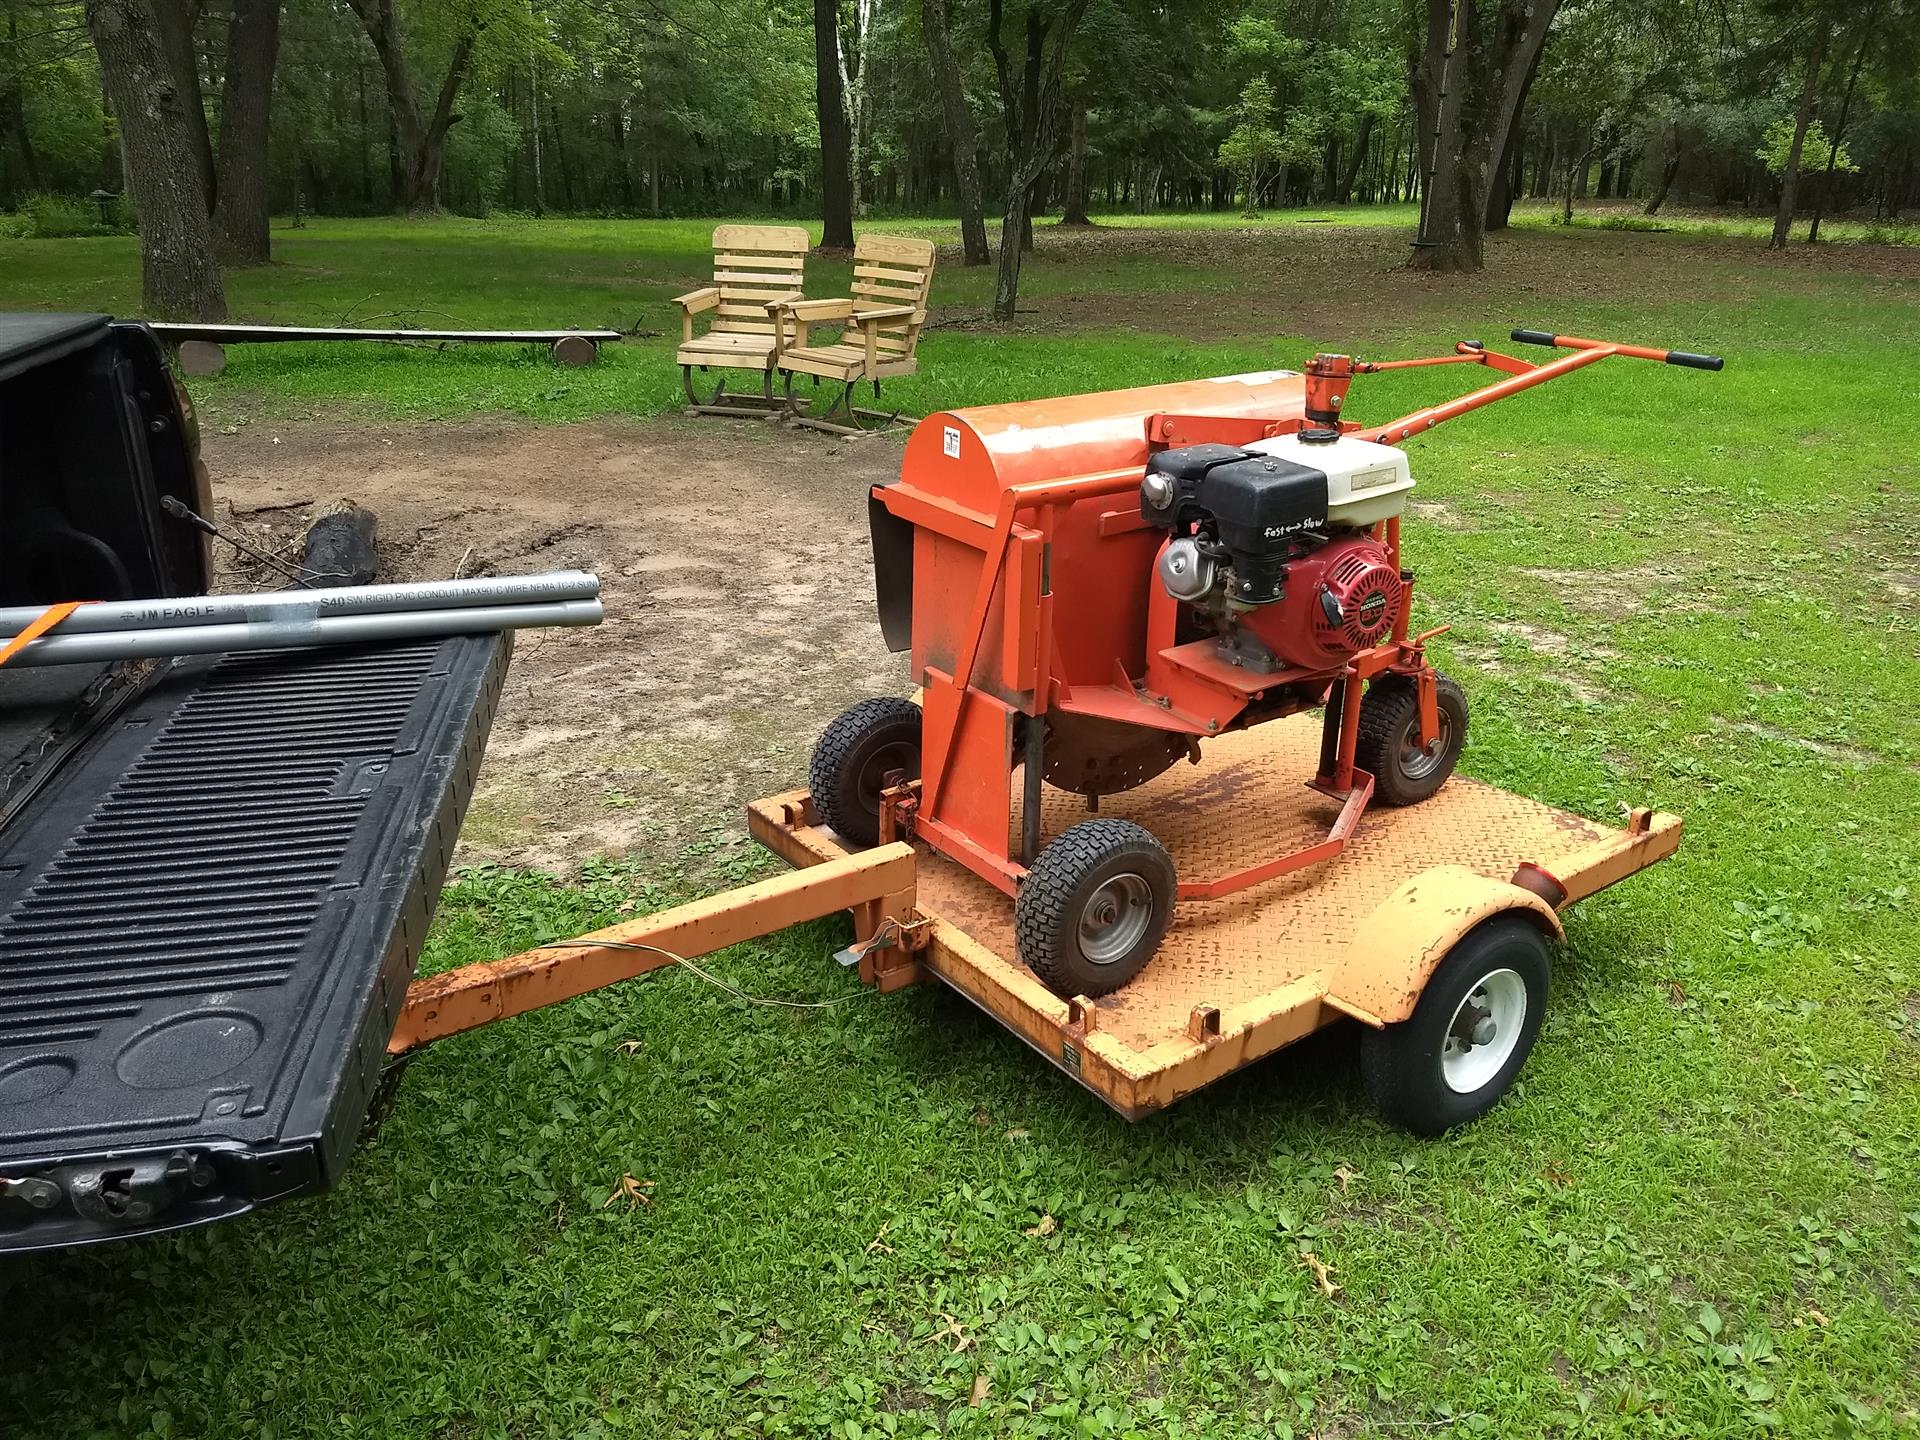
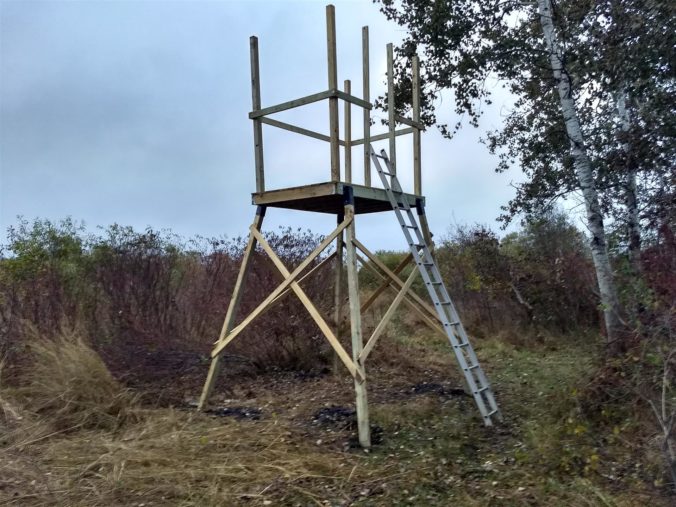
Came up around 3:00 with the whole family and the ATV trailer in tow. It’s full of treated lumber destined for the marsh; this weekend, I shall rebuild the deer stand. With the scaffolding no longer viable, I looked up some other tower-based stand construction methods and settled on an option that uses a wooden deck mounted on cross-braced 4x4s with purpose-built compound-angle brackets. Here’s hoping I can actually get the thing put together by tomorrow night.

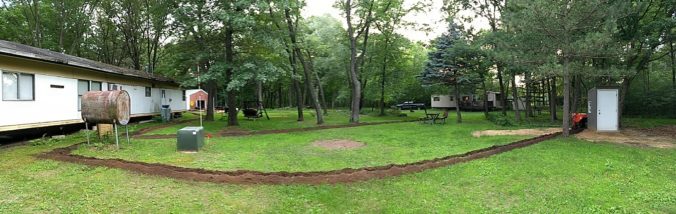
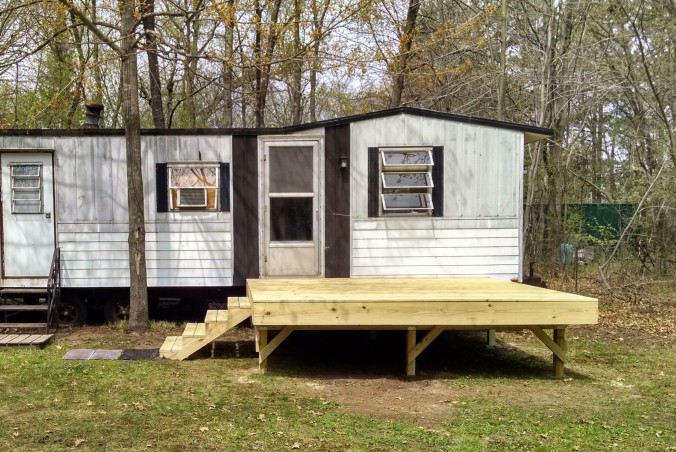
Hannah was happy to be back and got right to sprinting around the yard. I think I broke her by coming up last weekend without her; she’s been acting weird all week. The boys went straight for their Power Wheels and began exploring the edges of the yard, Lyssa started setting things up in the keep, and I got right to work putting together the deck platform.

Continue reading

Log: June 22 – 25, 2018 (Electrical Upgrade Project)

Friday

Hannah and I pulled in at 2:30 with a rented trencher in tow. I picked this up at Kitz and Pfeil in Berlin on the way up. This weekend is dedicated to running new power lines to the keep and pole barn straight from the new service panel we installed last fall. After opening up the keep and getting my clothes and other supplies put away, I unloaded the trencher from its trailer. This is the same one I rented back in 2011 when I made the first buried electrical runs. While that project was a significant improvement from previous methods of getting power to the keep and pole barn—stringing extension cords through the trees—the limitations were starting to show.

This is my trencher. There are many others like it, but this one is mine (for the next 24 hours).

When I first did this seven years ago, I used 10-gauge, 2-conductor direct burial copper cable…mostly. Power was supplied from two 20-amp breakers in the big trailer and run to an outdoor service box using 12-gauge romex. The thicker 10-gauge wire was only run underground to each building where it was spliced to 12-gauge romex in conduits. I also didn’t have subpanels at either building. In the pole barn, I just spliced the incoming connection with wire nuts. In the keep, I gutted the contents of the old fuse box and spliced everything together from the feed, and this was after a spliced stop at the water pump outside. In retrospect, this was terribly kludgy. When you consider the system it was replacing, however, it was revolutionary. Still, the time had come to revisit this project and do it right this time.

Continue reading

Hot and Cold Running Water

Running water is something we all take for granted. It’s been a basic feature of American homes for over 100 years. But up at Puckaway, we haven’t quite caught up, as there are a few major hurdles in the way. If you want potable (safe to drink) water around here, you need to drill down over 200 feet. We’re not putting in a proper well until we have a nice permanent home up here and know where we’re placing the slab.

Also, while we have always had a shallow well and outdoor pump to provide water that we can wash up with, it has a poor flow rate of under one gallon per minute. Additionally, we have to drain the pump and hoses when temperatures drop below freezing. And we don’t heat any of the buildings during the winter. Pipes would freeze and burst.

Last year, I reconnected all of the drain plumbing in the keep, but I wasn’t expecting much improvement on the supply side. We did what we had always done, storing 5-gallon buckets next to the sinks to wash up with and using our portable, hand-pumped, camping shower. Interestingly enough, this was all about to change because of a pressure washer.

Continue reading

Outhouse 2.0

Now that the deck and the keep have both been refinished, the outhouse has been looking even worse than usual by comparison. The door sticks and sometimes won’t even close. The seat’s at an uncomfortable height and depth. It’s covered in cobwebs and open to all manner of critters. And the aging wood has been absorbing unspeakable horrors for the better part of four decades. It needs to go. While not the most glamorous project, it’s hard to argue against the importance and necessity of an outhouse, so some real thought needs to go into its replacement.

Like many projects up here, this one started in SketchUp. I designed a simple four-foot square plywood platform that stands on joists made from the leftover treated 2×8 lumber from the deck. The framing would be done with 2×4 studs, I’d install two windows that I had found in the pole barn, and the whole thing would be panelled with the pine plywood siding that was stacked under the big house trailer. I still needed a roof and a door. My hope was that I could reuse the roof from the old outhouse, so I just had to track down a suitable door. I turned to craigslist and was in luck; I found an outswing, exterior, prehung door for only $40. It was 36″ wide, which is a bit much for this little building, but it was hard to argue with the price.

Continue reading

Pickled Eggs Part 3: The New Batch

Puckaweekend grows ever closer. As I write this, it’s a little over six weeks away, so this is the perfect time to brew up a new round of pickled eggs to bring to the party.

The first efforts went over quite well considering this was something I’d never tried to do before. The mustard eggs and horseradish eggs were the clear favorites, so this time around I made two large jars of each. While I didn’t deviate far from the original recipes, I did end up making some minor adjustments to both varieties. The mustard eggs got a little heat help from a heaping teaspoon of red pepper flakes, I subbed garlic Tabasco for the standard variety, and I added some onion powder to broaden the flavor a bit. The horseradish kind got a double-dose of its namesake and this time I added it after boiling the vinegar and dry ingredients. I think I lost some of the potency last time that way. Also, as it was in season this time around, each jar has some fresh dill. I minced, rather than crushed, the fresh garlic for this batch. I have no idea whether that’ll make much of a difference, but it was certainly easier. Besides, I needed a bunch of minced garlic for a new experiment.

Continue reading

Trailer Deck Part 3: Final Assembly

I’ve been feeling pretty motivated by how quickly the railing went up and was anxious to finish the deck. I had originally planned on using my miter saw and drill press to prep each spindle, but I opted to cut them in groups by section instead. With over 70 spindles total, this saved me quite a bit of time with roughly the same results.

I installed the main platform spindles in three groups, one for each side. I planned the spacing so that I’d only need a 2×4 to help me line them up: 1 1/2″ offset from the center posts of each run, and 3 1/2″ apart. I saved any spindles with warpage until the end of the runs. This made for a very even look, overall.

I had to dig to anchor the lower deck posts to the stair risers. I’m glad I buried the bottom of the risers rather than cut them down, otherwise I wouldn’t be able to secure the posts properly. This involved more root trimming with my sawzall for the left post, which was slow, sweaty work.

Continue reading

Custom Cut Steel Entry Door

The main trailer door was in bad shape.

It was actually the third door to be in bad shape. The first, the original door to the trailer, had peeled and rotted away from years of disuse and exposure to the elements thanks to both a lack of weather protection around the frame and the trailer having sat in the yard at a slight tilt for many years. The second door was a hollow-core interior door that fell apart almost immediately and never fit well into the existing frame. And the latest door was a hastily hung interior door from my house that couldn’t even latch. Gaps wide enough to fit a determined housecat existed along the top and bottom of the door frame. The new deck looked so nice that it made the door seem even worse by comparison, so it was time to give this project the attention it deserved.

The problem with mobile homes, especially older, smaller ones, is that pretty much everything is at a reduced dimension compared to normal construction. This saves space and weight, which are important for the “mobile” part of a mobile home. But it makes finding replacement materials and effecting proper repairs a little challenging. A standard rough opening for an exterior door is 82 1/2″ tall, minimum. The rough opening for the trailer is less than 79″. There are specialty mobile home catalogs and suppliers out there, but you certainly pay for the privilege of custom-fit parts. The cheapest exterior door assembly I found during my initial research was over $300 and it was pretty plain and flimsy looking. I knew Menards had steel exterior doors for around half that price, but at a standard height. Could I actually cut down a door like that?

Continue reading

Trailer Deck Part 2: The Railing

Even in its incomplete state, the deck has become a welcome addition to the property. But there’s still plenty of work to be done on it; it’s hard to relax in one of the lounge chairs when you don’t know if you’re going to pitch backwards off the platform. It’s time to tackle the railing.

Once again, SketchUp was instrumental in planning and visualizing this project. Among other things, it helped me decide how to finish the rail cap corners. Joining them at a 45 degree angle is difficult to get right and invites later warping. Instead, I had them meet at right angles, but with notches cut in the long board where the corners meet. It’s a simple, clean look and compliments the two small 45 degree corner rail sections. All of the posts are attached from outside of the deck platform. This way, none of the square footage of the platform is lost by adding the rails and none of the planking needs to be cut to accommodate the posts. It’s also easier to clean up and would disassemble relatively easy should we ever need to move the deck.

Continue reading

Pickled Eggs Part 2: The Results

When last we left our eggsperiment, the three test batches were sealed and sent to chill for a few weeks. Since then, I gathered a few brave souls to test our results. I think we have a hit on our hands. Three hits, in fact!

First, a few words on the process: nearly half of Part 1 was dedicated to following a method to “perfectly” boil eggs. I had never tried it before and didn’t know what to expect, but I’m really happy with how they all turned out. All of the yolks were creamy, not chalky, and none of the whites were too hard or rubbery. You could have the best recipe in the world and waste it on bad eggs, so it’s great not to have to worry about that.

Unexpectedly, we even managed to convert a few hesitant onlookers into pickled egg fans. Lyssa and Paco’s wife Ashley both enjoyed the mustard eggs especially. I solicited comments from Red and my coworker Matt which I’ve included below in their own words. For the others who have sampled these eggs, you’ll just have to trust me to relay their impressions. Also, while you’ll find plenty of extra goodies soaking in the jars alongside the eggs in each batch, I’m always a fan of more garnishes. I’ve included a suggested topping for each egg in the review section. It makes me feel classy, like some kind of egg sommelier!

Continue reading

Trailer Deck Part 1: The Platform

The PMC Clubhouse had an accessibility problem. The back door opened three feet above the ground and the front entrance had a precariously balanced set of steel stairs and some very uneven terrain right outside. Tracking in dirt and sand has always been a problem, and we never really hung out outside much since there wasn’t much to the yard. It was time for a deck.

Using a tape measure and scratching into the ground with my shoe, I felt out various possible sizes. I settled on 12′ square since it provided ample space while keeping my shopping list and design needs simple.

Trimble SketchUp (previously Google SketchUp) is instrumental in planning any kind of building project. I scoured the internet for deck building tips and methods and got to work drawing the deck frame. SketchUp gives you the liberty to work out your mistakes before you ever cut or even buy a single board. I was able to tweak my design so I could use 2x8s for most of the joists and for the beams, only using 2x10s for the outside border. This saved a decent amount of money. I designed some 45-degree 2×4 cross-braces that required me to tweak the location of the corner posts. It all worked out perfectly and the notching and angle cut on the beams add a nice look to the final product. I also wanted a wider set of stairs come out the side rather than the front. This gives us more room to get by with the trucks and ATVs and helps define the little “yard” area in front of the trailer. The metal stairs get reused for the back door.

Continue reading

Older posts

© 2024 Puckaway Motor Club

Theme by Anders NorenUp ↑