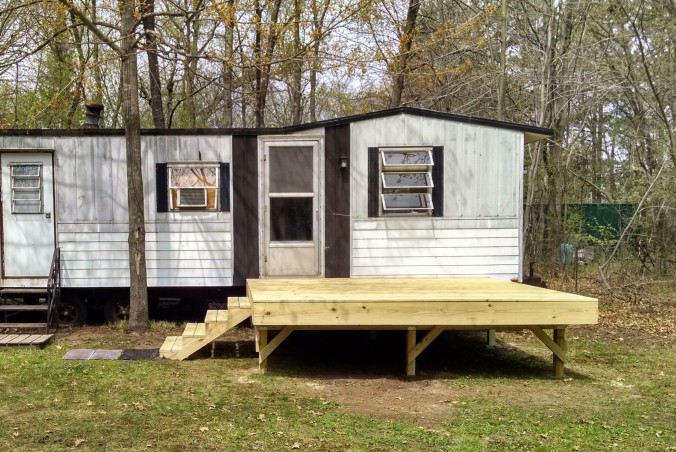
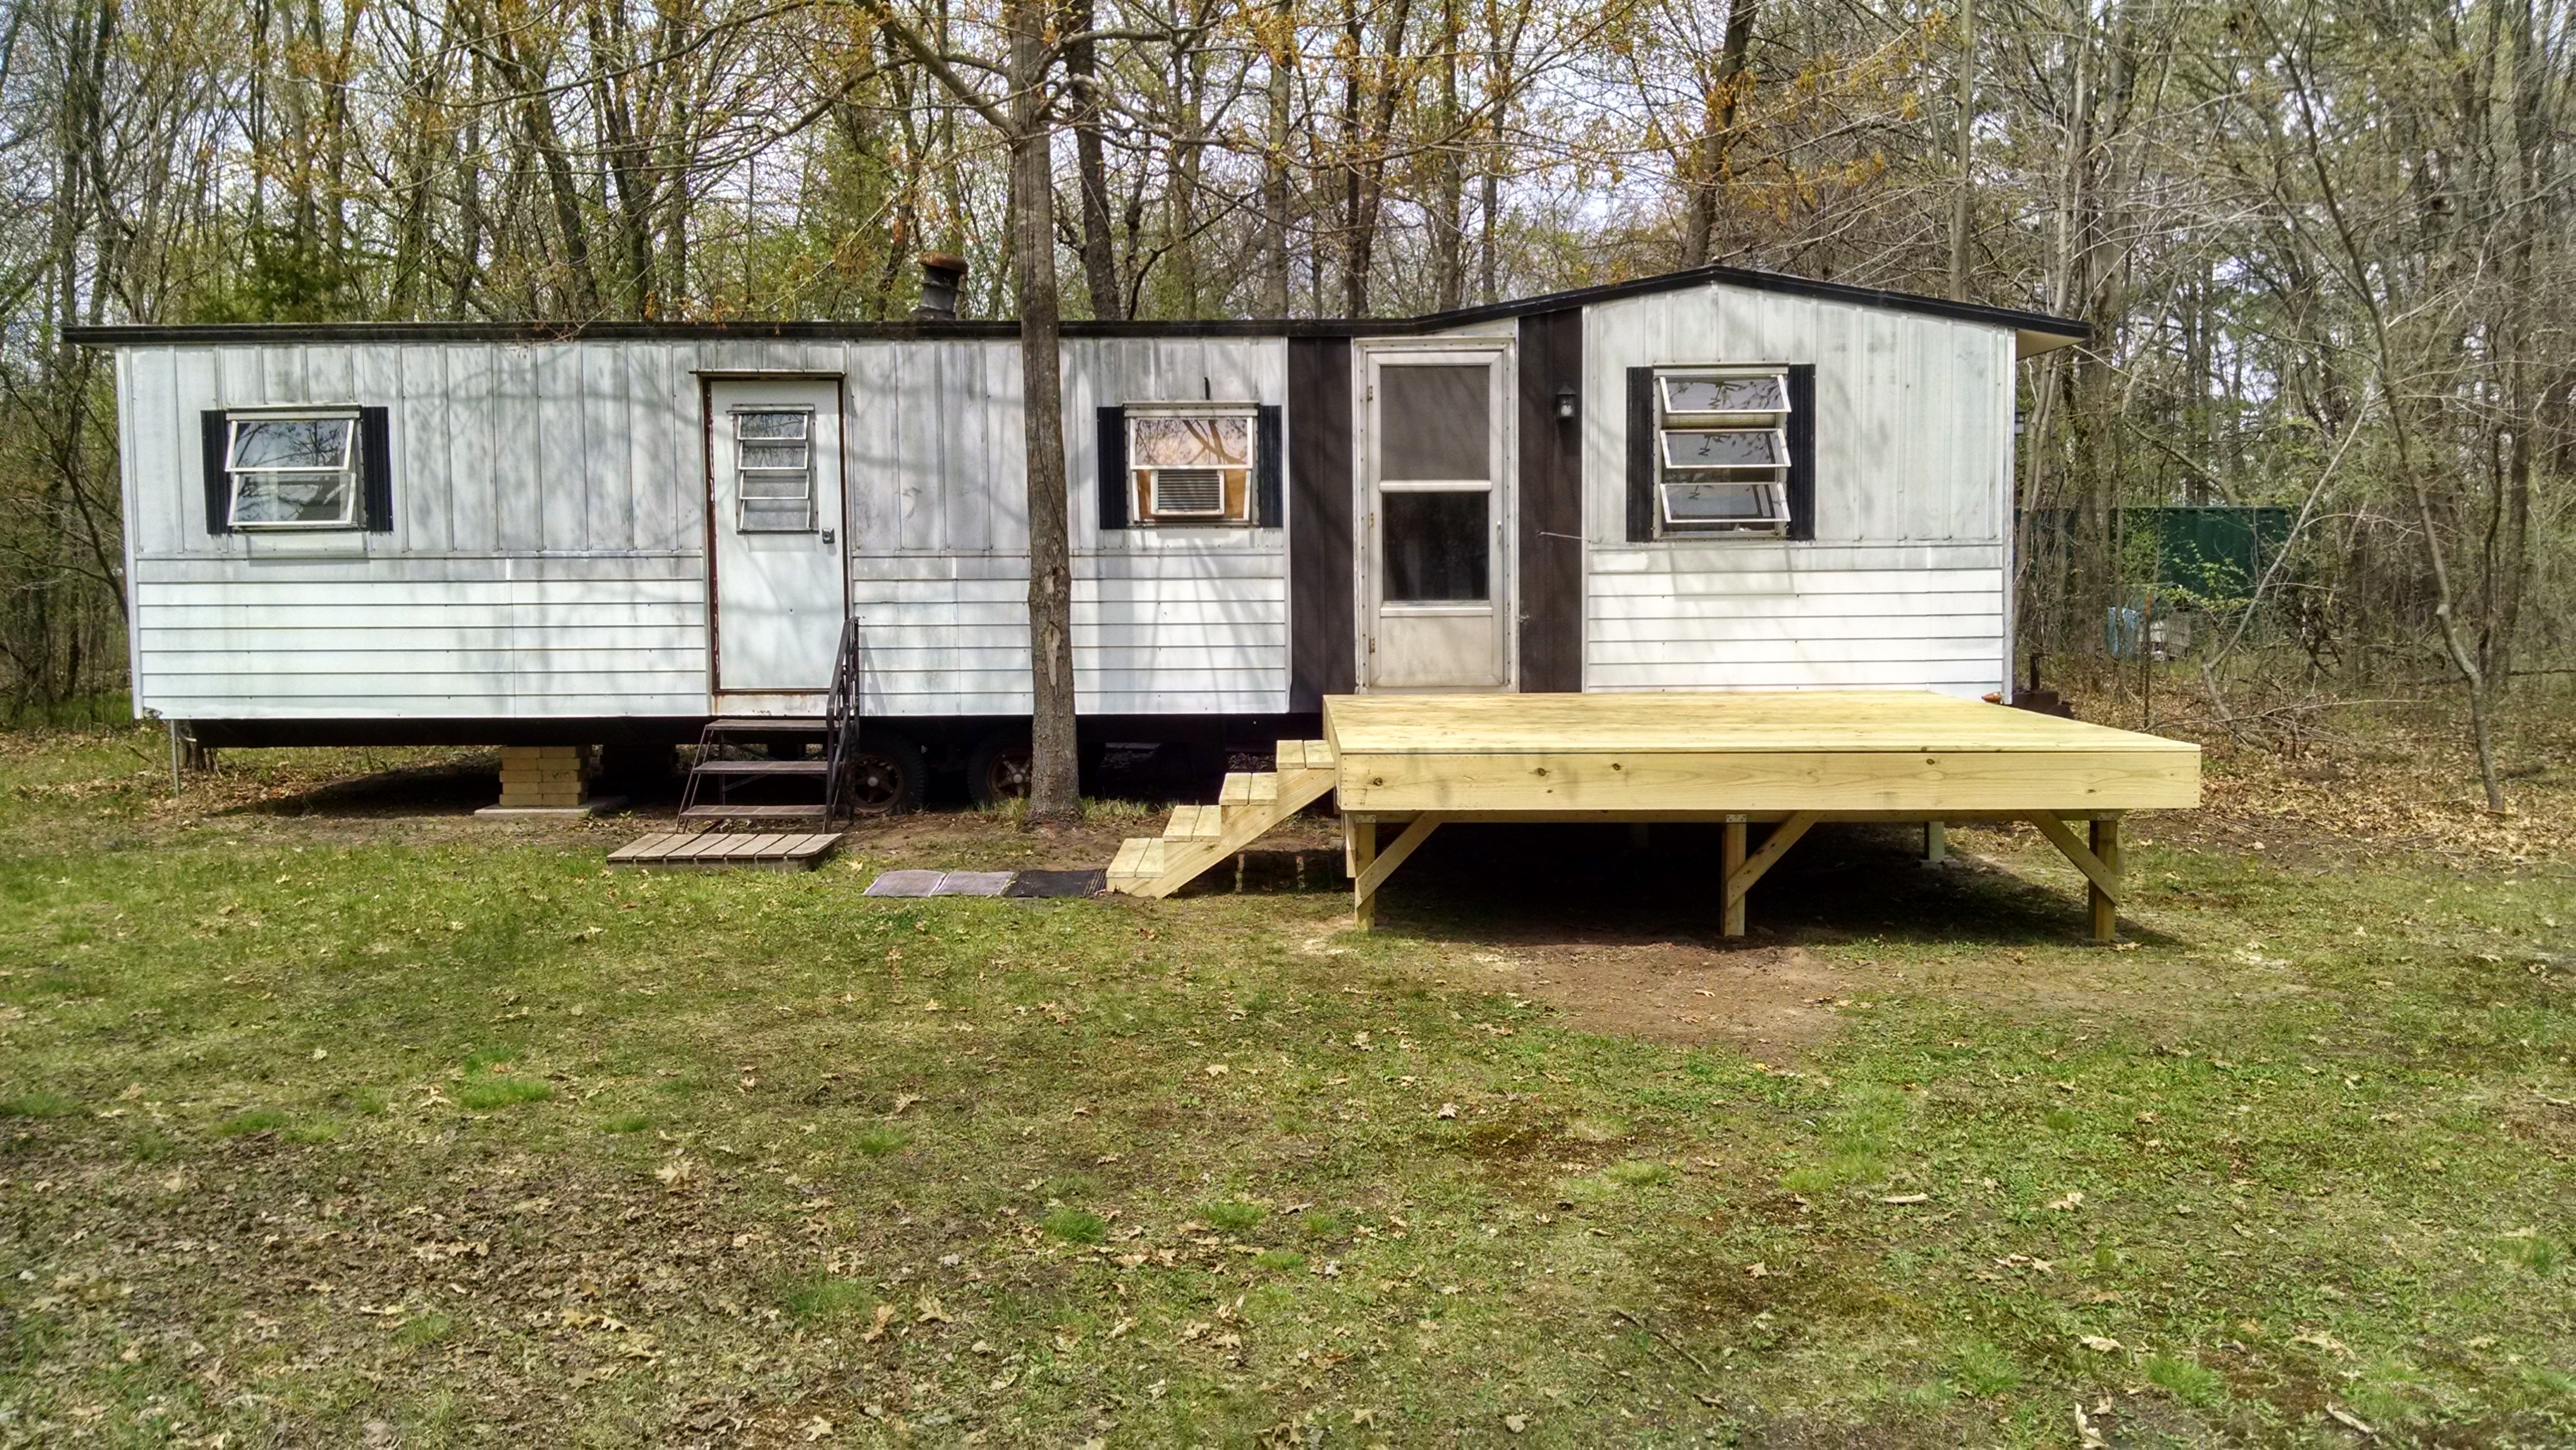
The PMC Clubhouse had an accessibility problem. The back door opened three feet above the ground and the front entrance had a precariously balanced set of steel stairs and some very uneven terrain right outside. Tracking in dirt and sand has always been a problem, and we never really hung out outside much since there wasn’t much to the yard. It was time for a deck.
Using a tape measure and scratching into the ground with my shoe, I felt out various possible sizes. I settled on 12′ square since it provided ample space while keeping my shopping list and design needs simple.
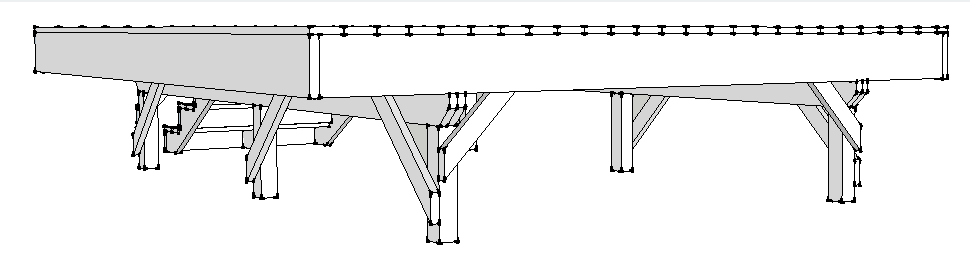
Trimble SketchUp (previously Google SketchUp) is instrumental in planning any kind of building project. I scoured the internet for deck building tips and methods and got to work drawing the deck frame. SketchUp gives you the liberty to work out your mistakes before you ever cut or even buy a single board. I was able to tweak my design so I could use 2x8s for most of the joists and for the beams, only using 2x10s for the outside border. This saved a decent amount of money. I designed some 45-degree 2×4 cross-braces that required me to tweak the location of the corner posts. It all worked out perfectly and the notching and angle cut on the beams add a nice look to the final product. I also wanted a wider set of stairs come out the side rather than the front. This gives us more room to get by with the trucks and ATVs and helps define the little “yard” area in front of the trailer. The metal stairs get reused for the back door.
SketchUp also helps you plan your shopping list for Menards. I knew the exact number of boards I would need and was able to budget the project down to the penny.
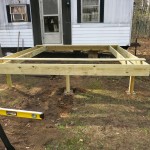
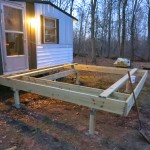
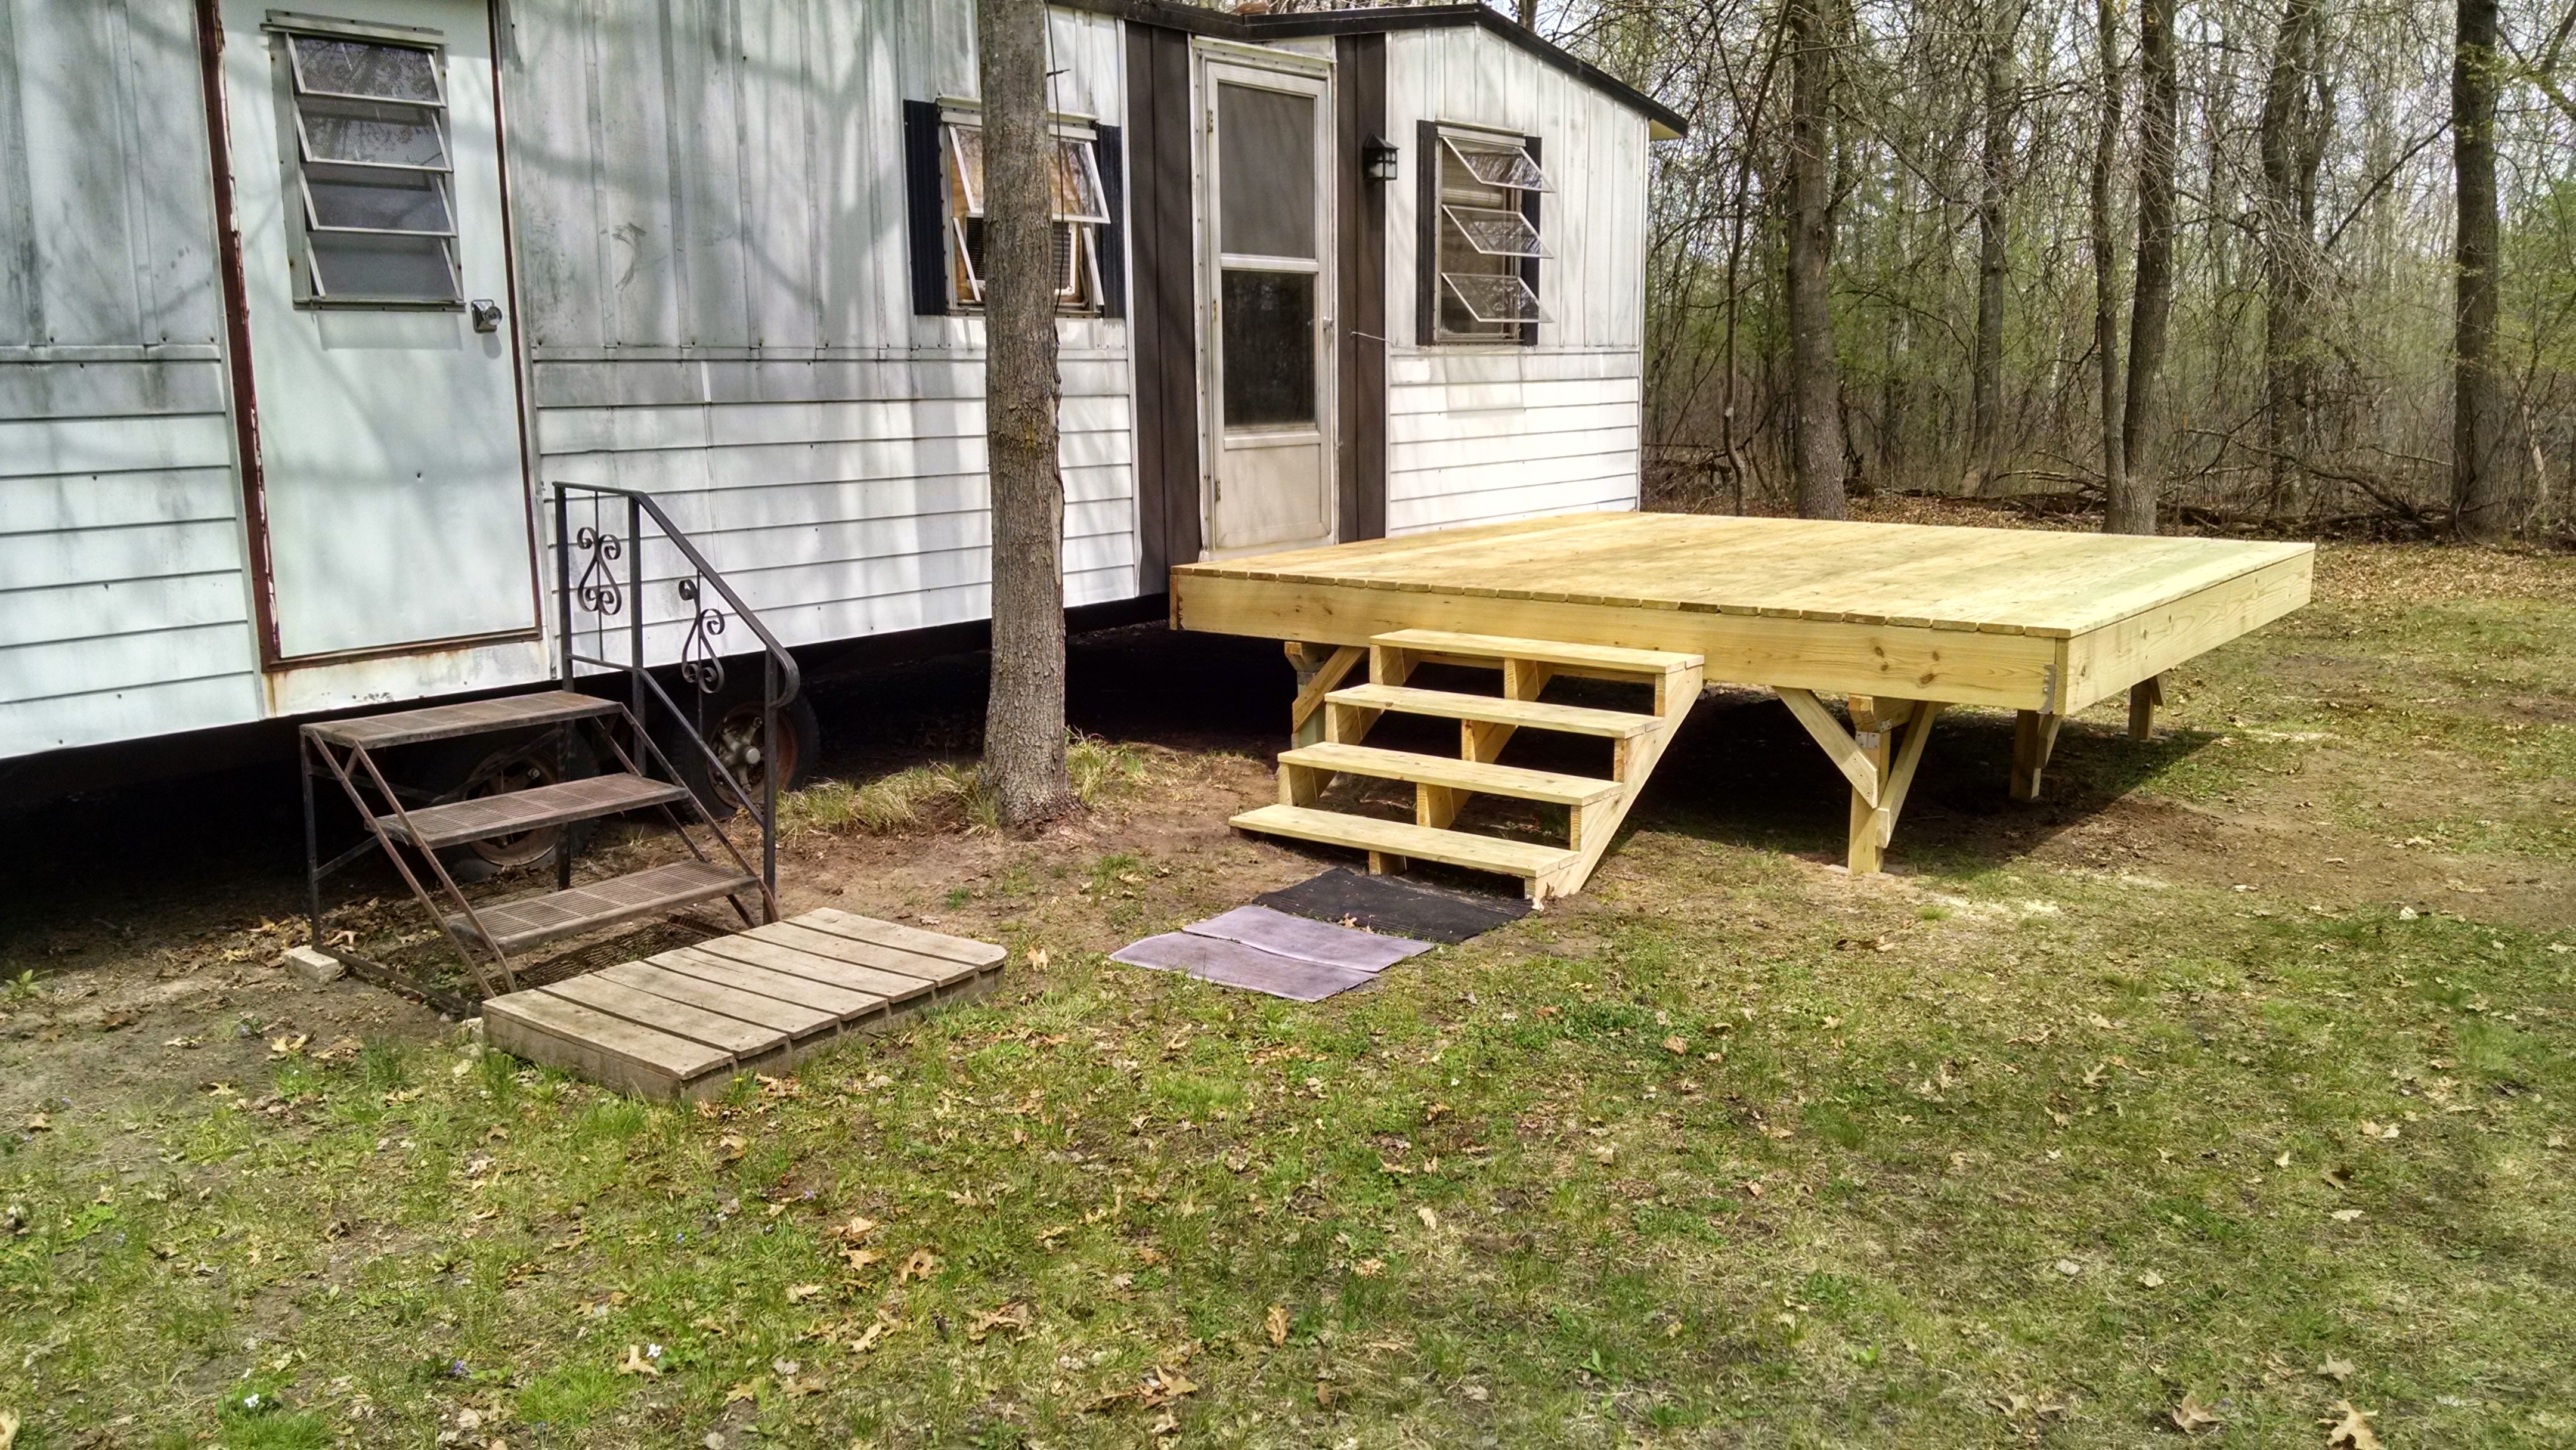
The framing was done over the course of a day with a little help from Jake. The planks and stairs were added afterwards over a weekend. The planks took much longer than I expected. I was careful to pre-drill each hole and measured each deck plank at both ends and the center before screwing them down, so each board took a fair amount of time, a lot of moving around, and multiple tools to install. In the end, it was worth it: the deck turned out exactly like the SketchUp model and is dead level and rock solid. I’m really happy with the final result. This will help keep the trailer a little cleaner and we have a nice spot to sit outside. All we need now is a railing.
-
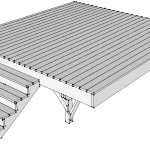
- The general overview in SketchUp. I still need to add the kick boards to the steps.

-
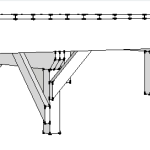
- This angle shows the plans for the cross-bracing and notching in the beams.
-
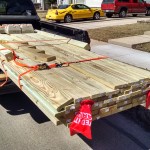
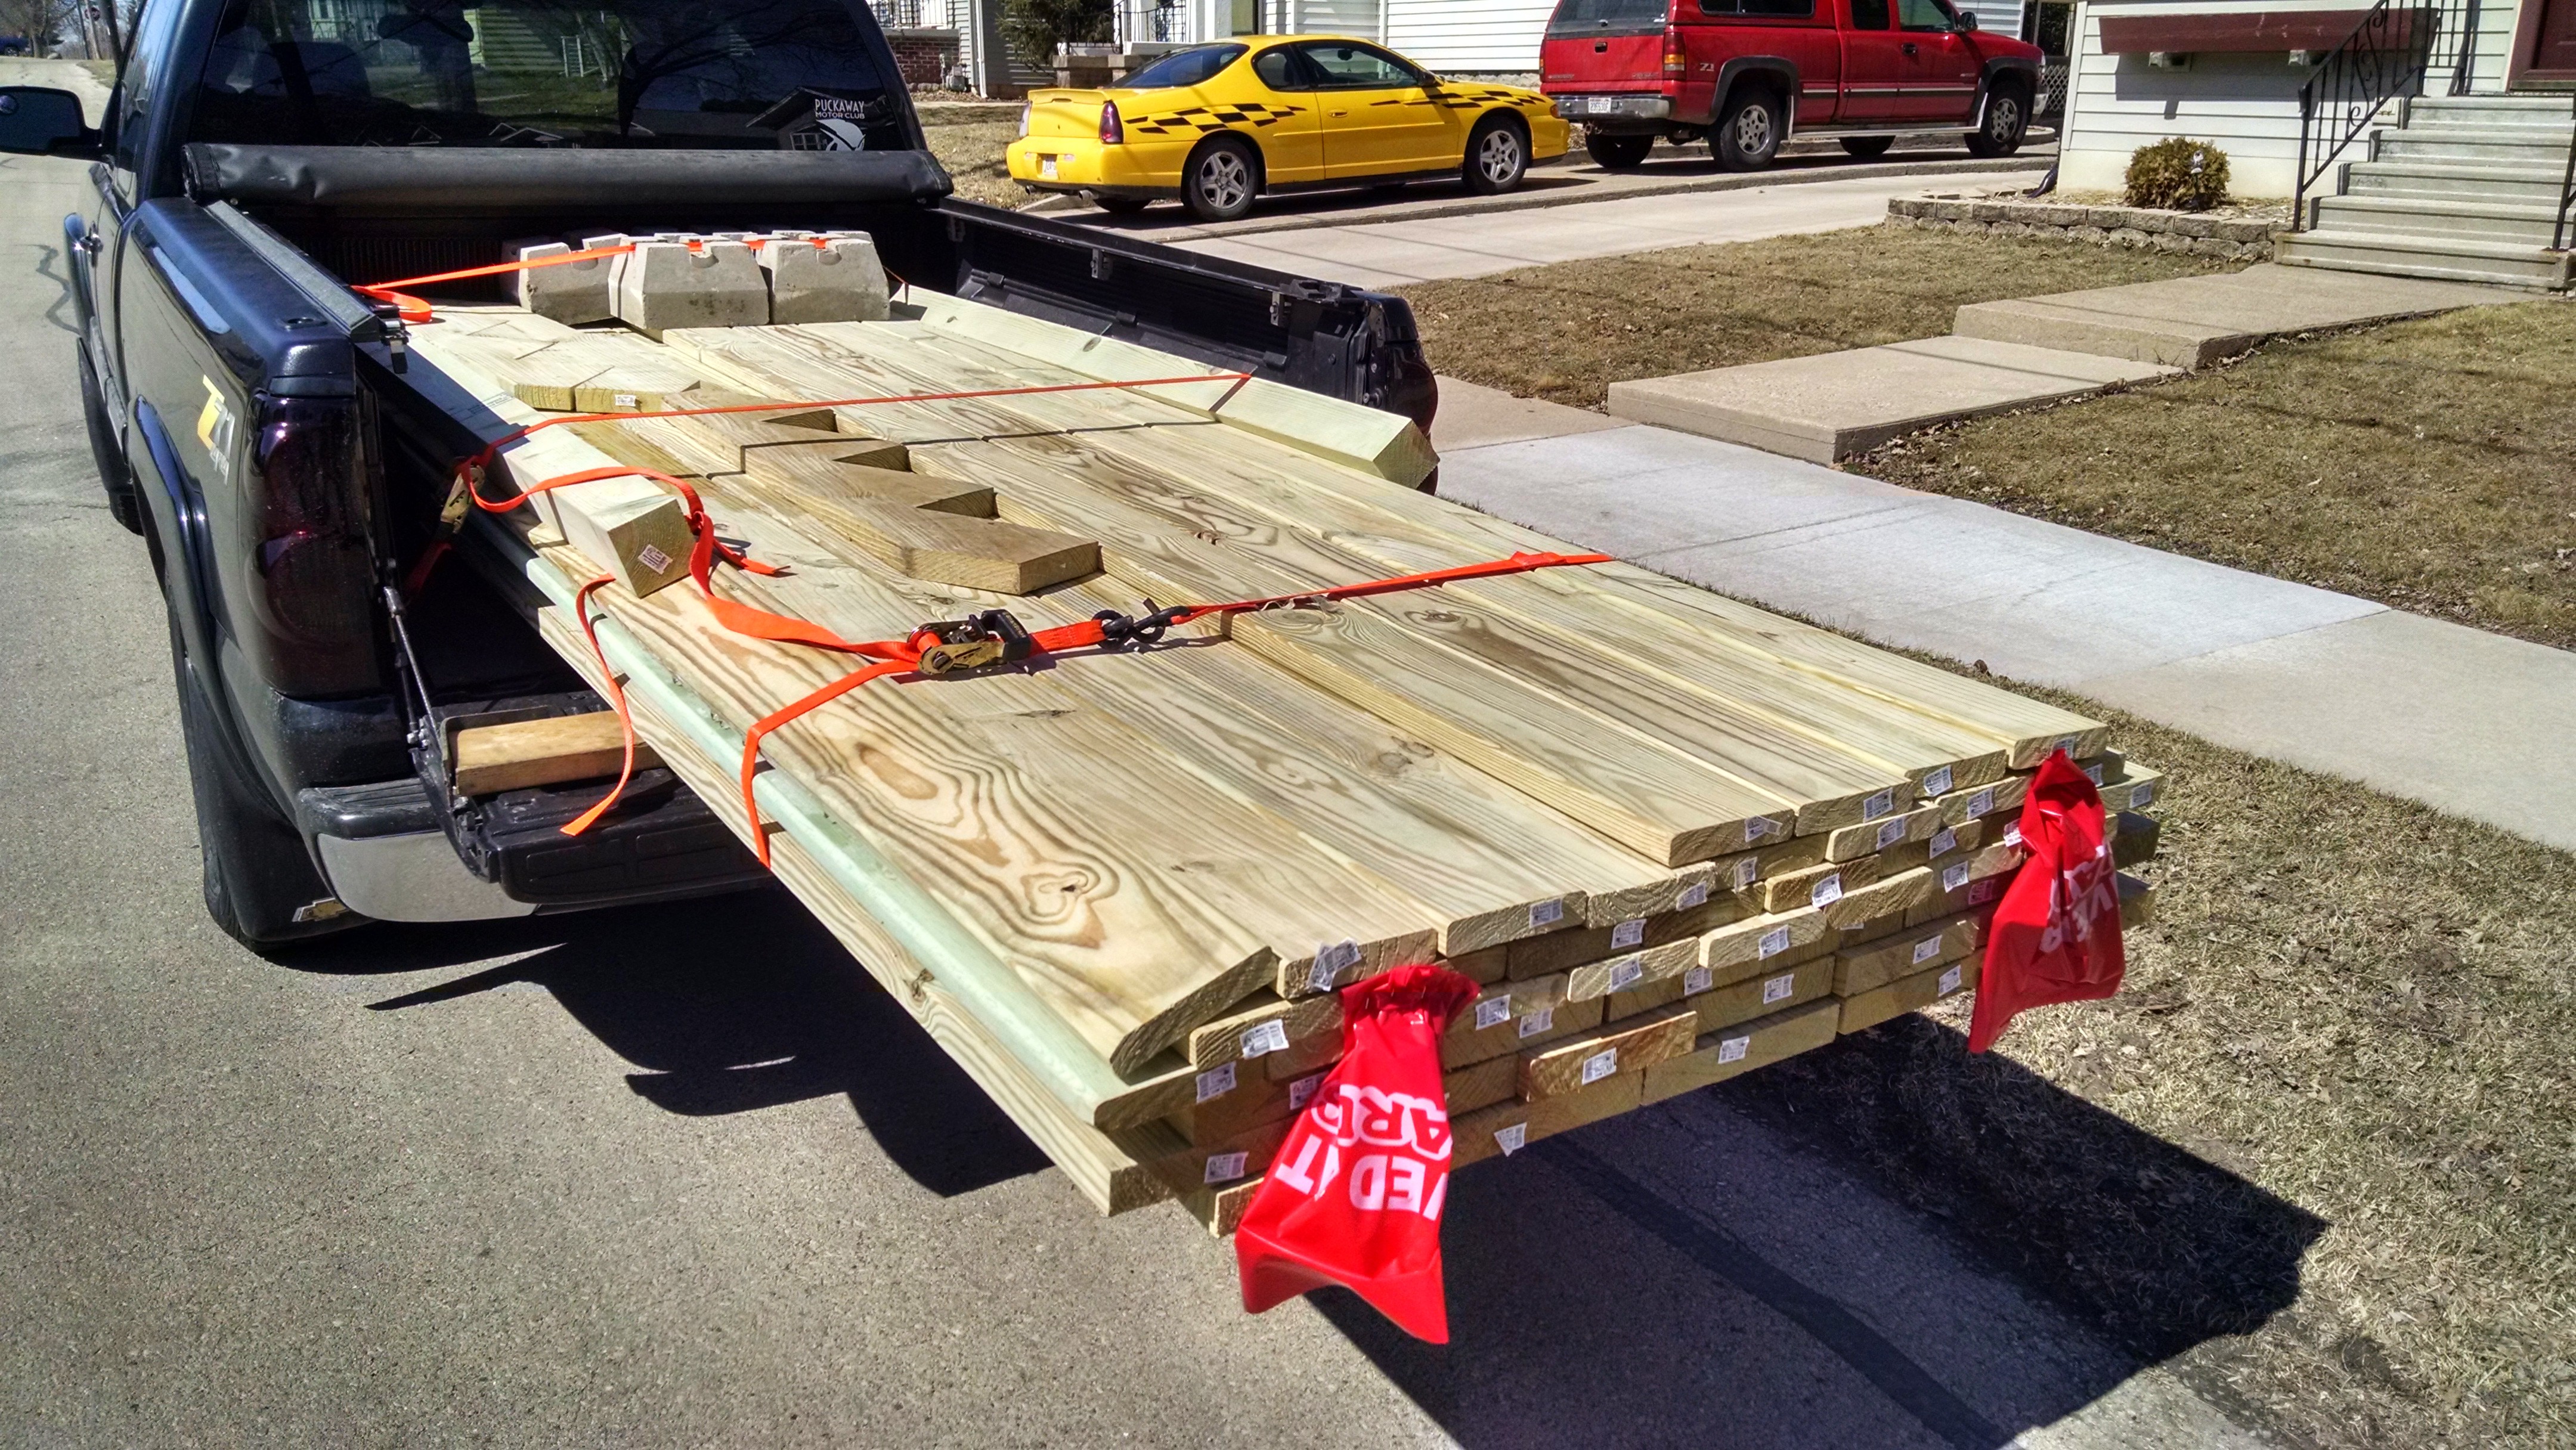
- My truck is never happier than when it gets to fly the Menards flag.
-
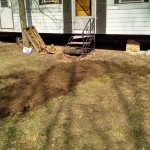
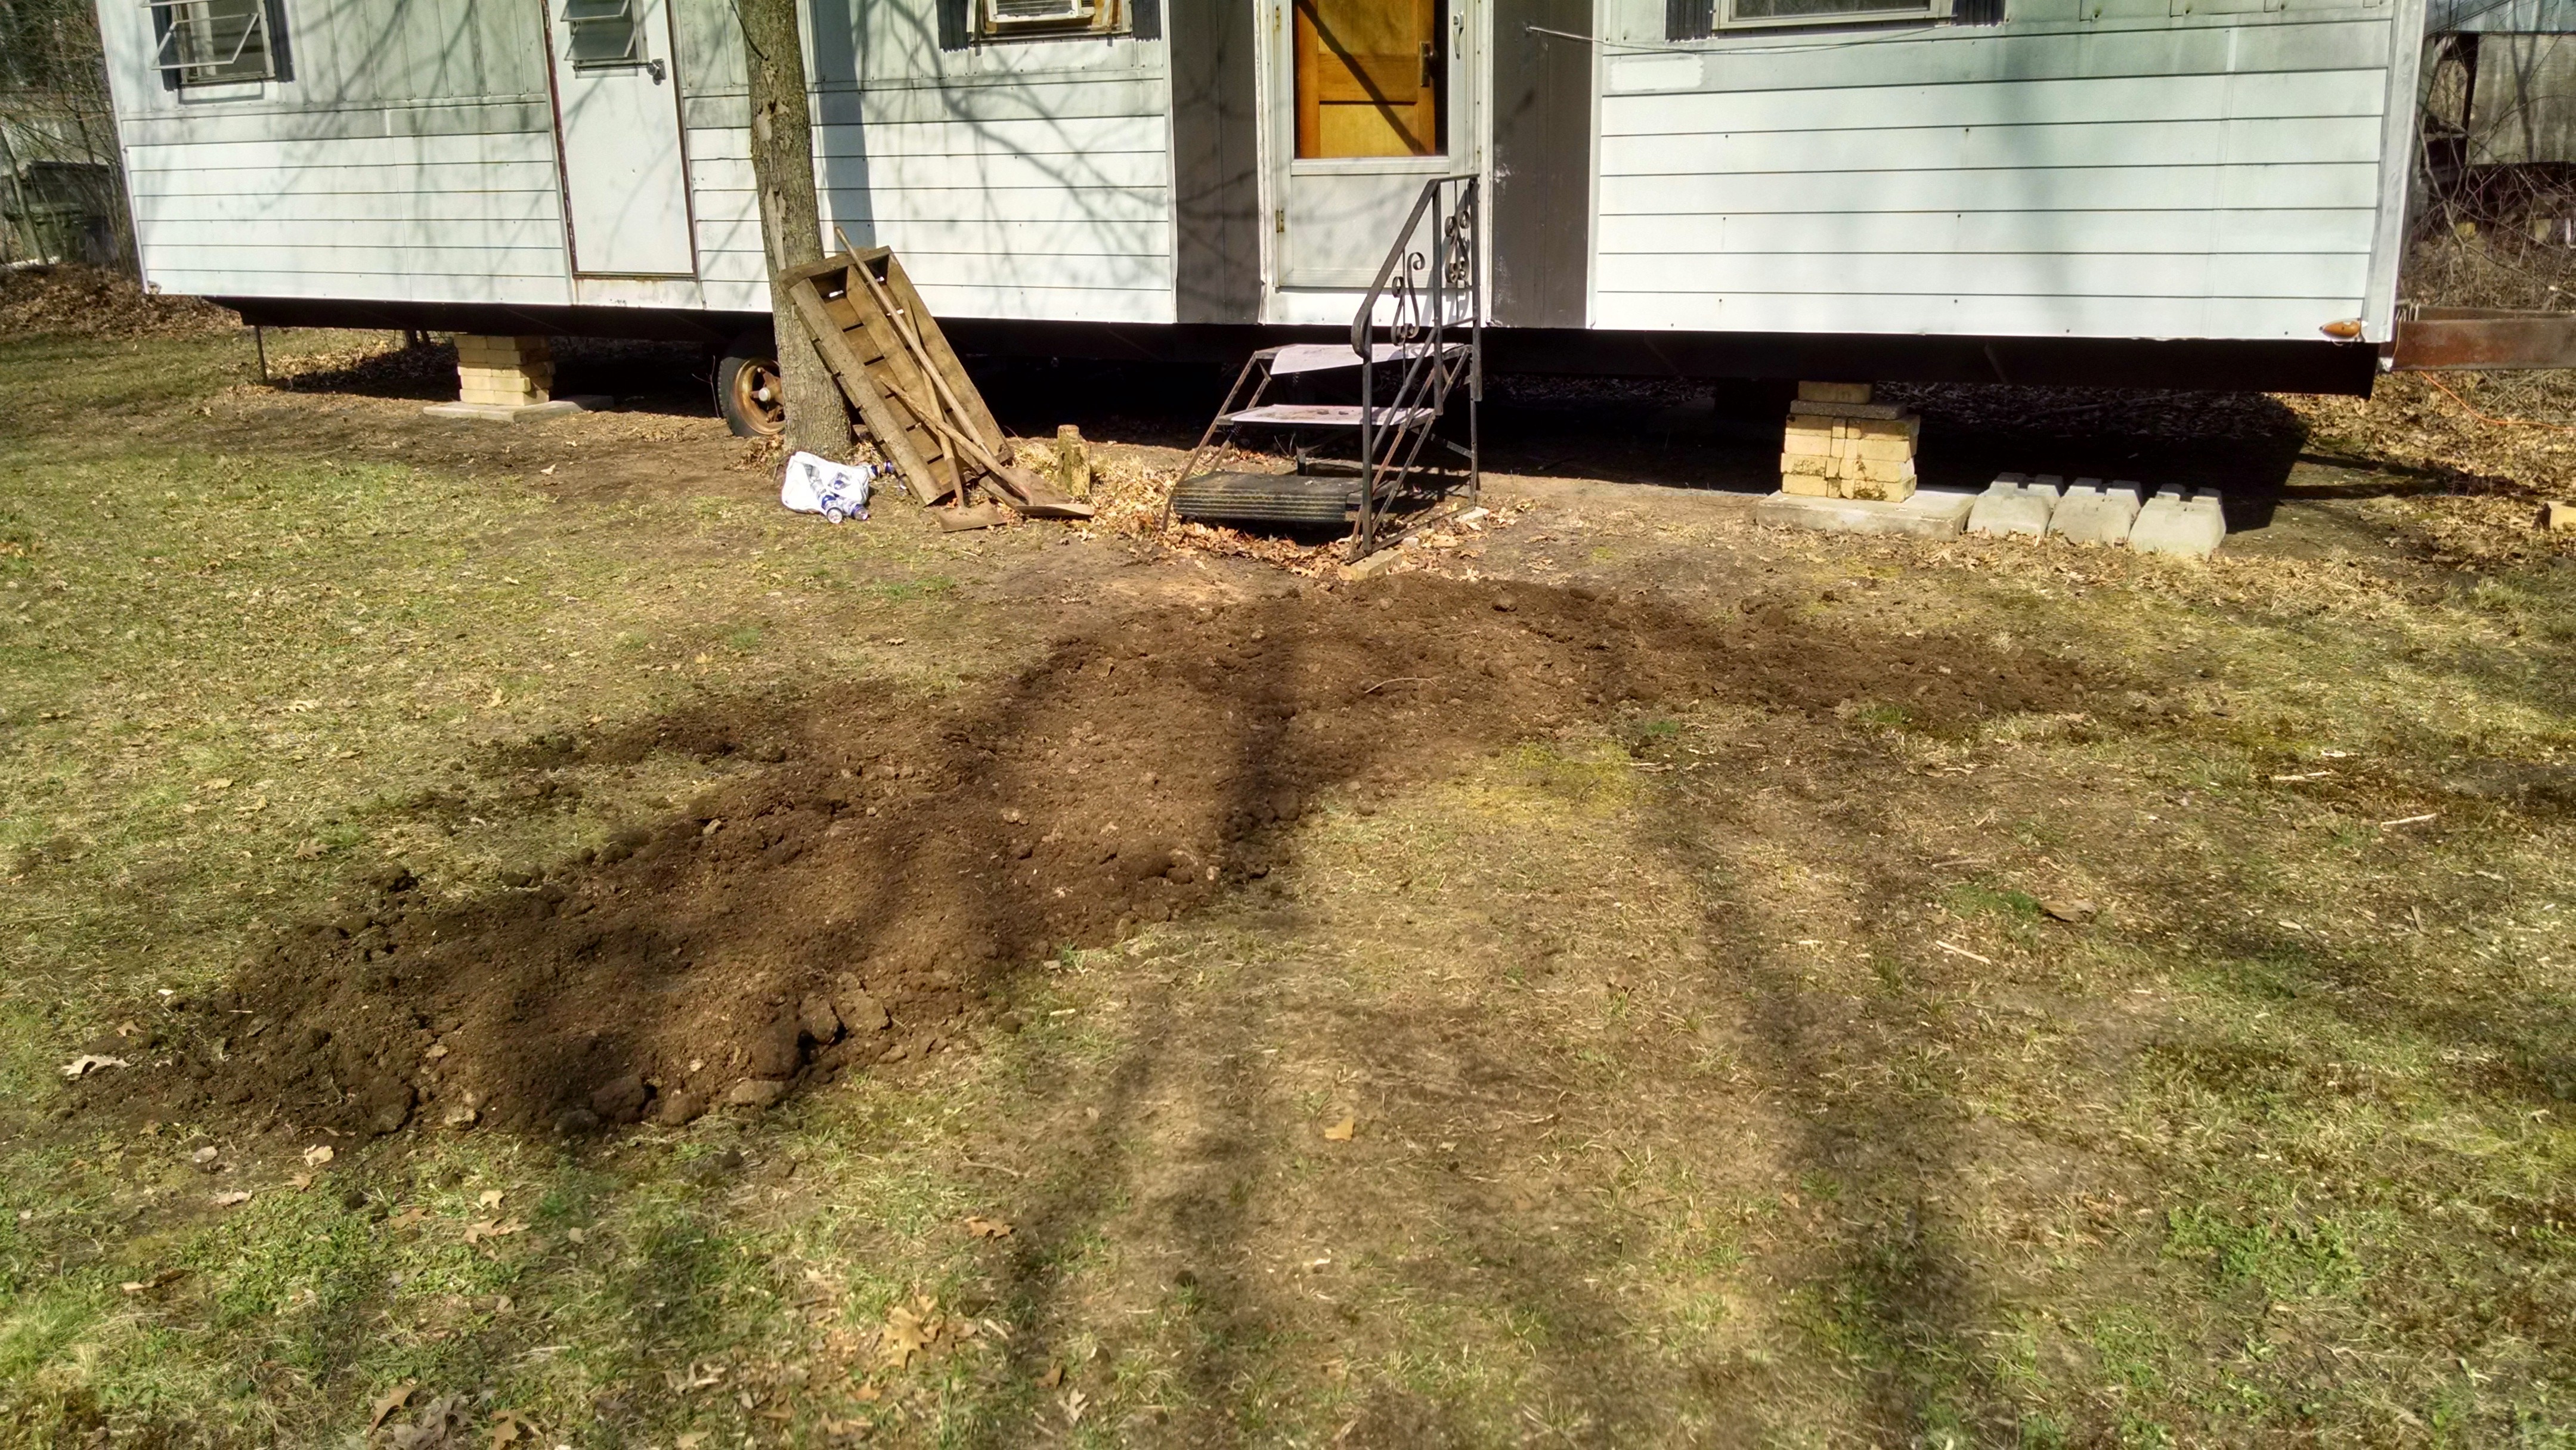
- While the deck would cover most of the low spots in front of the trailer, Farmer Joe and I filled it in anyway. We had plenty of dirt.
-
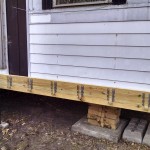
- I hung the rear ledger board to give myself a reference for height and level. The trailer will not support any of the deck’s weight, but it’s important to keep everything lined up with the door.

-
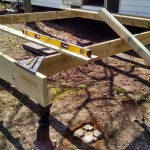
- Both ledgers are being temporarily supported and a joist is dropped into place. With everything level and lined up, I can start placing my post supports.
-
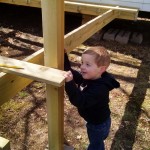
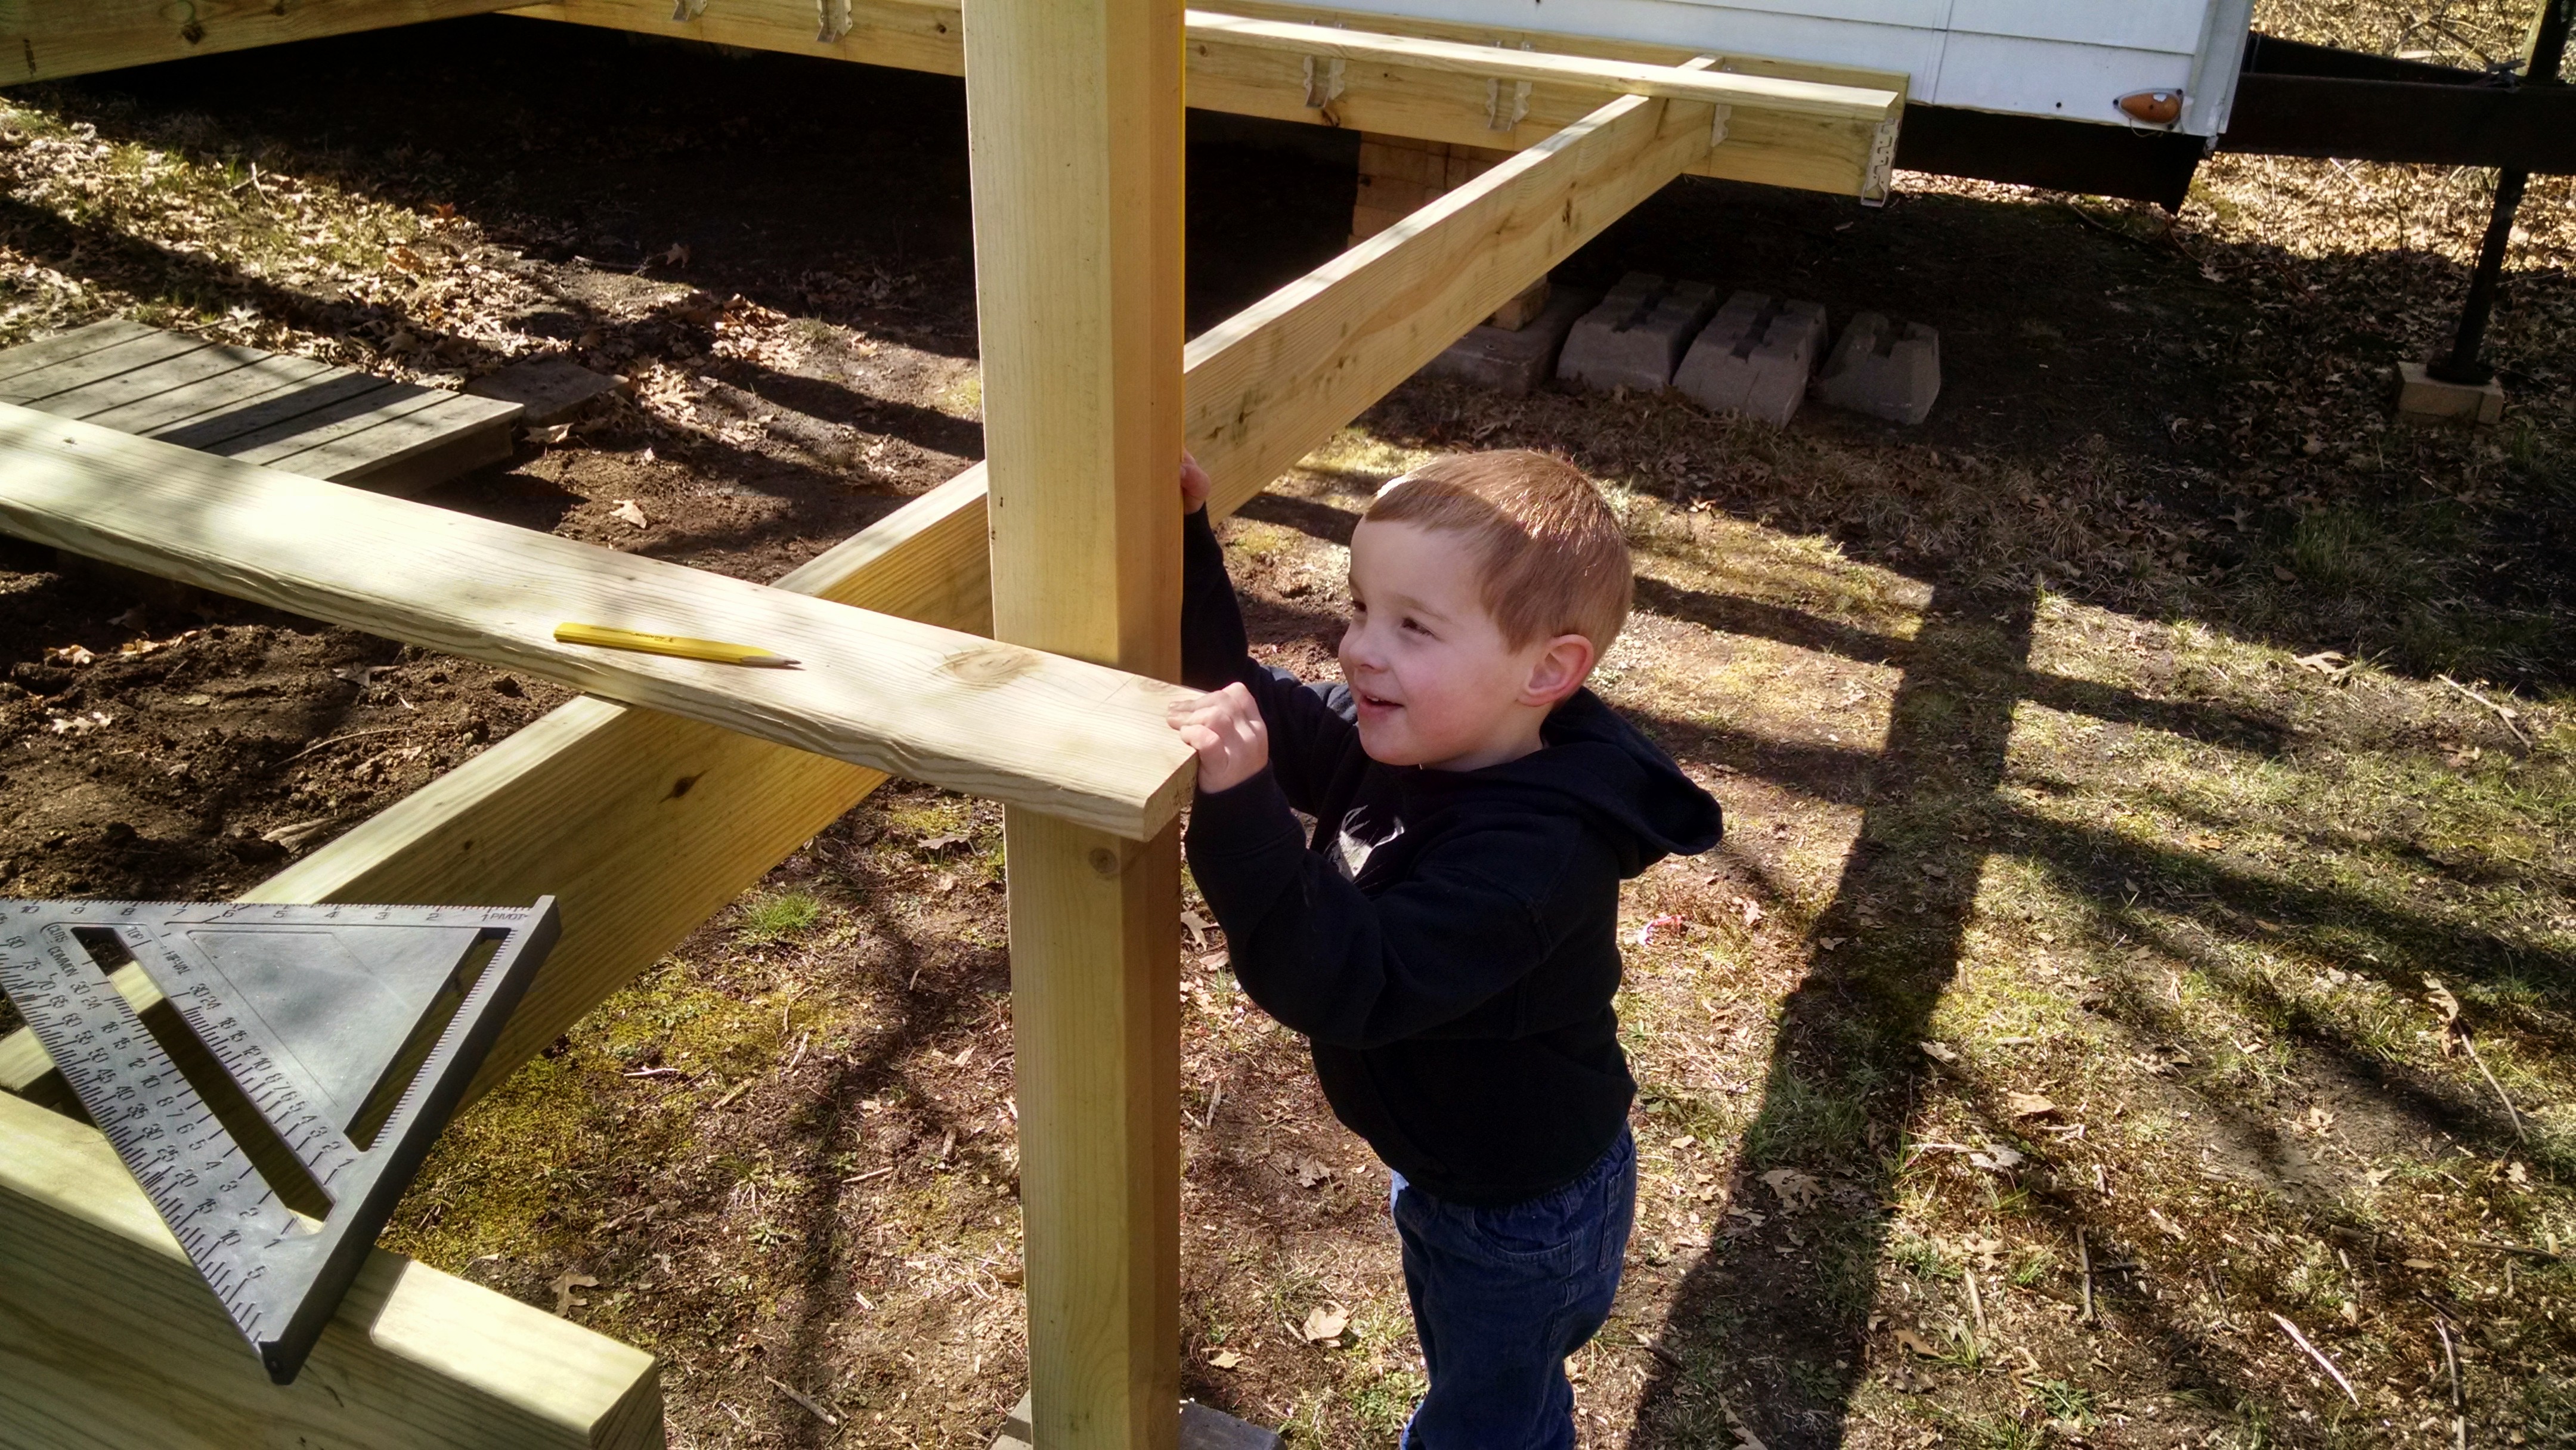
- I can’t truly say this was a one-man operation. Jake was a great tool fetcher and extra set of hands.
-
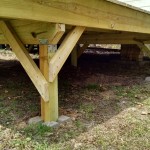
- After figuring out the height needed, I attached the center post to the front support beam and angled it into position. I then cut and placed each corner post and took away the temporary front supports. The deck is 50% supported now.
-
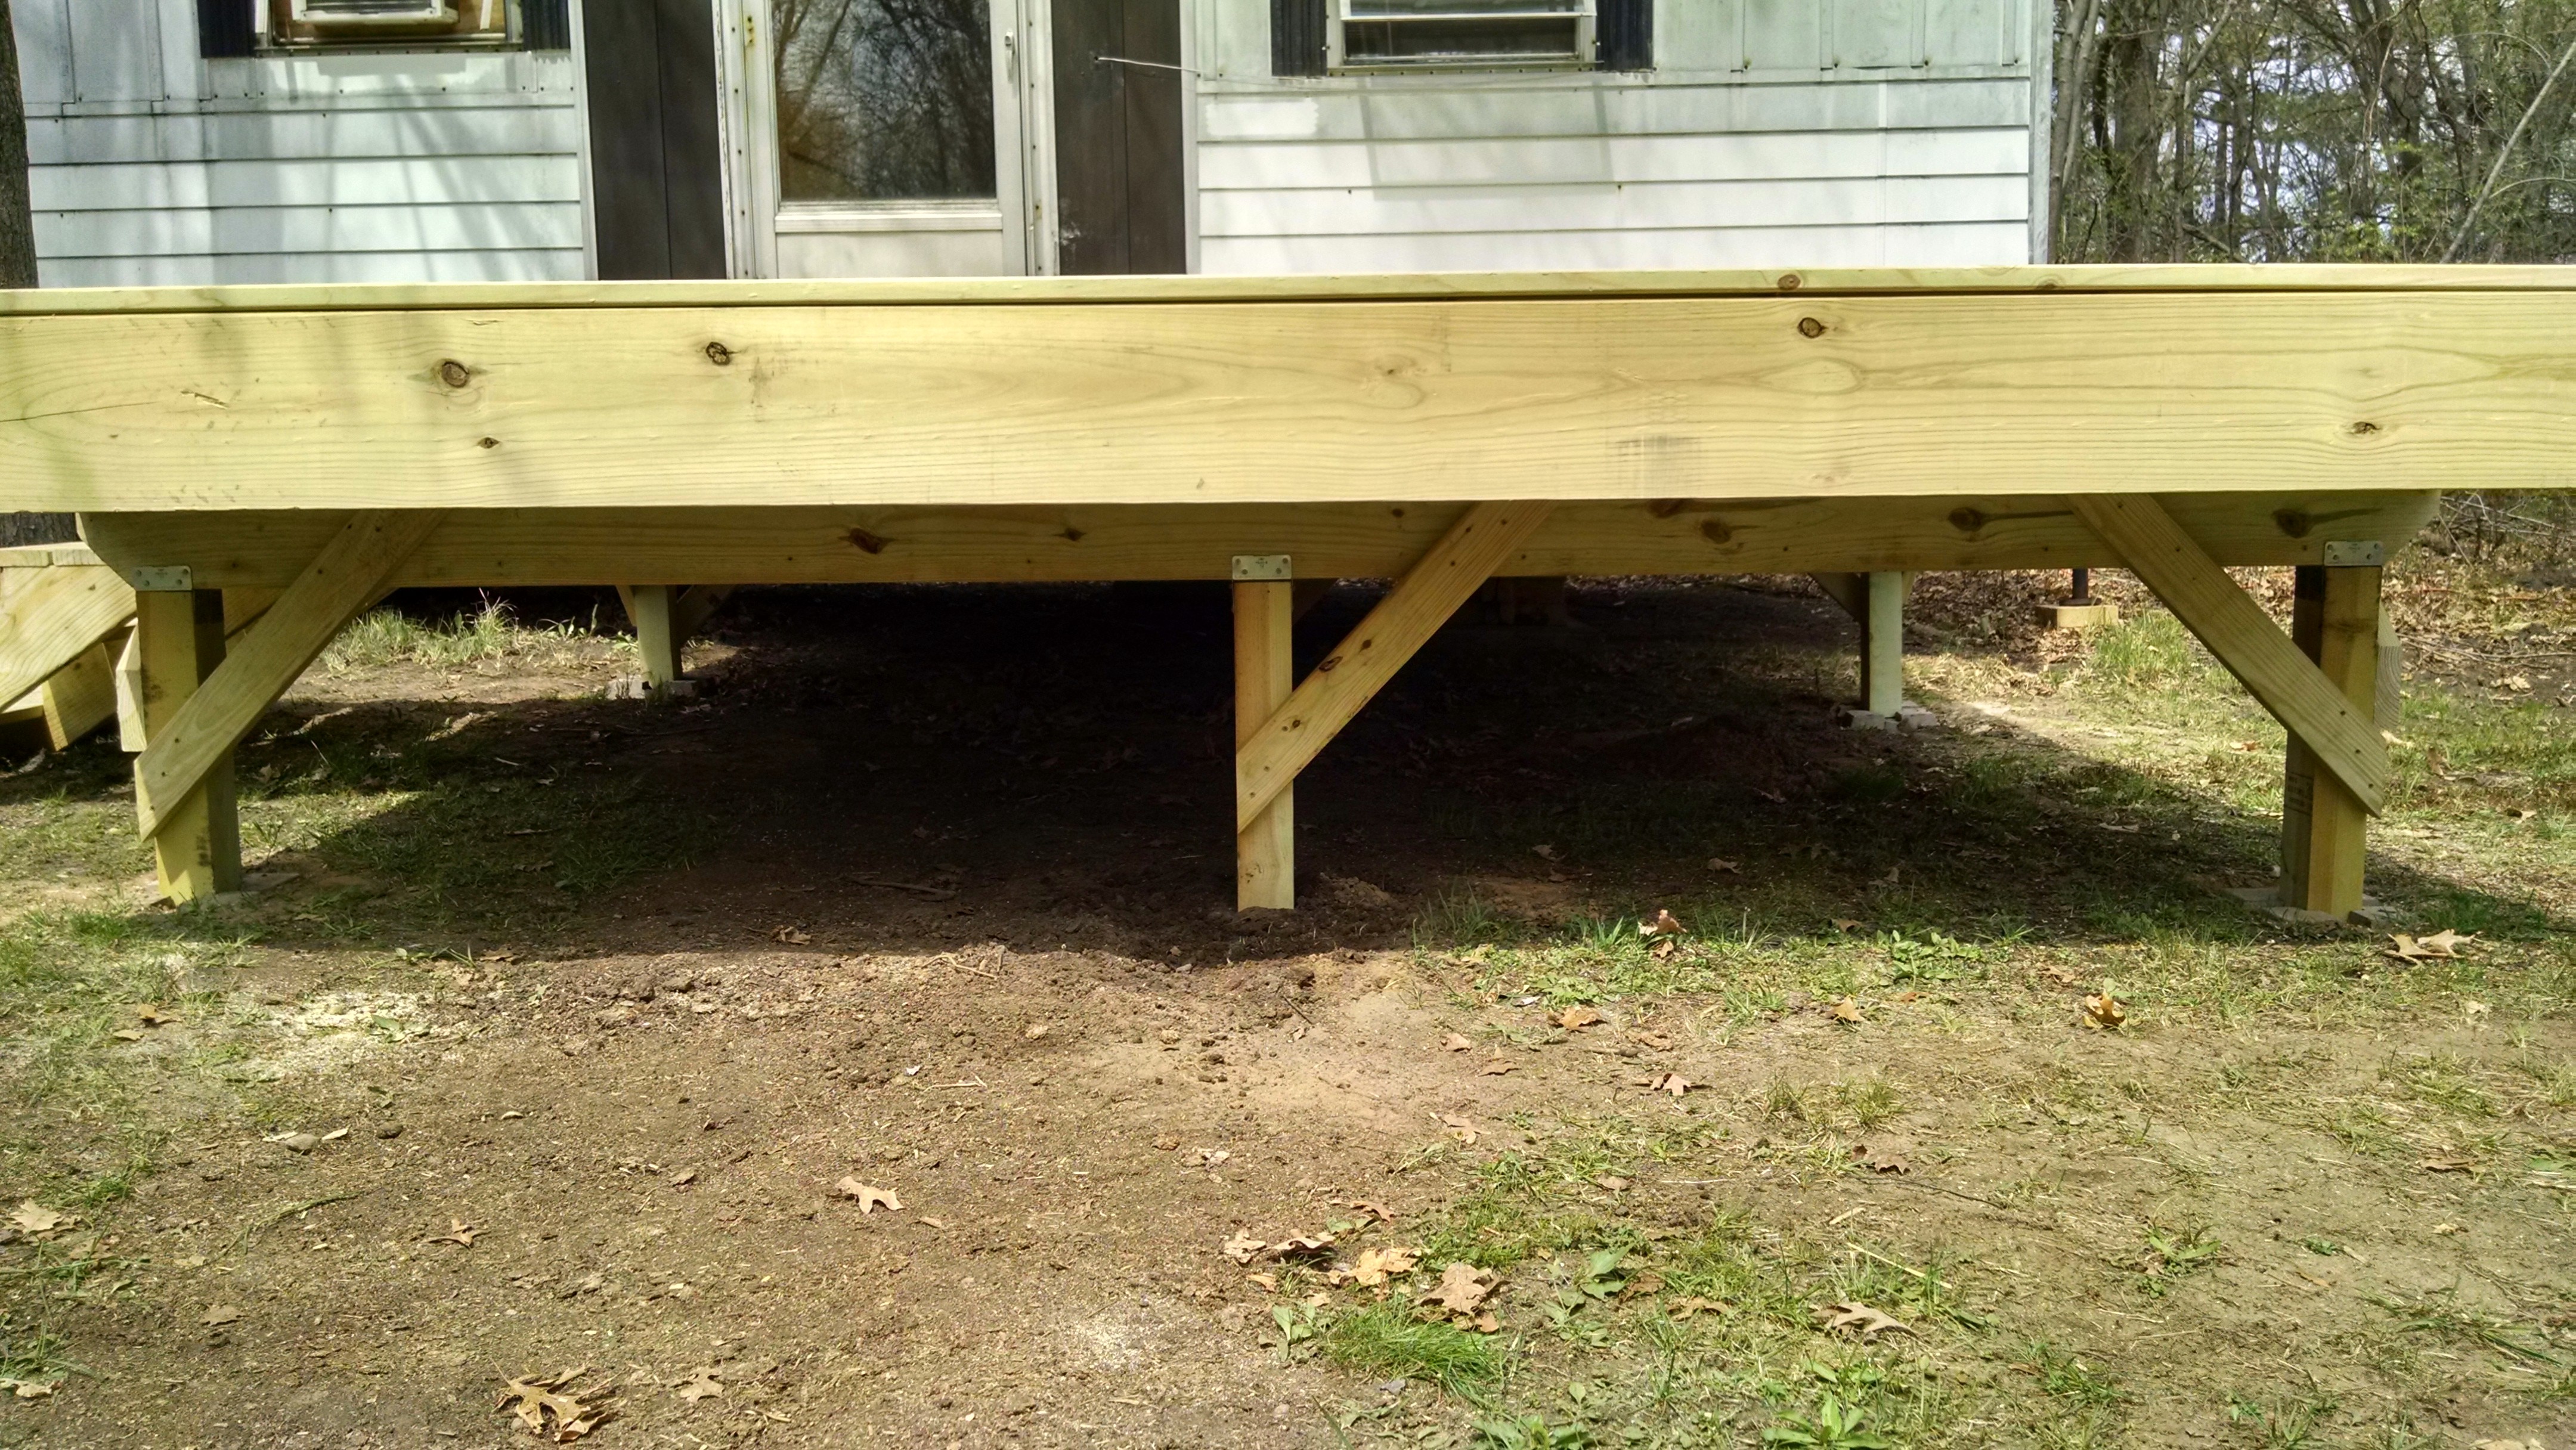
- The rear beam and posts were installed the same way as the front. The deck was unscrewed from the trailer to allow me to slide the posts in. It was then reattached in a few places, but only to help secure it side-to-side. All the weight is being supported by the posts.

-
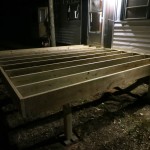
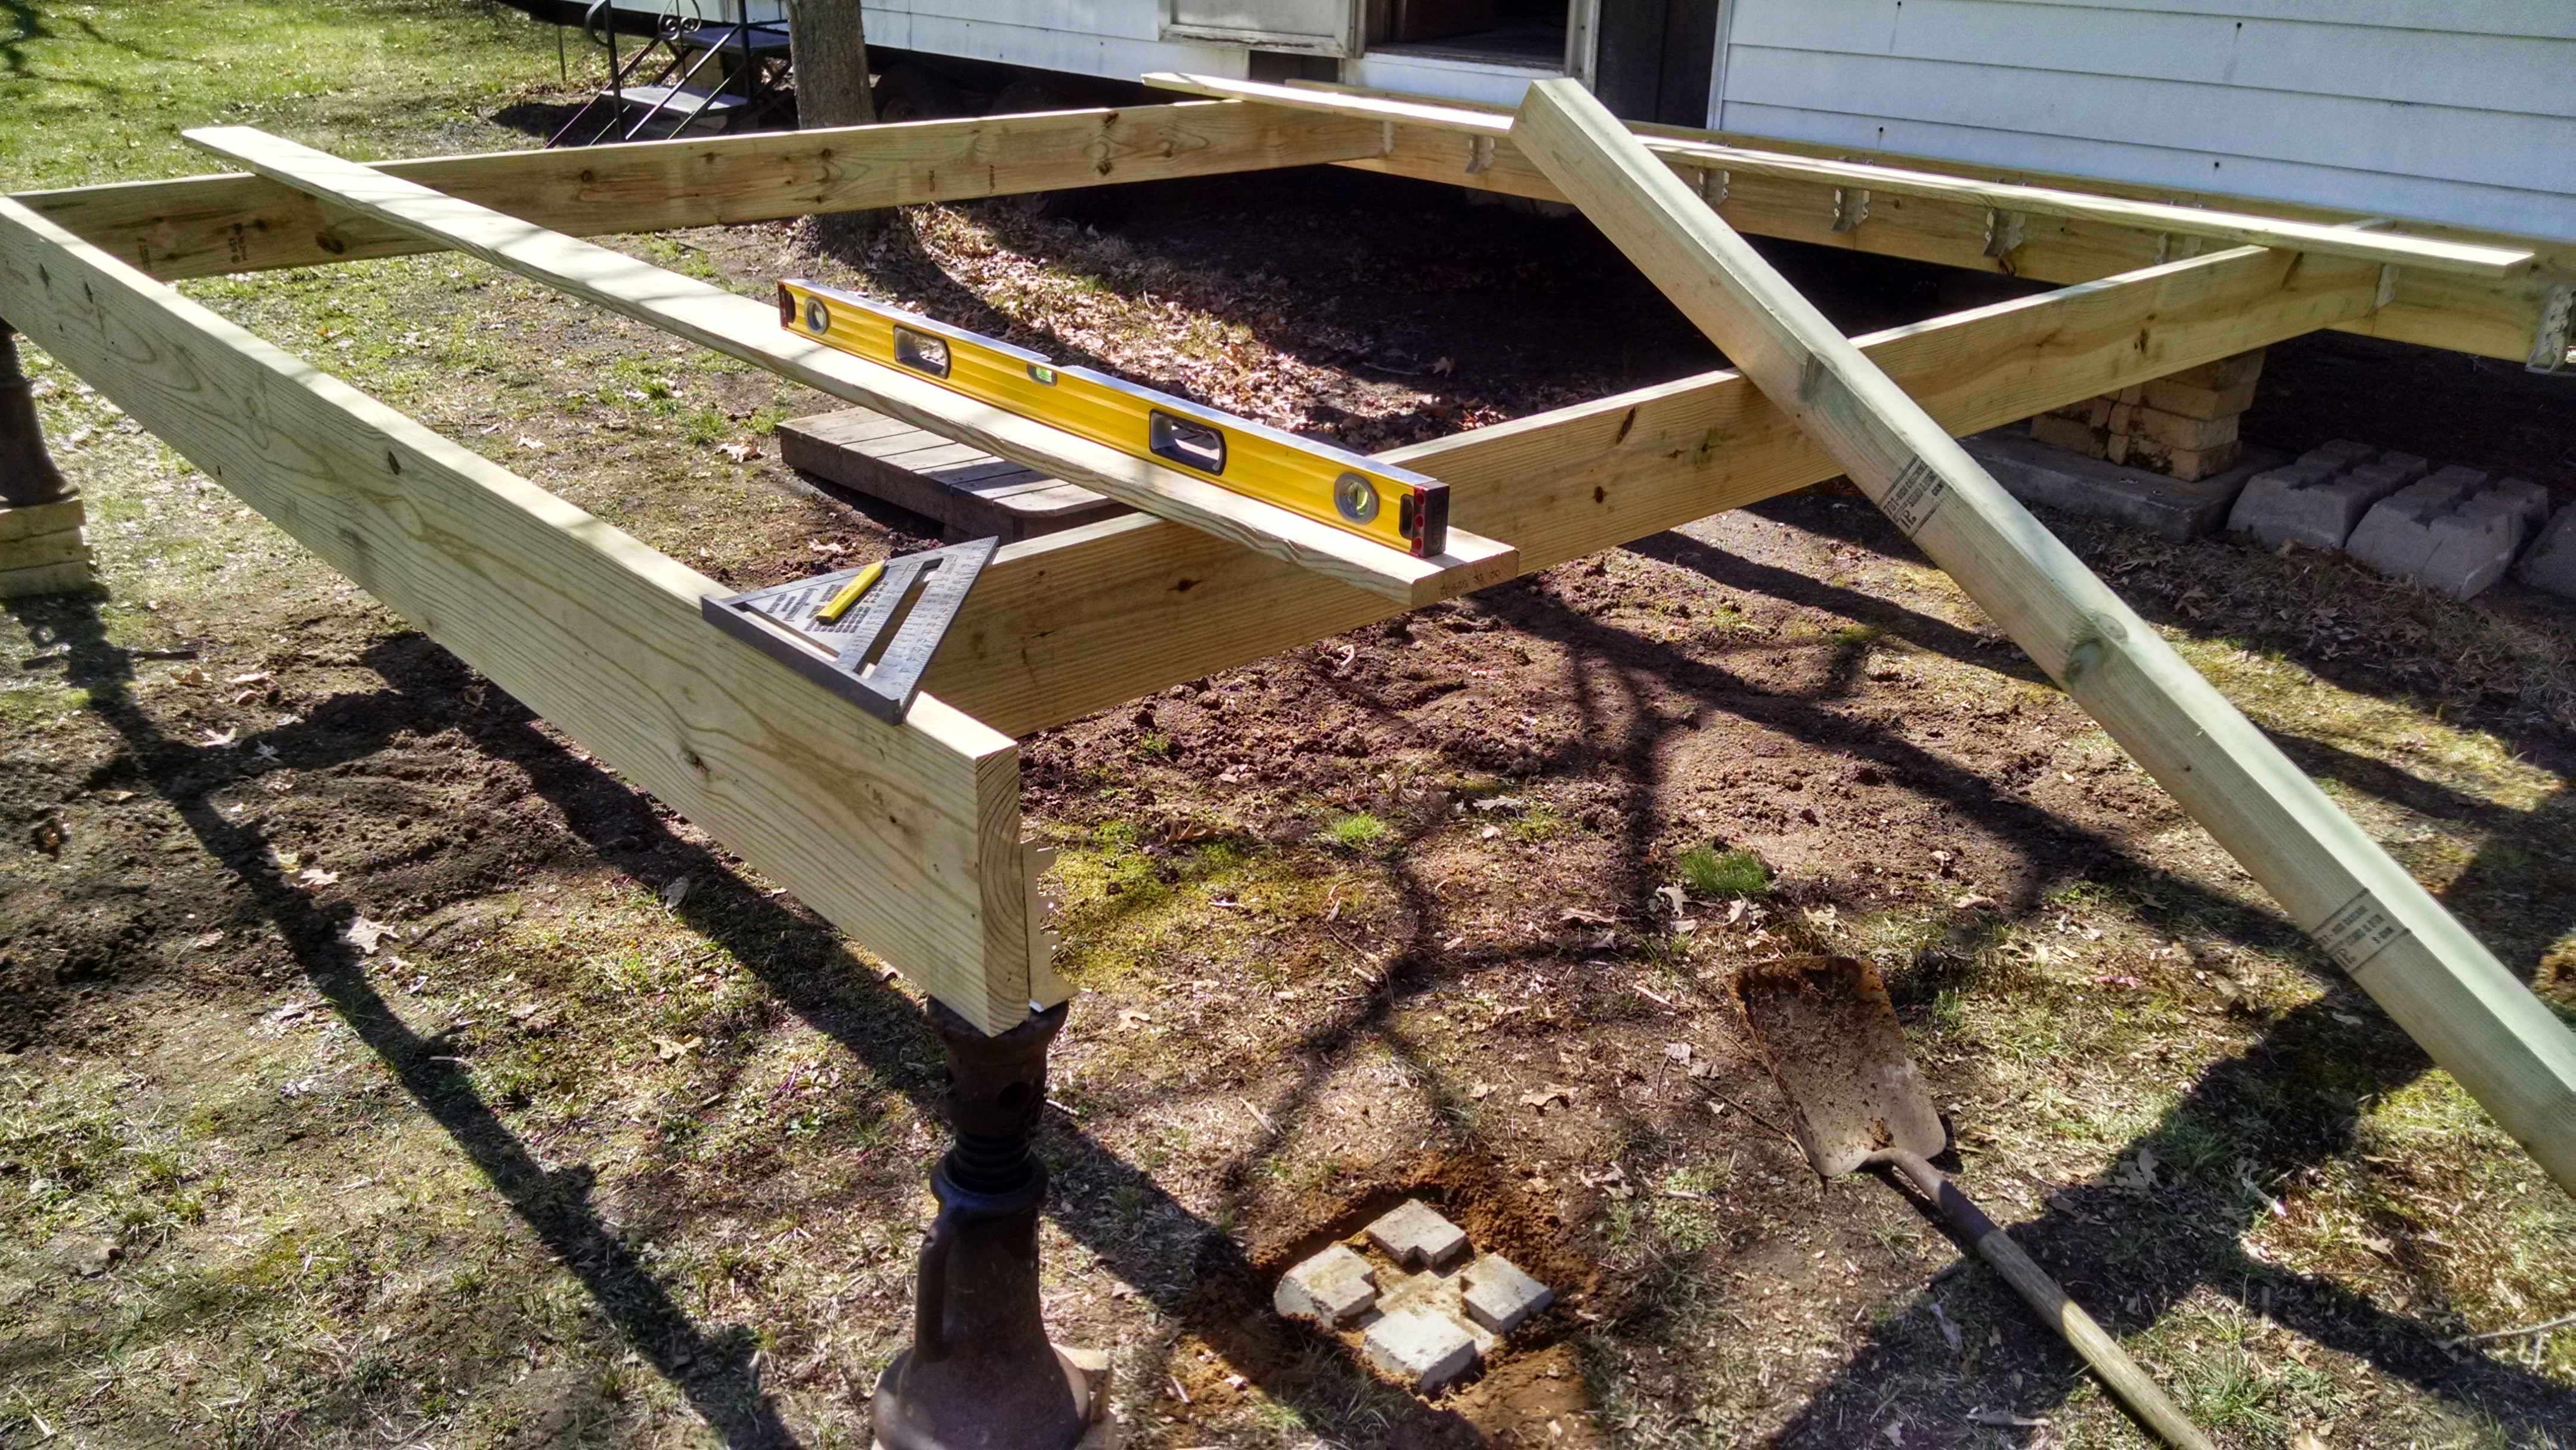
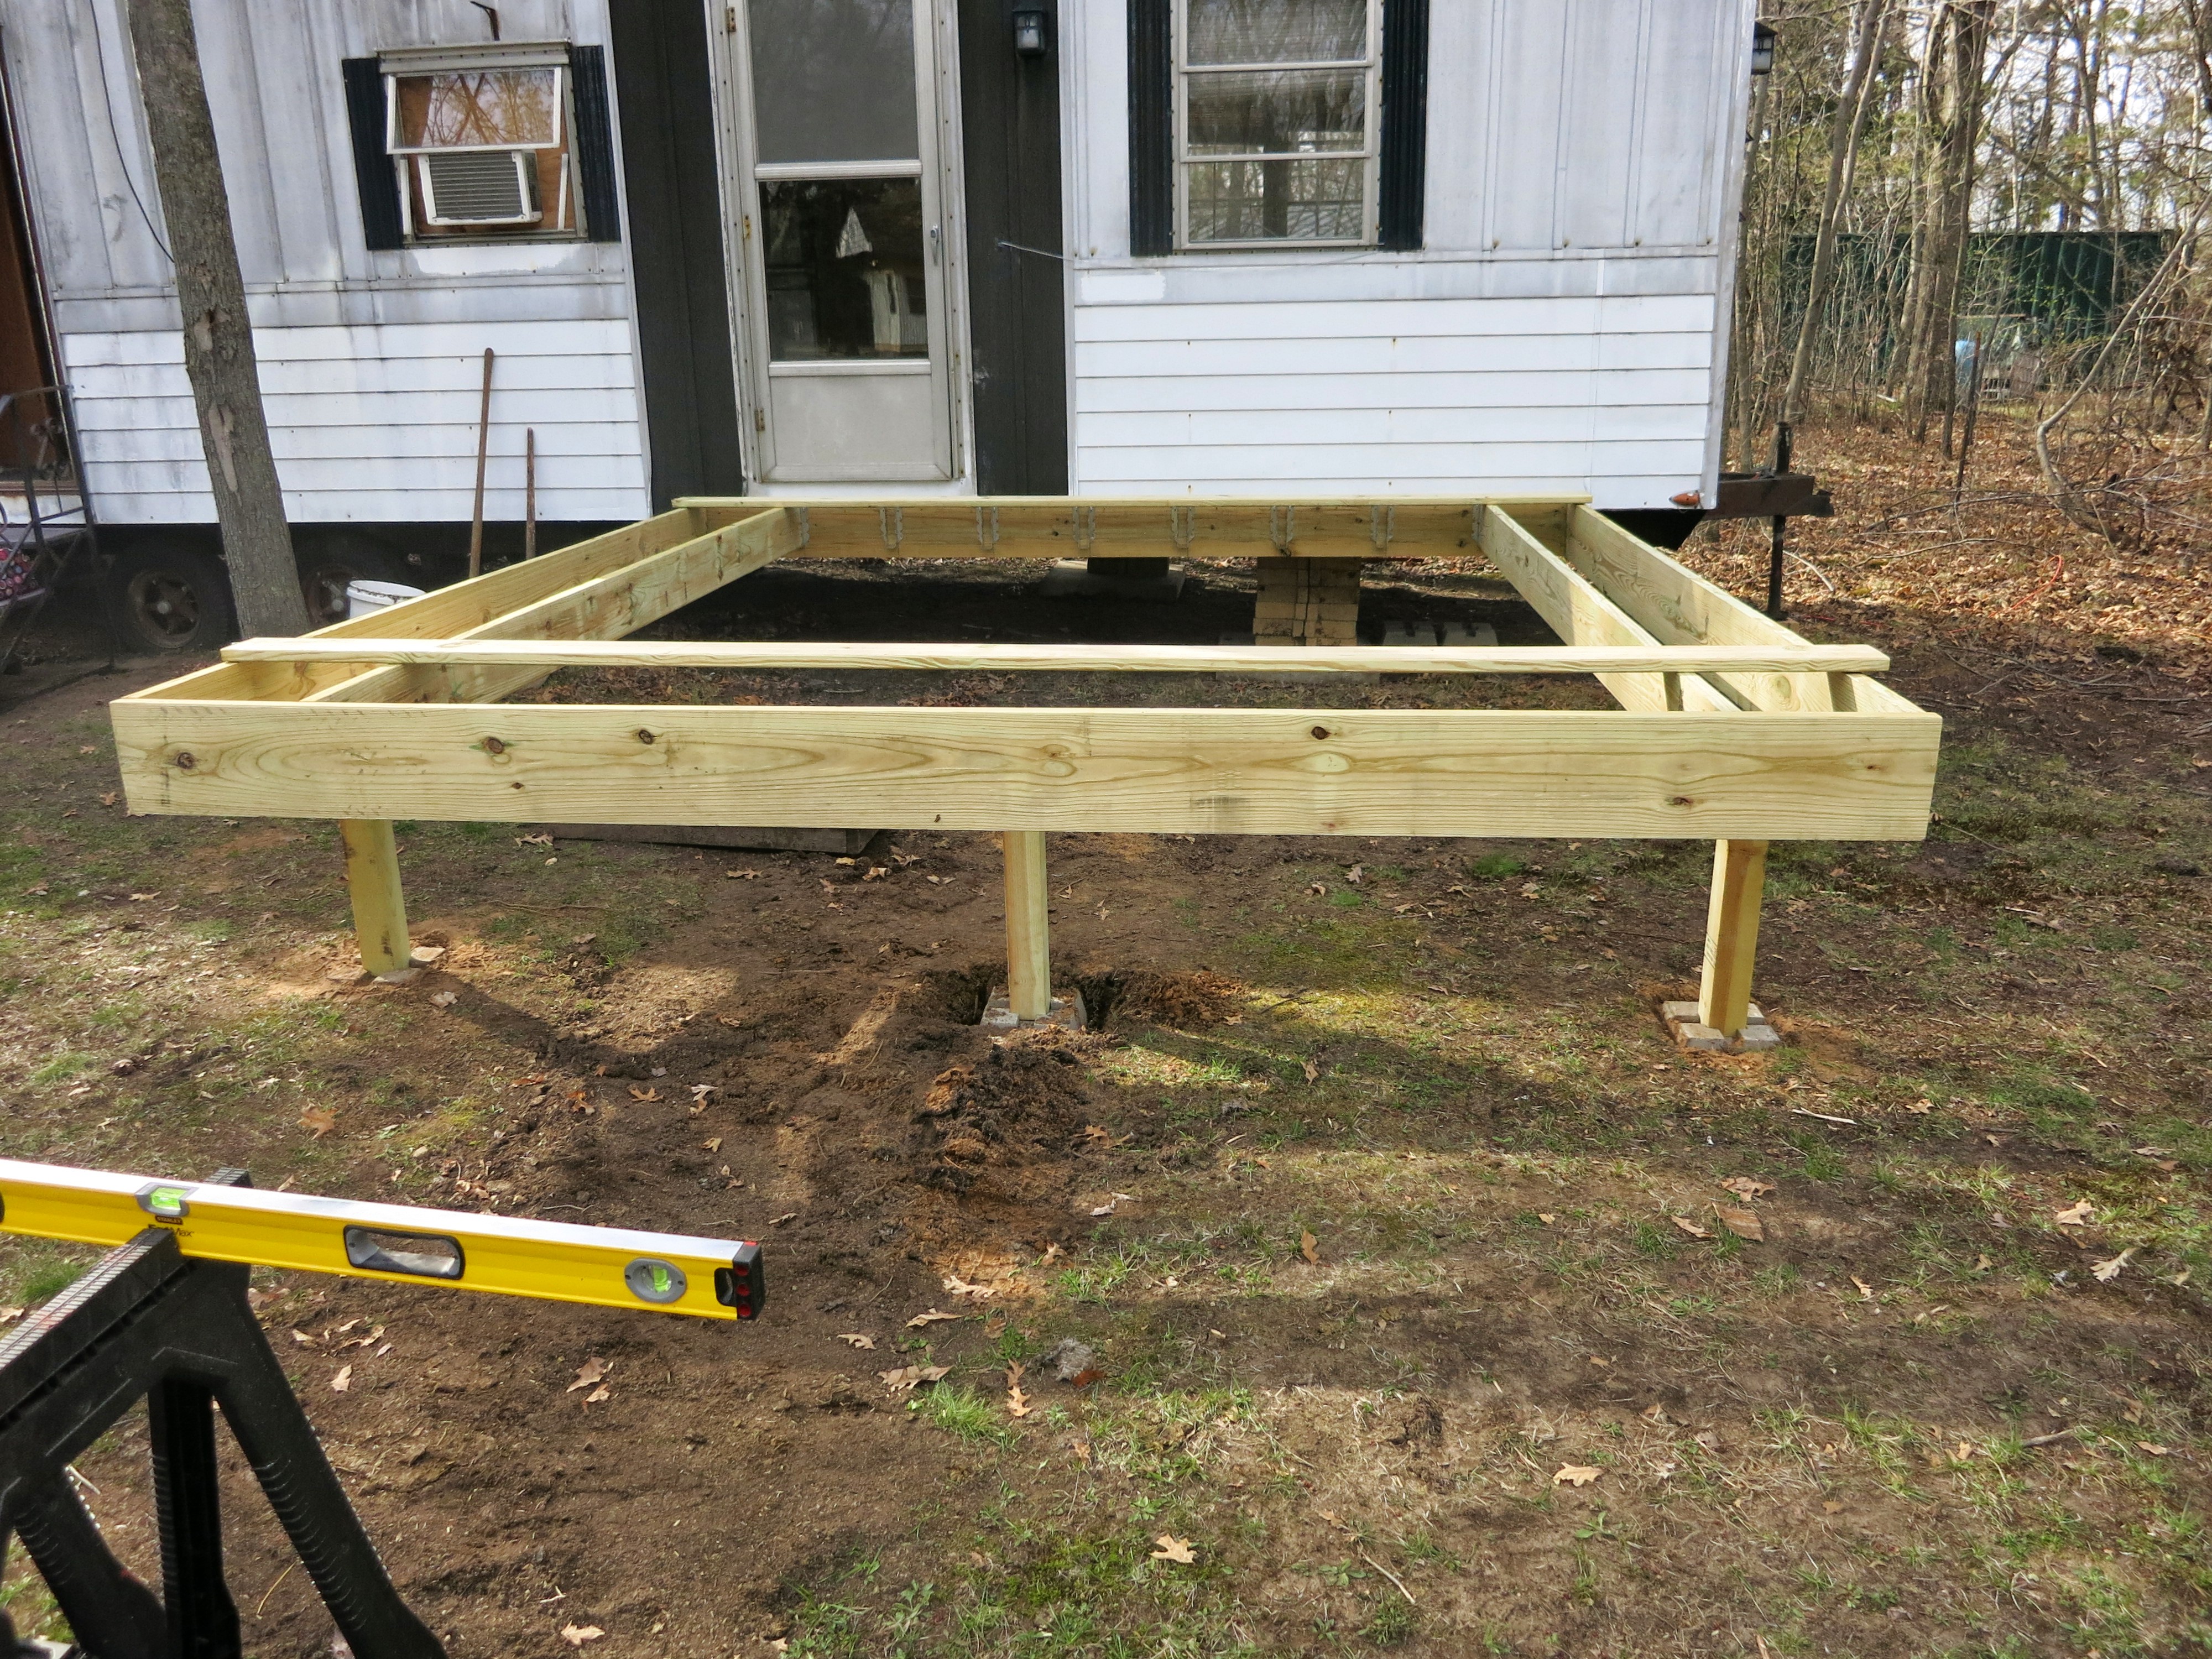
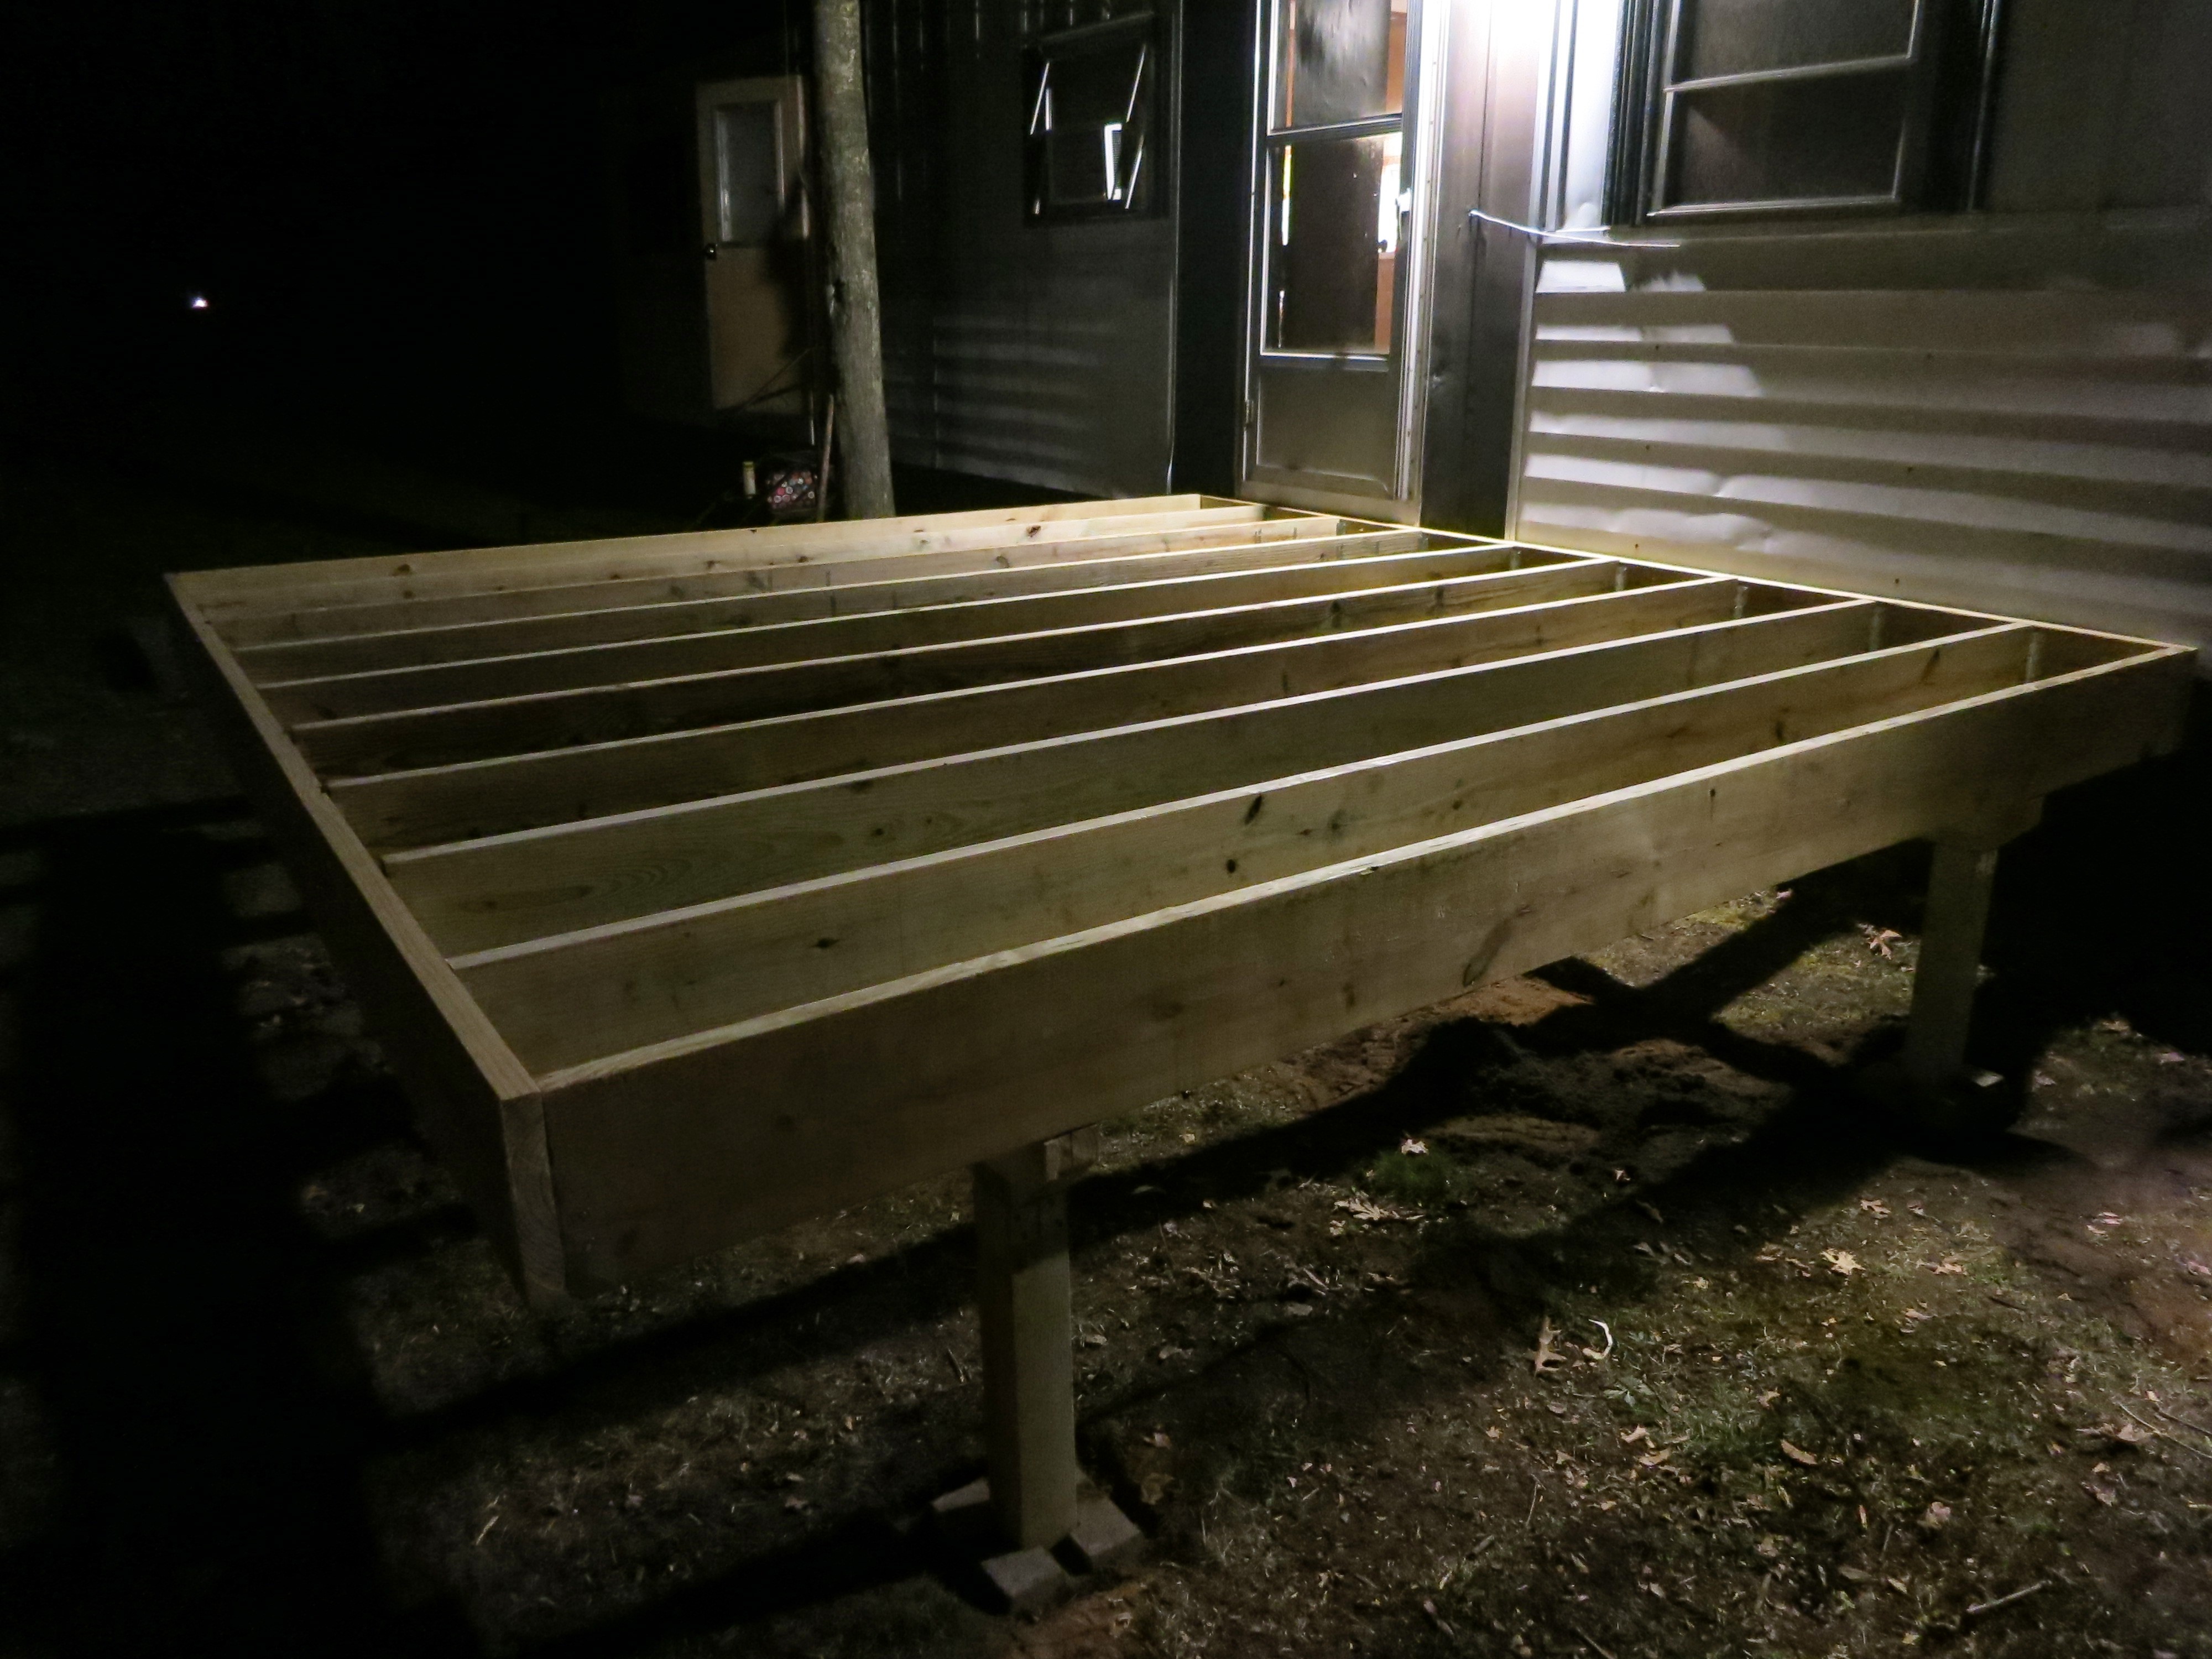
- The joists are screwed into each ledger as well as both beams. It’s now ready for planks.
-
- Rather than cut down the stair risers, I just dug into the ground to accommodate them. This involved using the sawzall to get some tree roots out of my way.
-
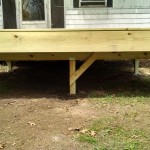
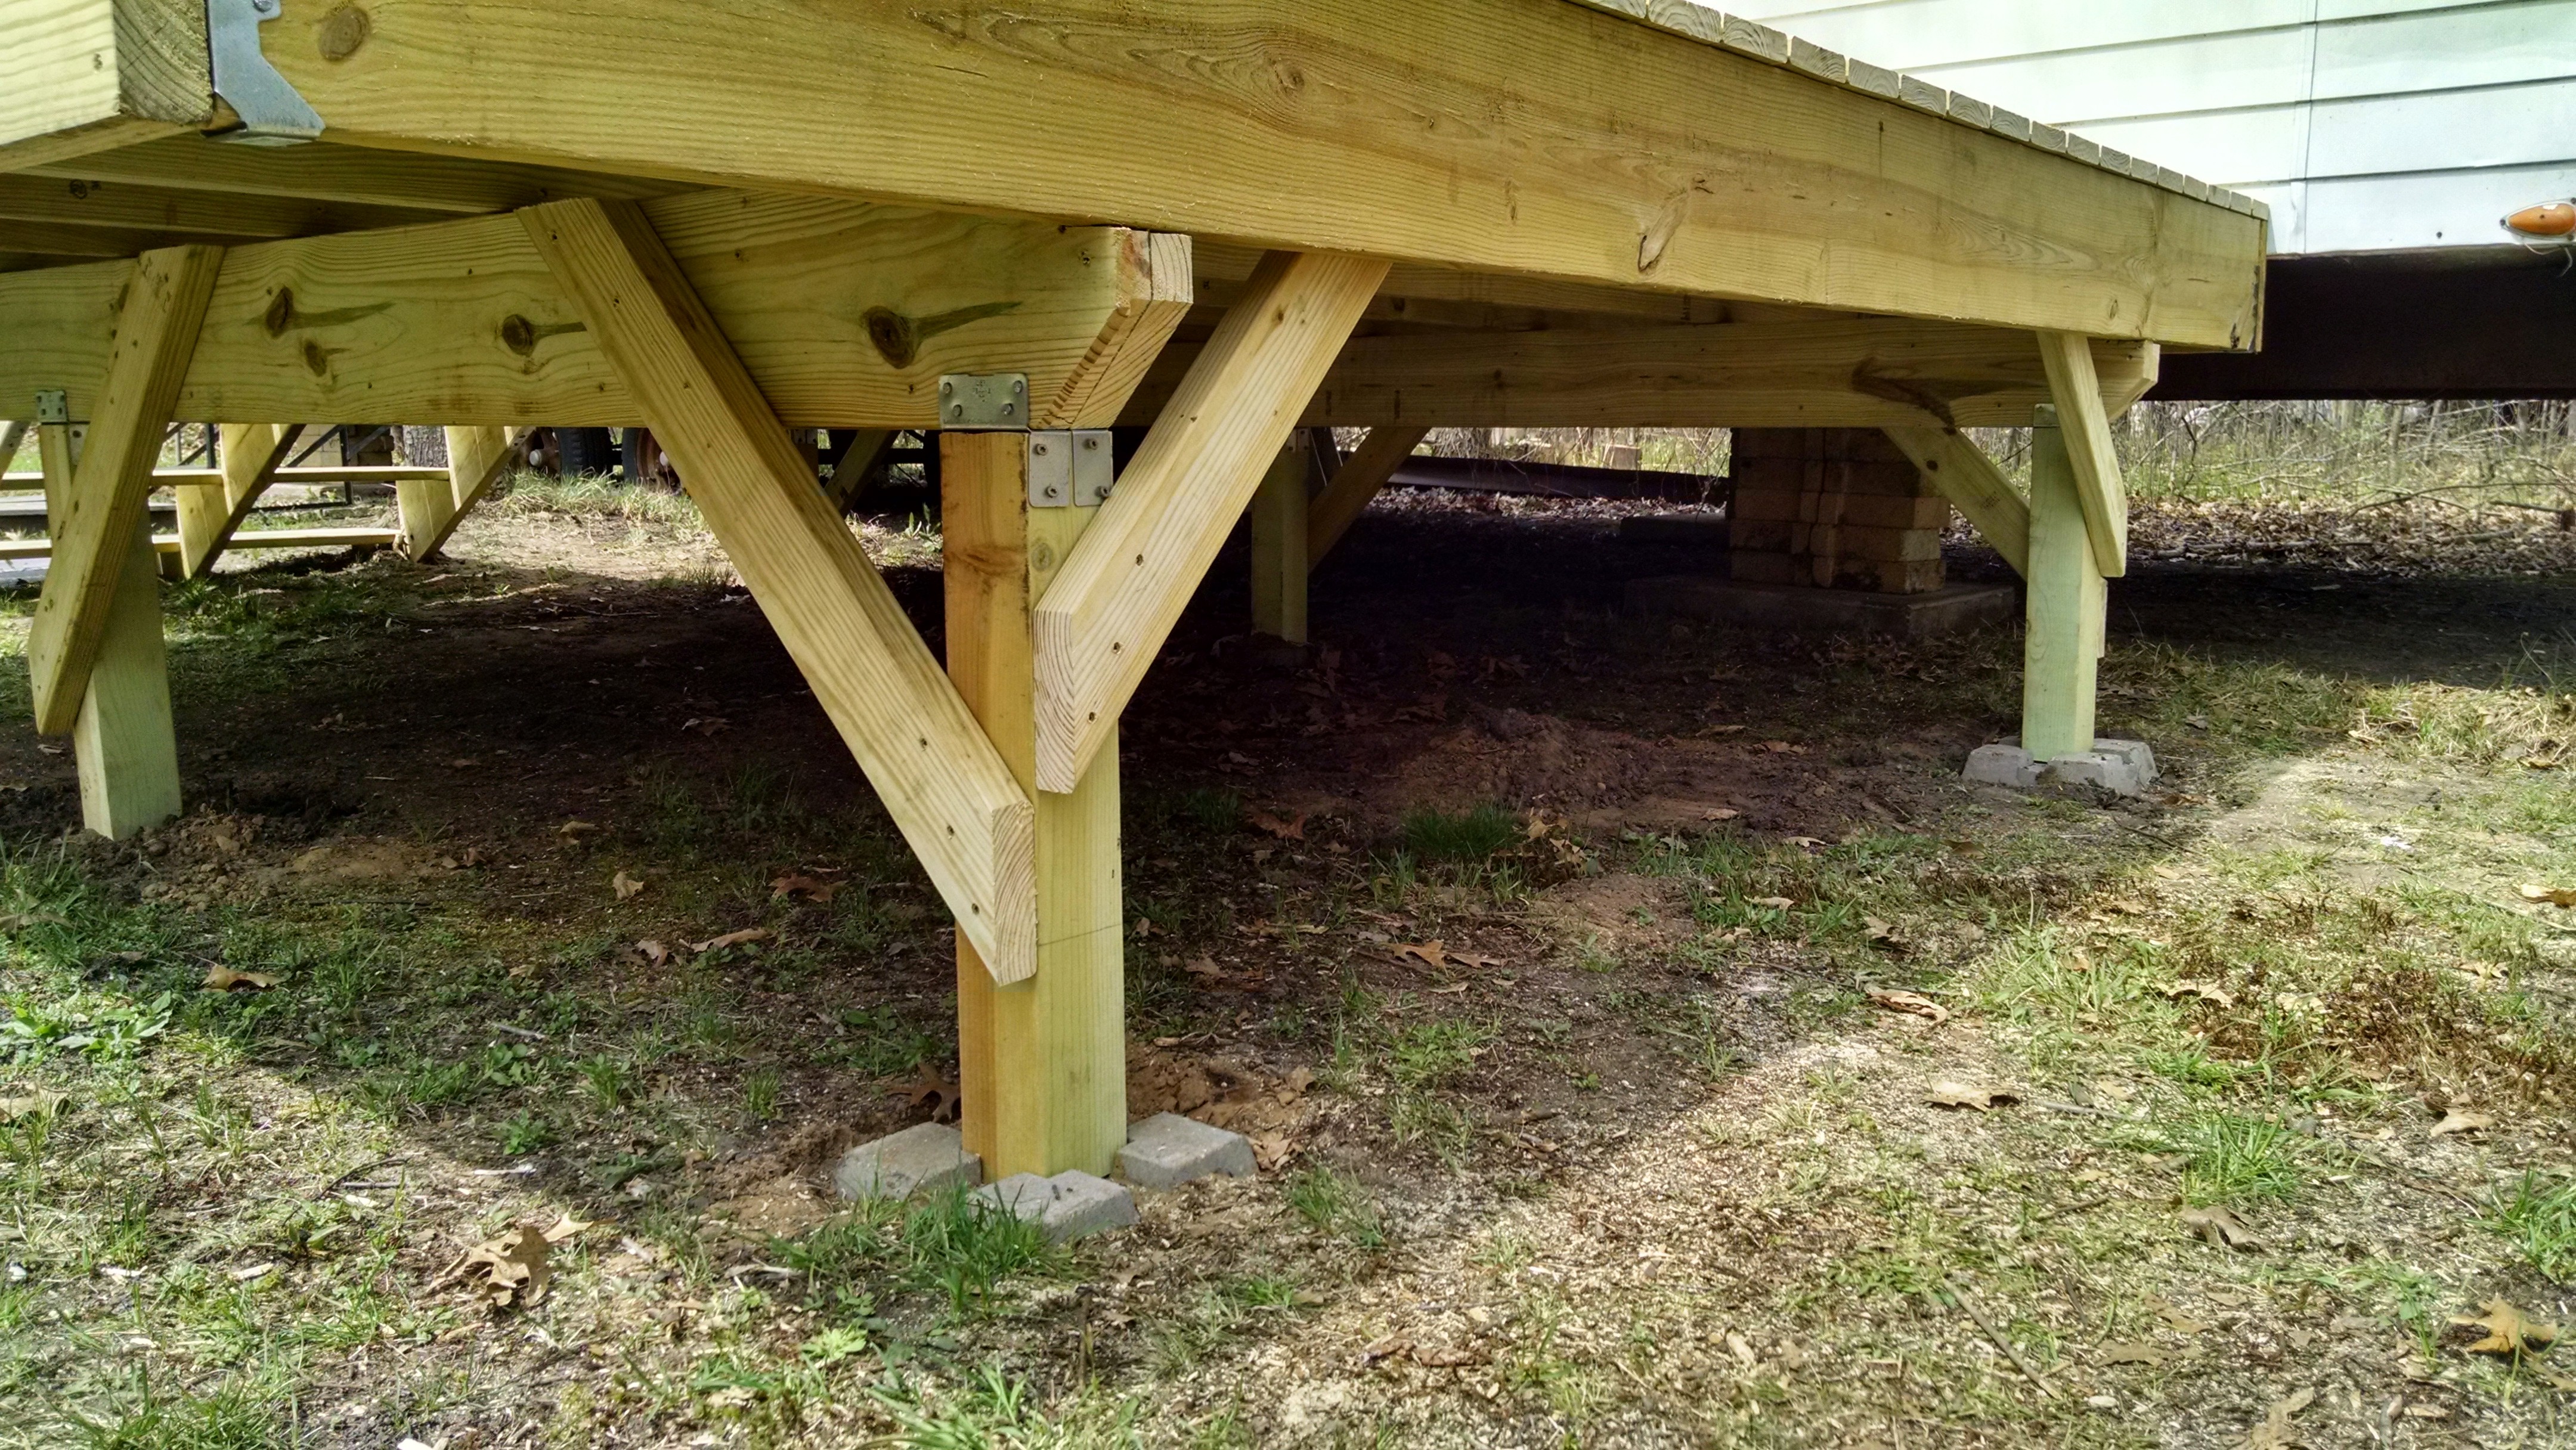
- To prevent any side-to-side sway, each post gets a 45-degree 2×4 support.
-
- The corner posts get two supports. The posts were positioned to allow a support to fit between the post and the outer 2×12 joist. This angle shows how helpful modeling in SketchUp can be.
-
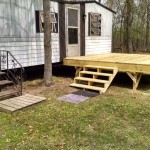
- We’re ready for railings! And the trailer looks ready for a coat of paint.

0 Comments
2 Pingbacks