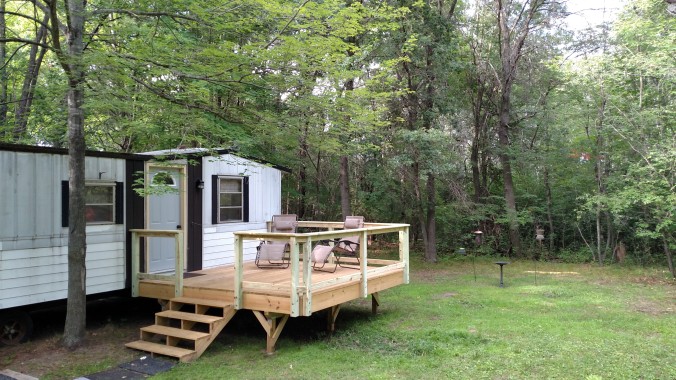
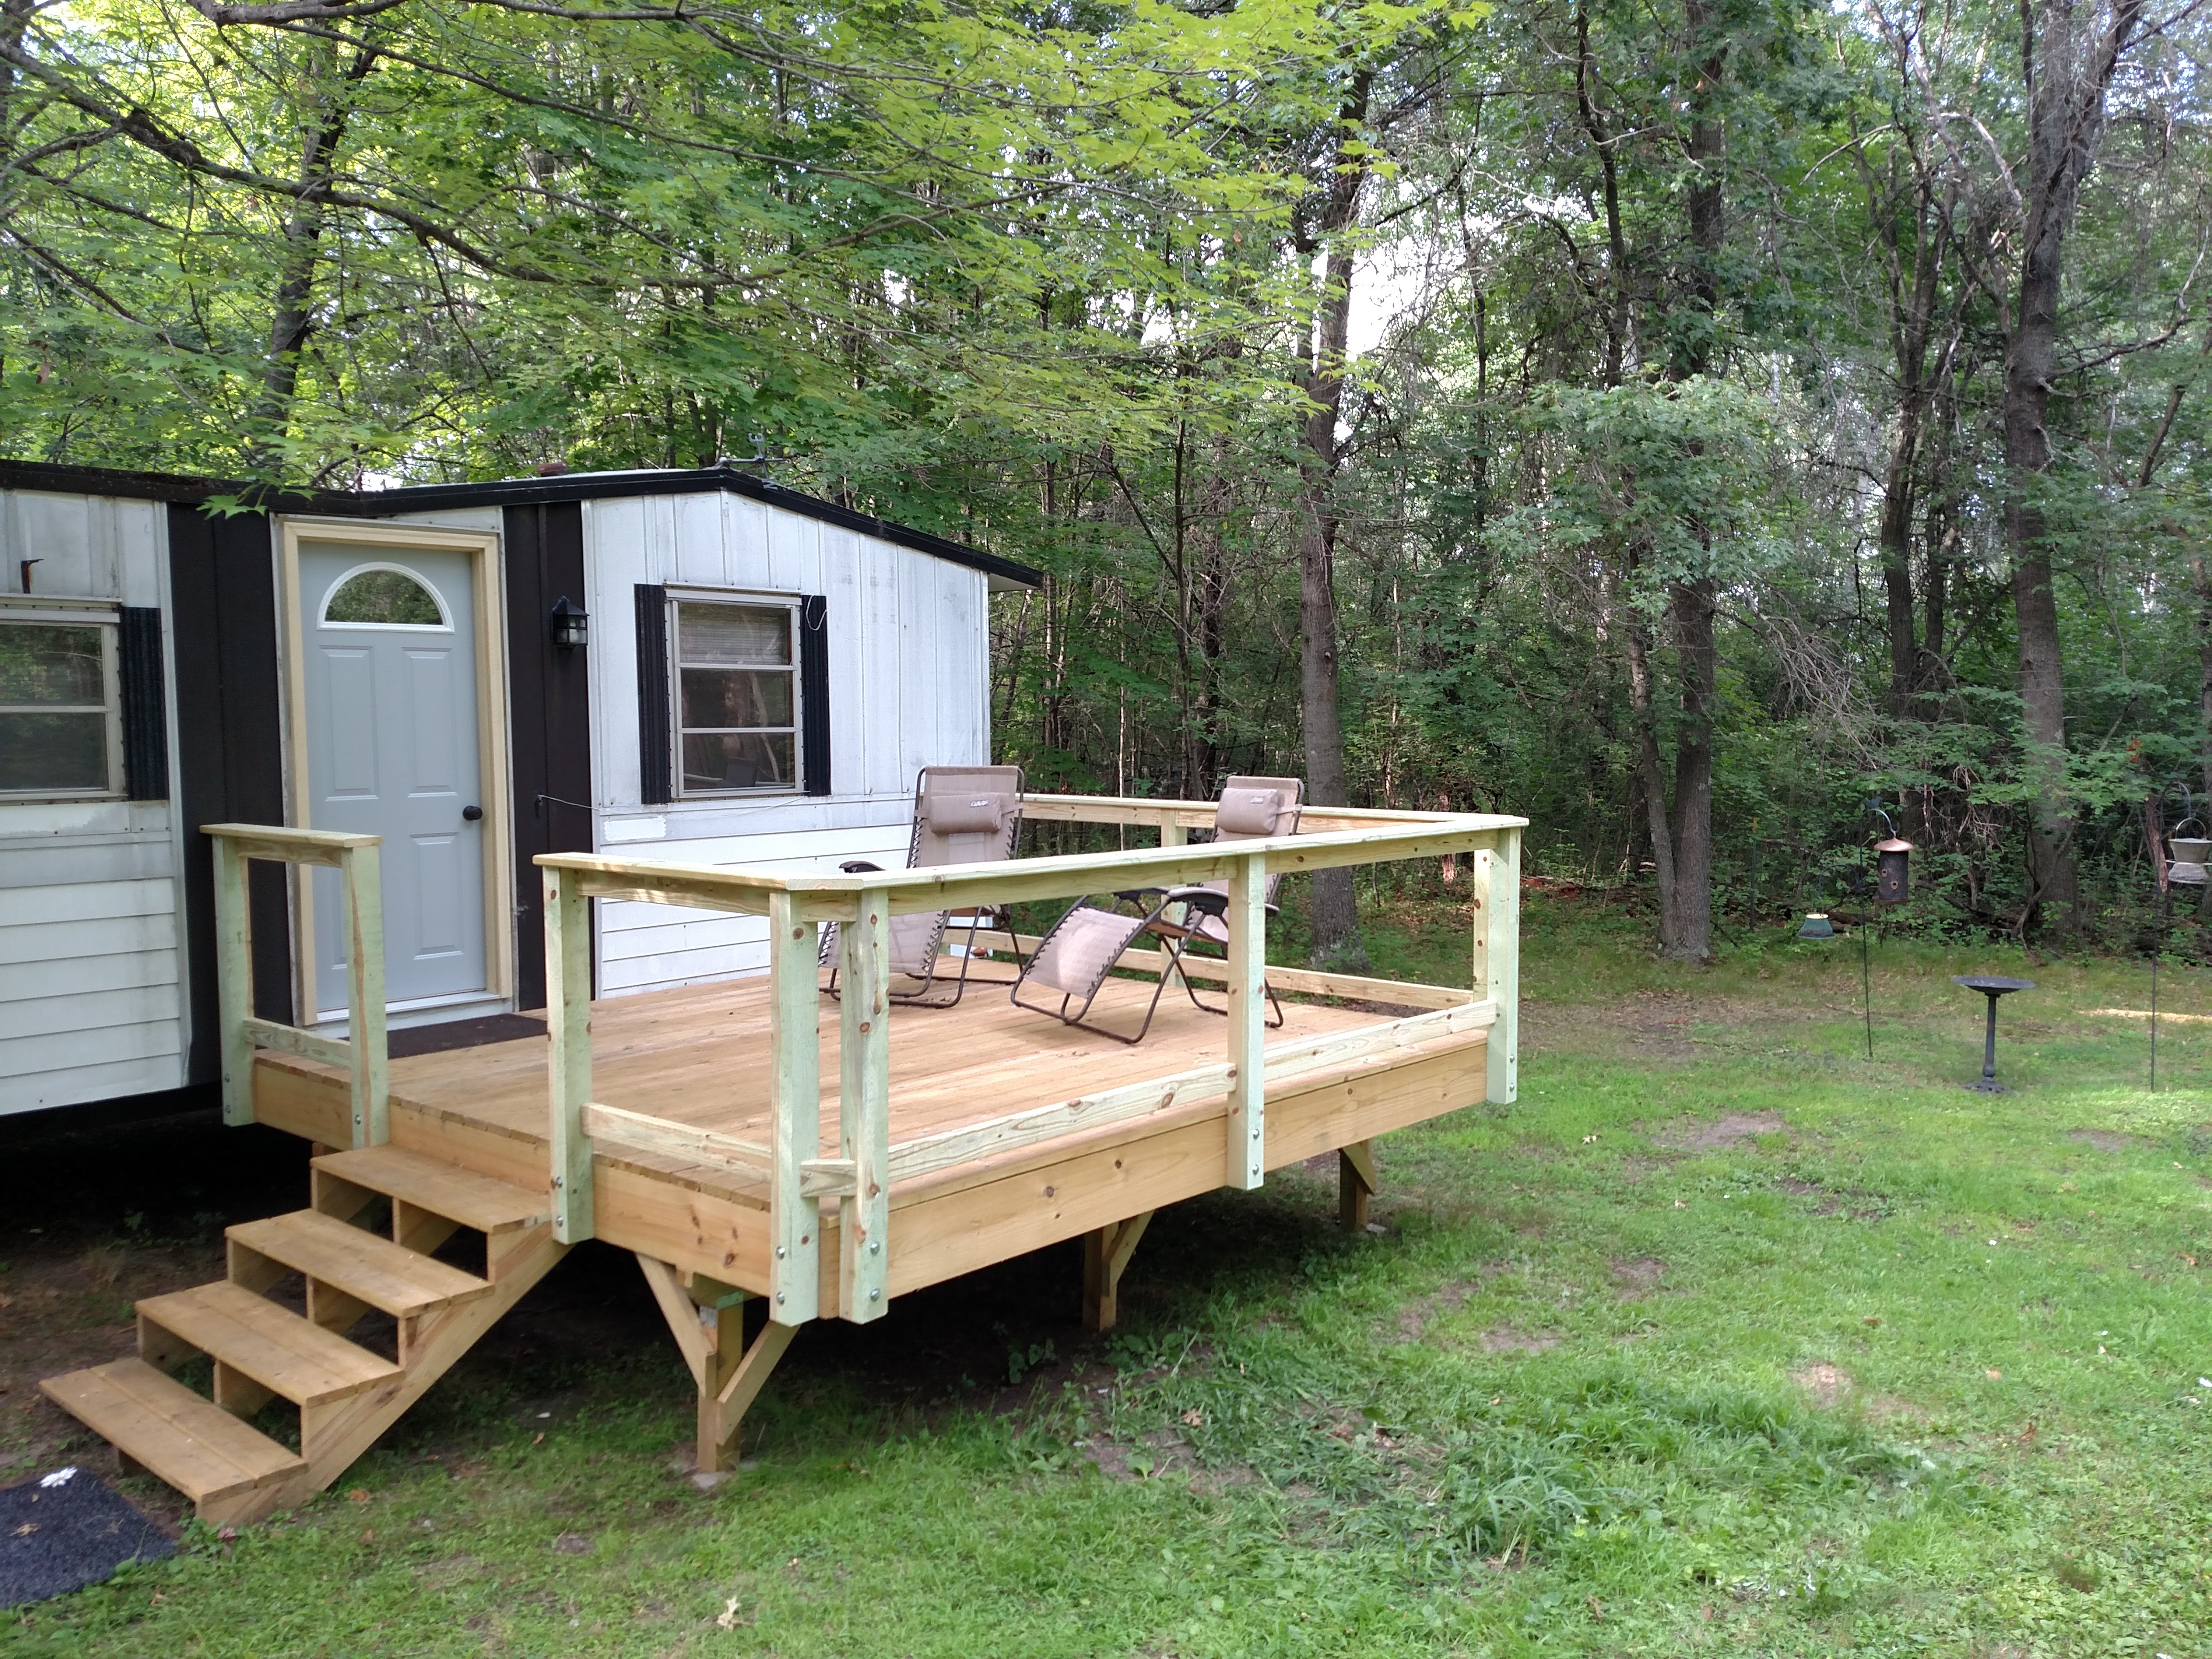
Even in its incomplete state, the deck has become a welcome addition to the property. But there’s still plenty of work to be done on it; it’s hard to relax in one of the lounge chairs when you don’t know if you’re going to pitch backwards off the platform. It’s time to tackle the railing.
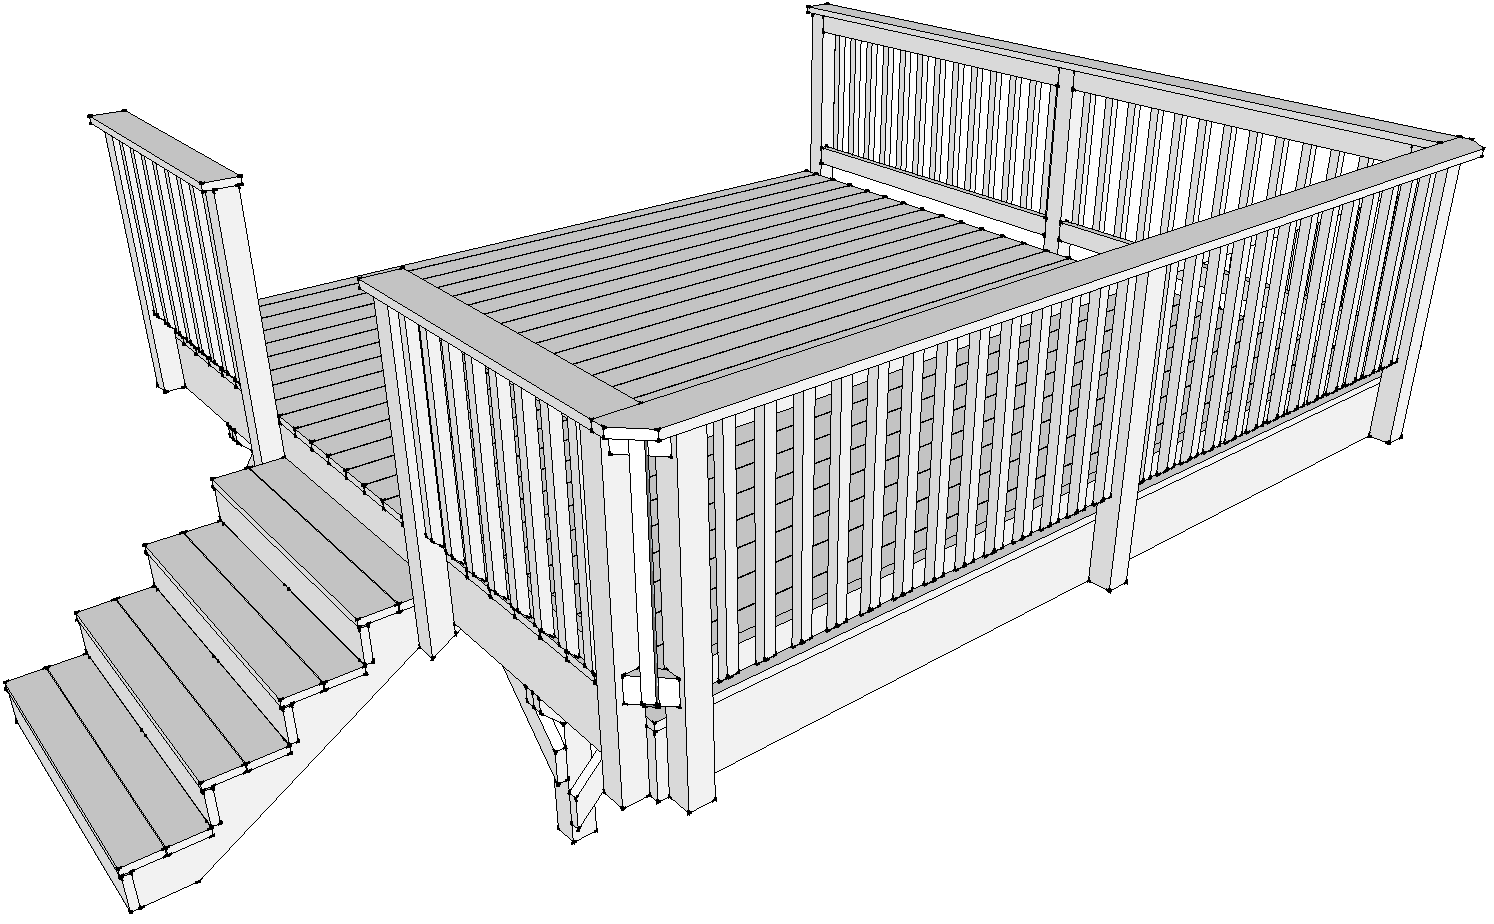
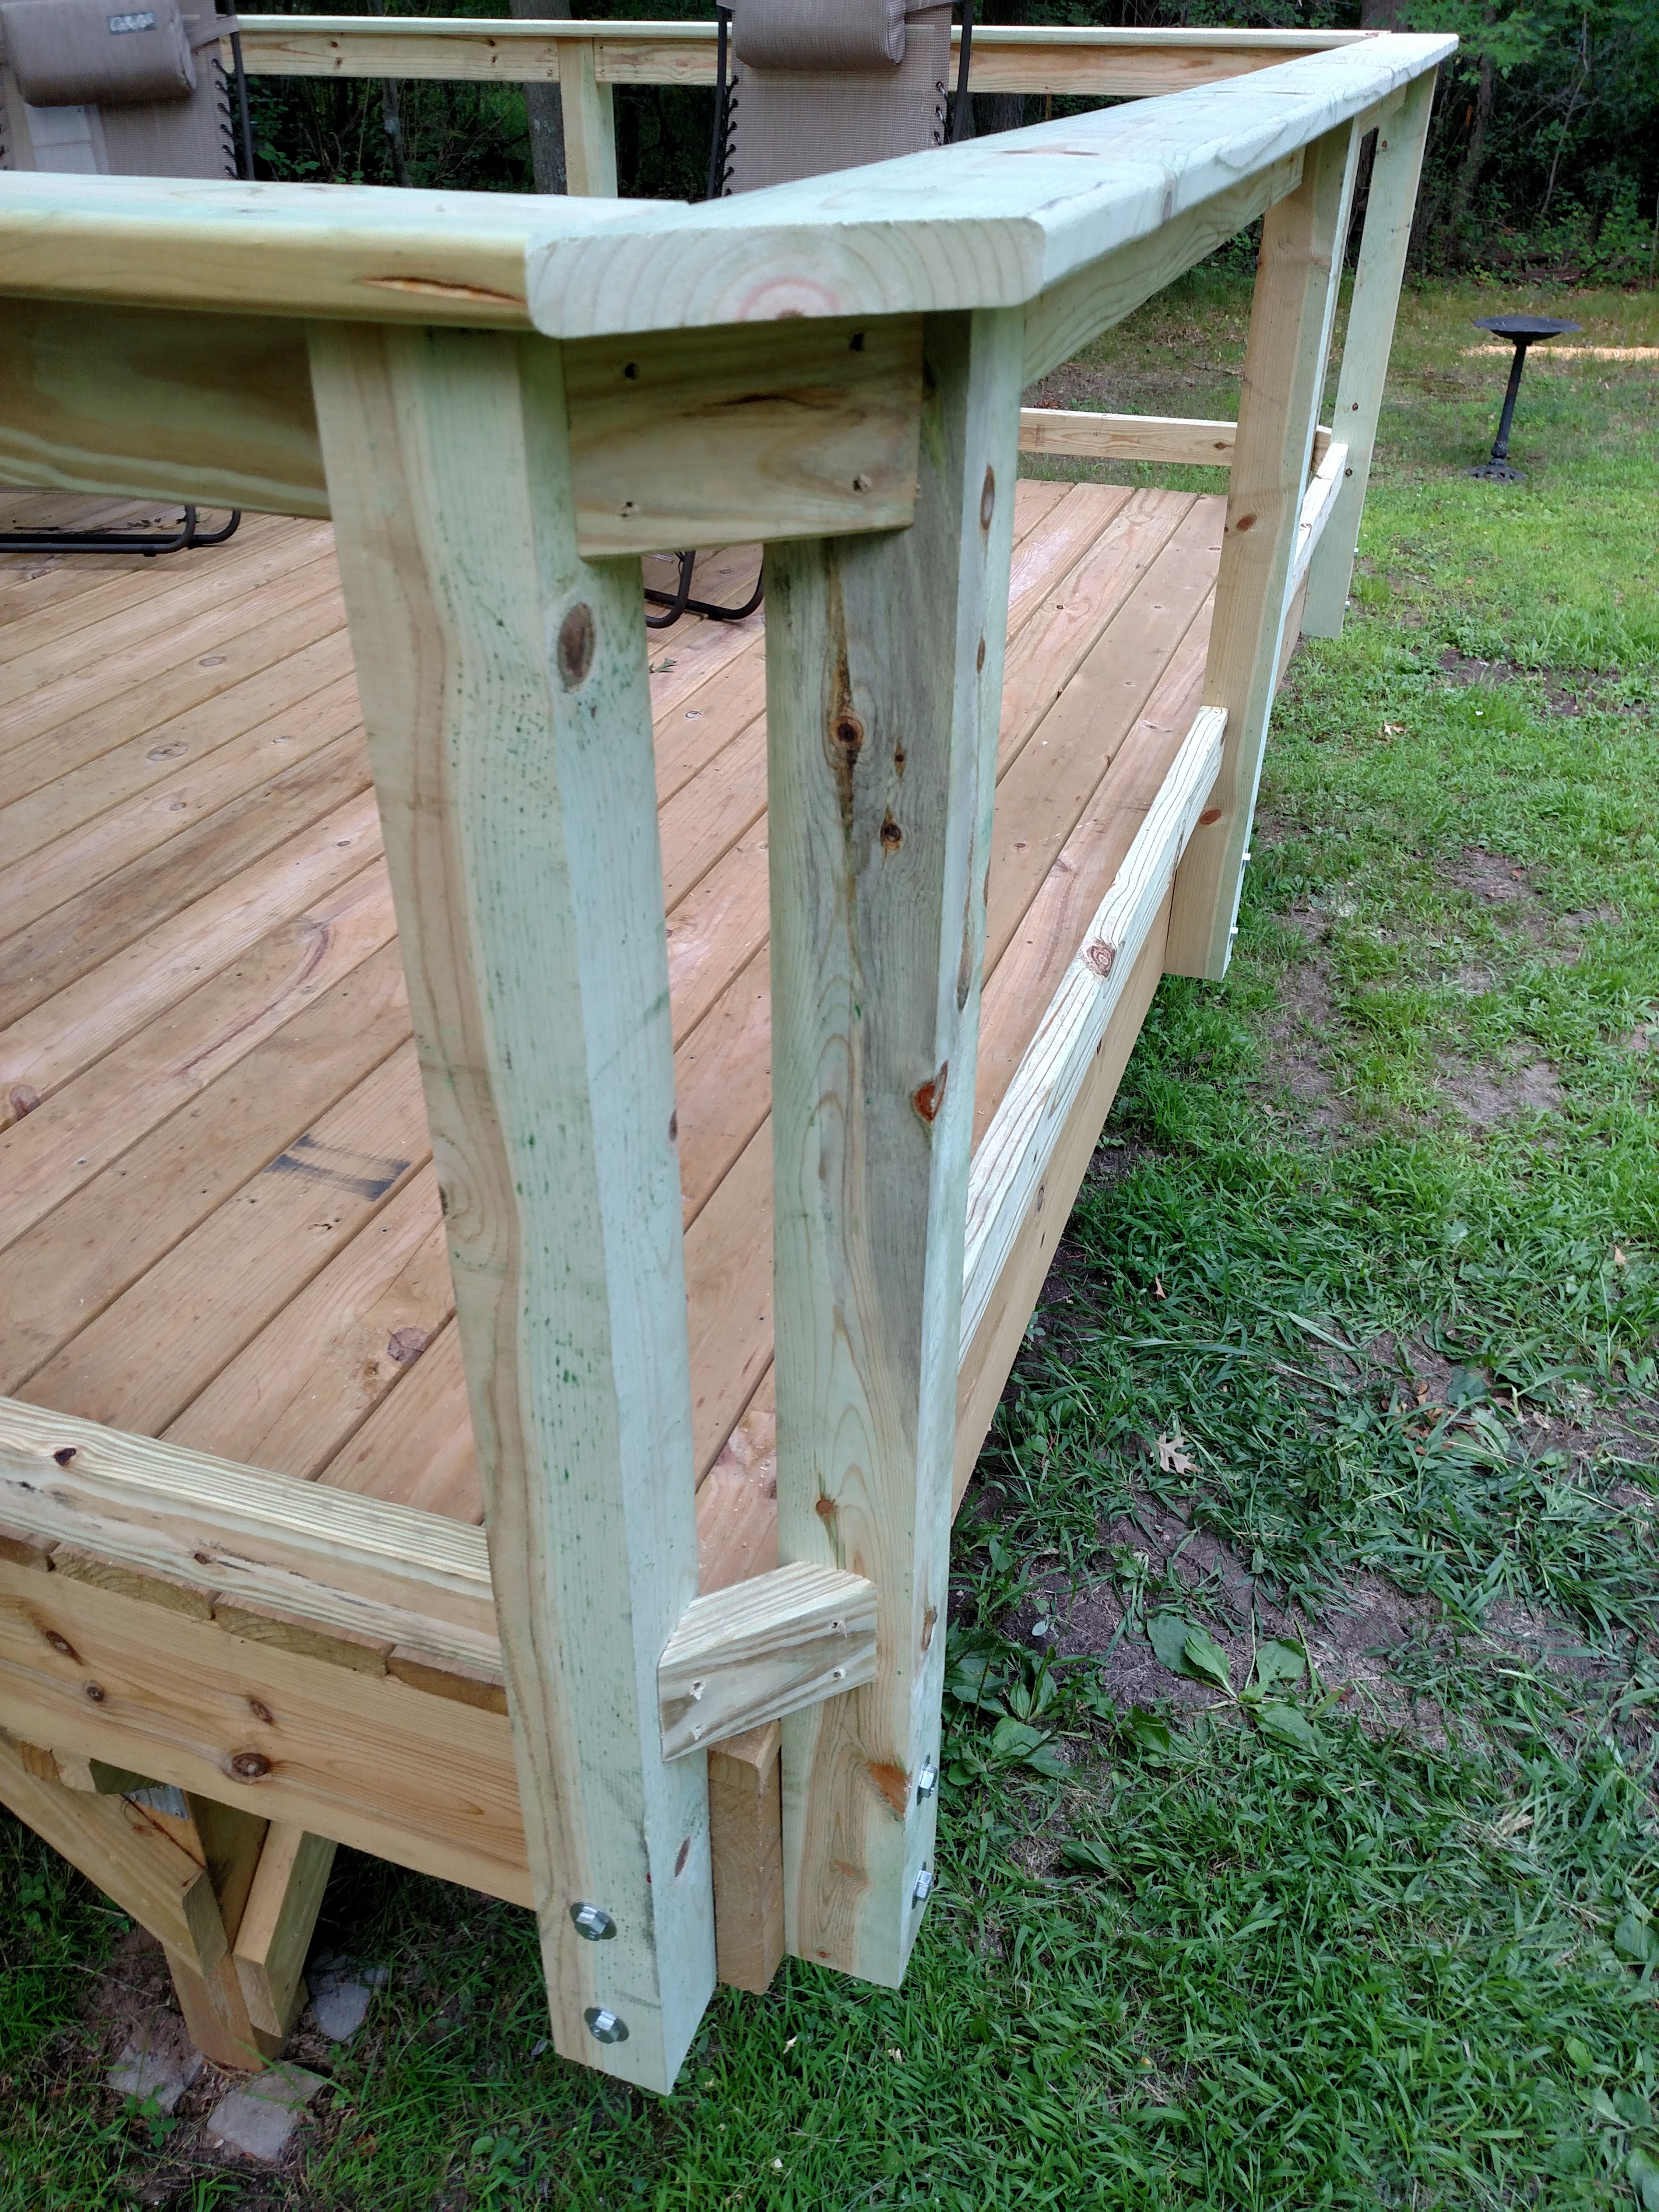
Once again, SketchUp was instrumental in planning and visualizing this project. Among other things, it helped me decide how to finish the rail cap corners. Joining them at a 45 degree angle is difficult to get right and invites later warping. Instead, I had them meet at right angles, but with notches cut in the long board where the corners meet. It’s a simple, clean look and compliments the two small 45 degree corner rail sections. All of the posts are attached from outside of the deck platform. This way, none of the square footage of the platform is lost by adding the rails and none of the planking needs to be cut to accommodate the posts. It’s also easier to clean up and would disassemble relatively easy should we ever need to move the deck.
The building materials and hardware were purchased from Menards and hauled up weeks before I got around to working on the deck again. I used the same AC2 treated pine board that went into the platform. The posts are secured to the deck frame by 6″ lag bolts, locknuts, and washers that are designed to resist corrosion from treated lumber. The rail boards and rail caps just use deck screws through pre-drilled holes. I’m really happy with how things are turning out! All that’s left now are the spindles (balusters, if you prefer) and the stair railings. I plan to bring up my miter saw and drill press to prep the the spindles. There are over 70 of them that need to be cut down and pre-drilled, but once that’s done, installation should go quickly. We’re in the home stretch now.
-
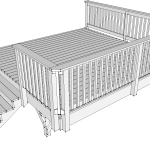
- The SketchUp model with railings added. The spindles shown here will be installed later with the stair rails.
-
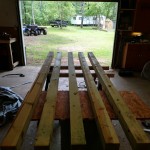
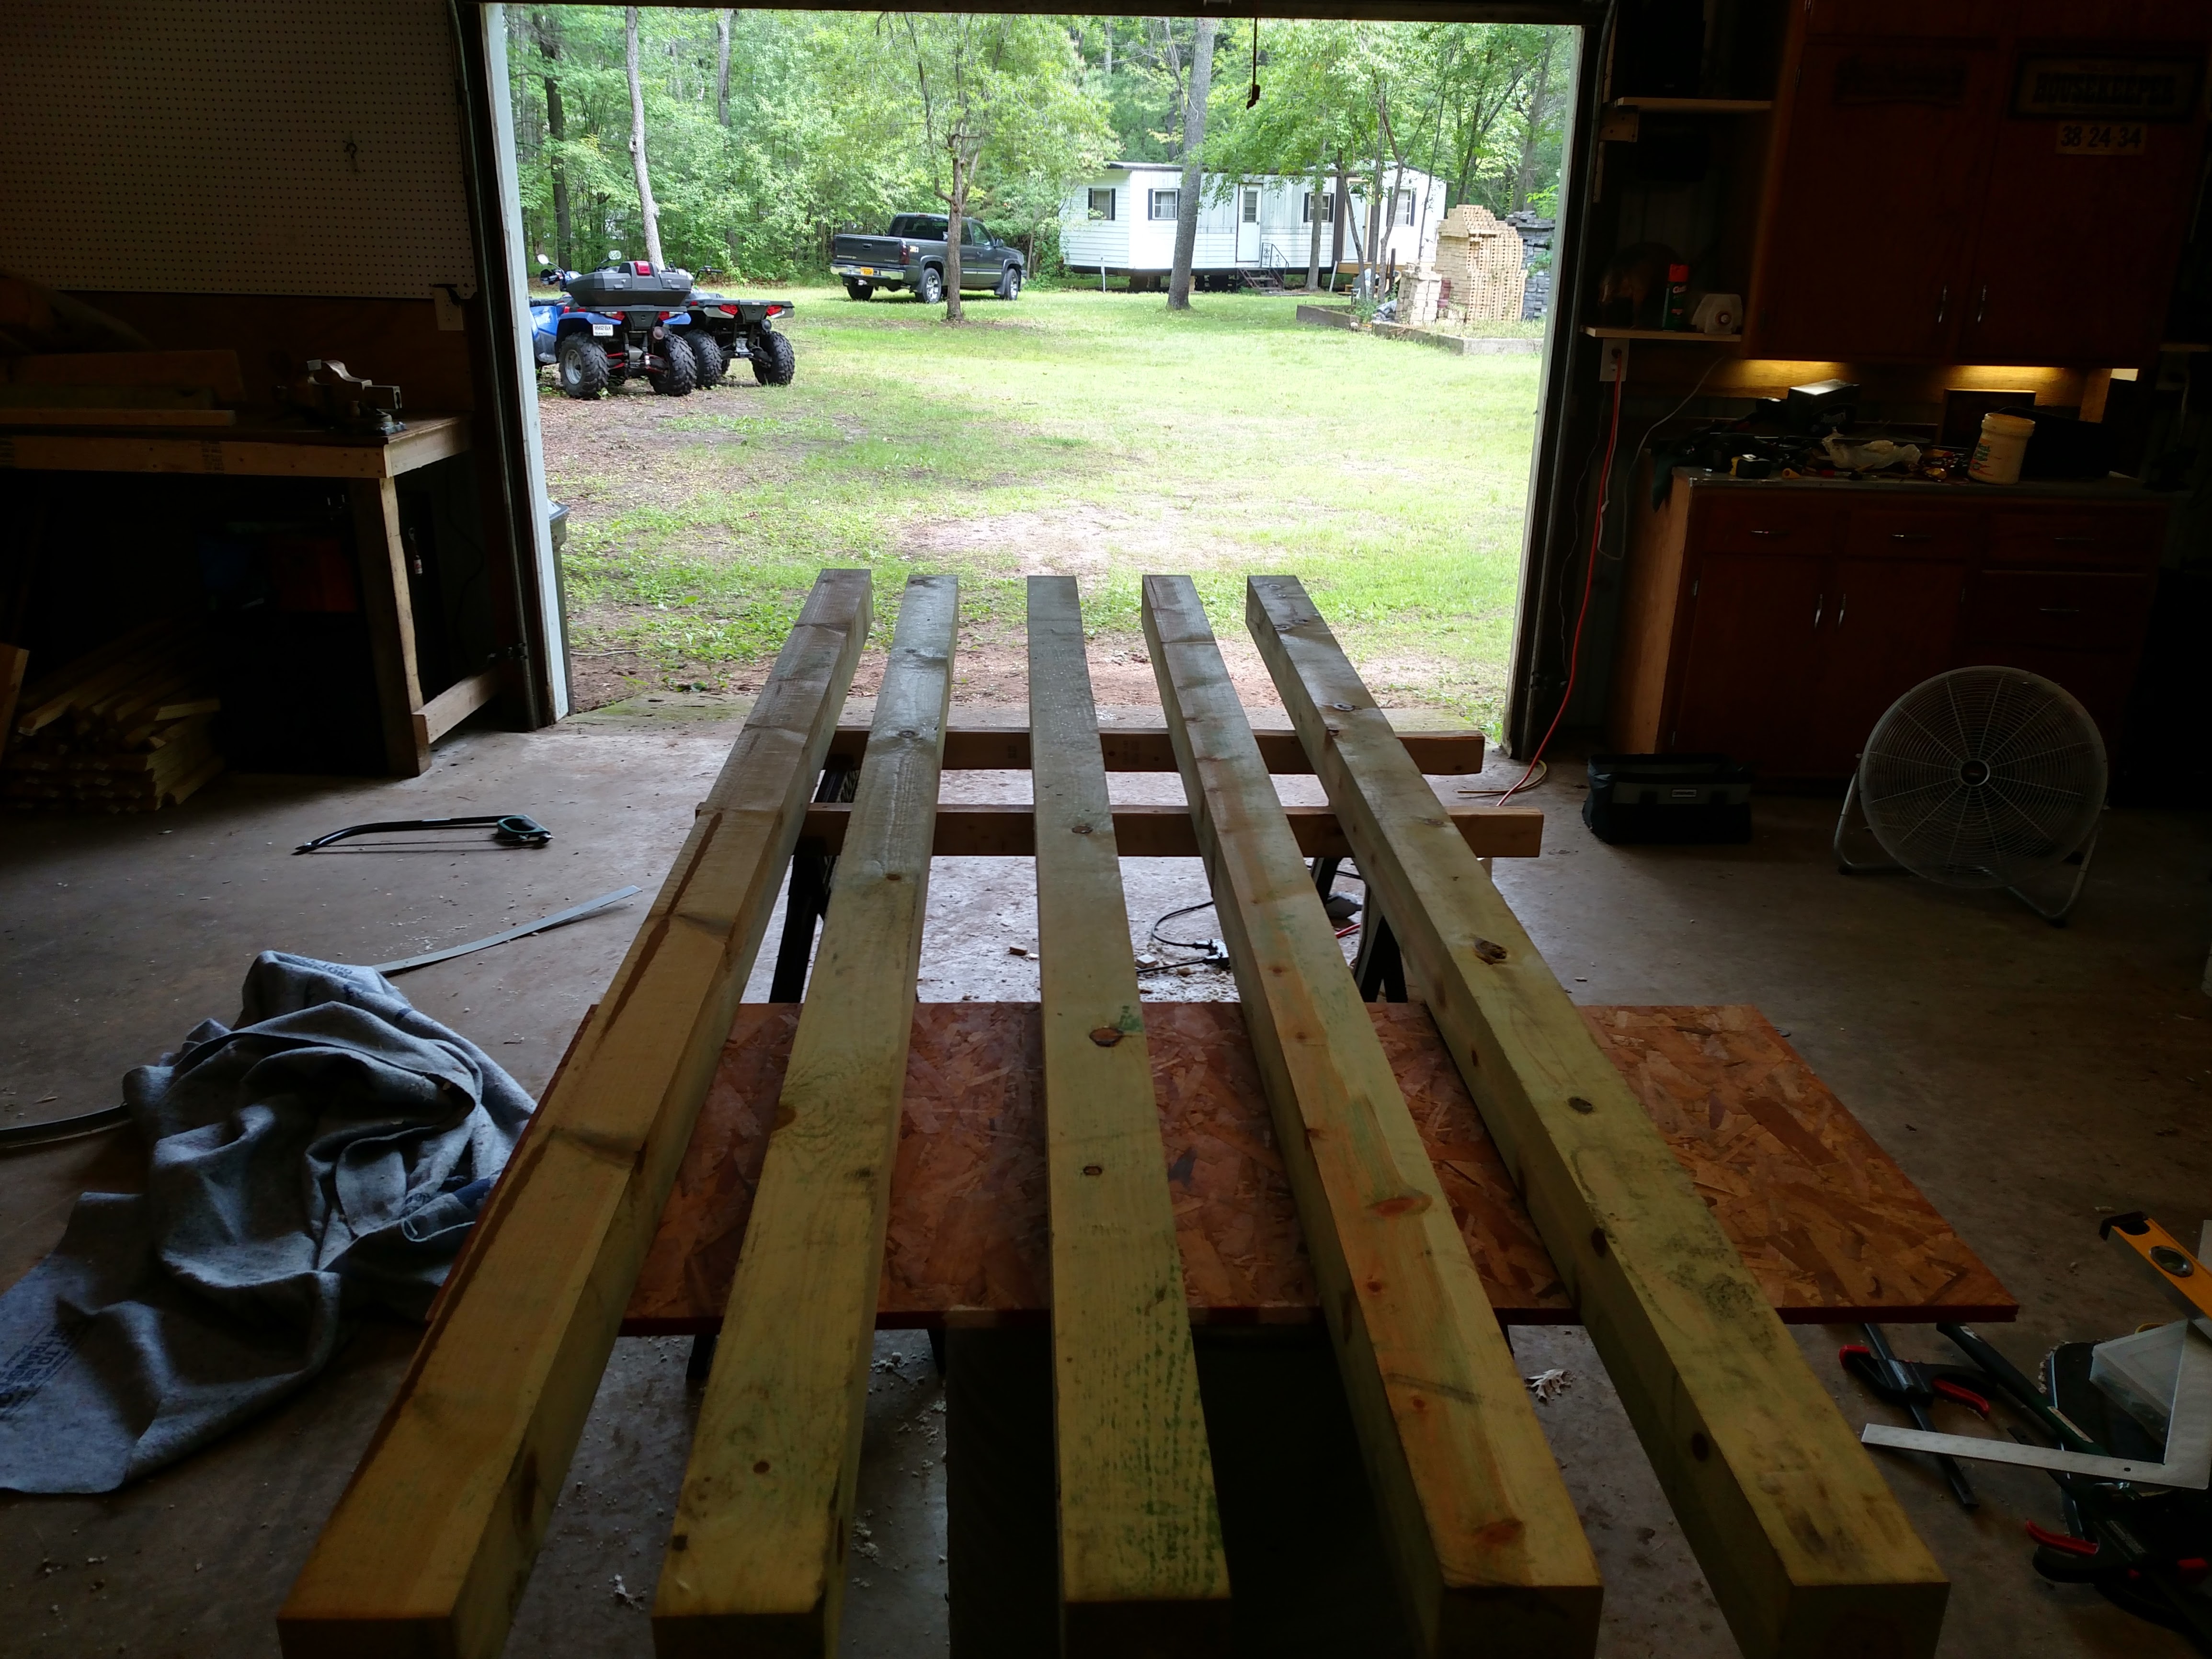
- The ten main rail posts start out as five 8′ 4x4s. As my only good circular saw is my cordless one with a small blade, I had to cut all four sides of each 4×4 and knock out the center section. Still comes out nice if you’re careful.
-

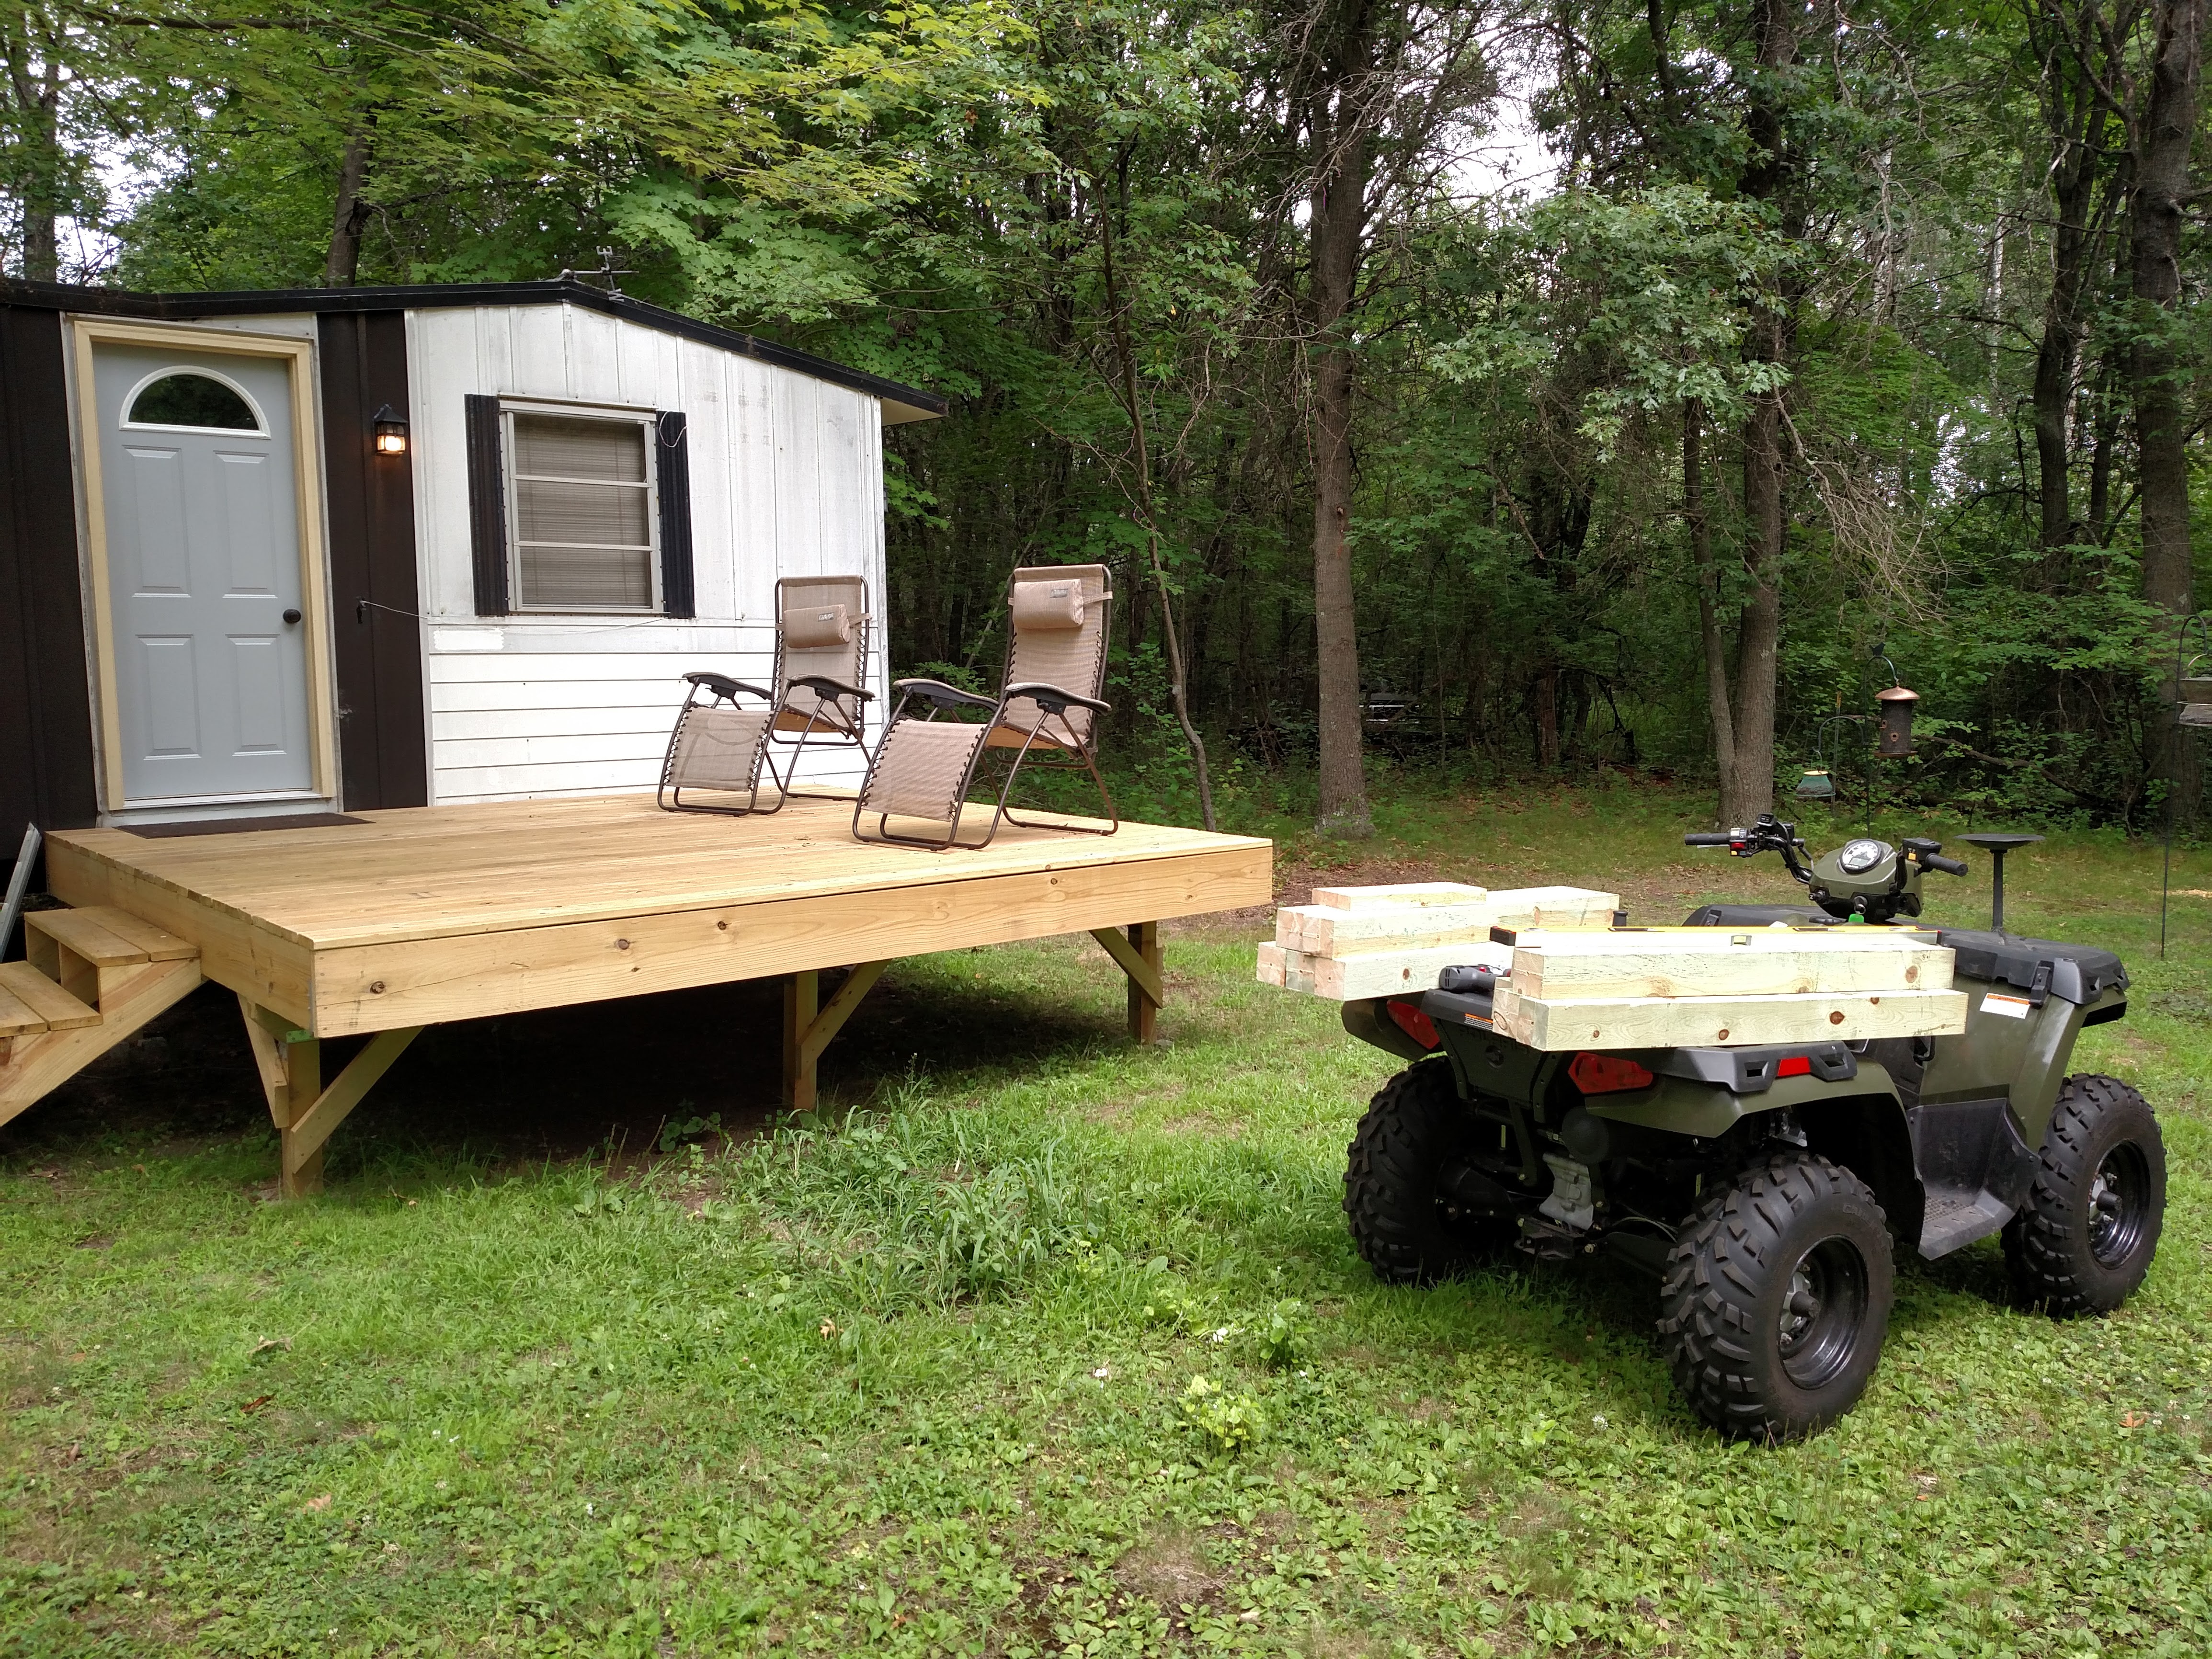
- An ATV makes an excellent project cart. Two 1/2″ holes are pre-drilled into each post for the lag bolts that will secure them to the deck frame.
-
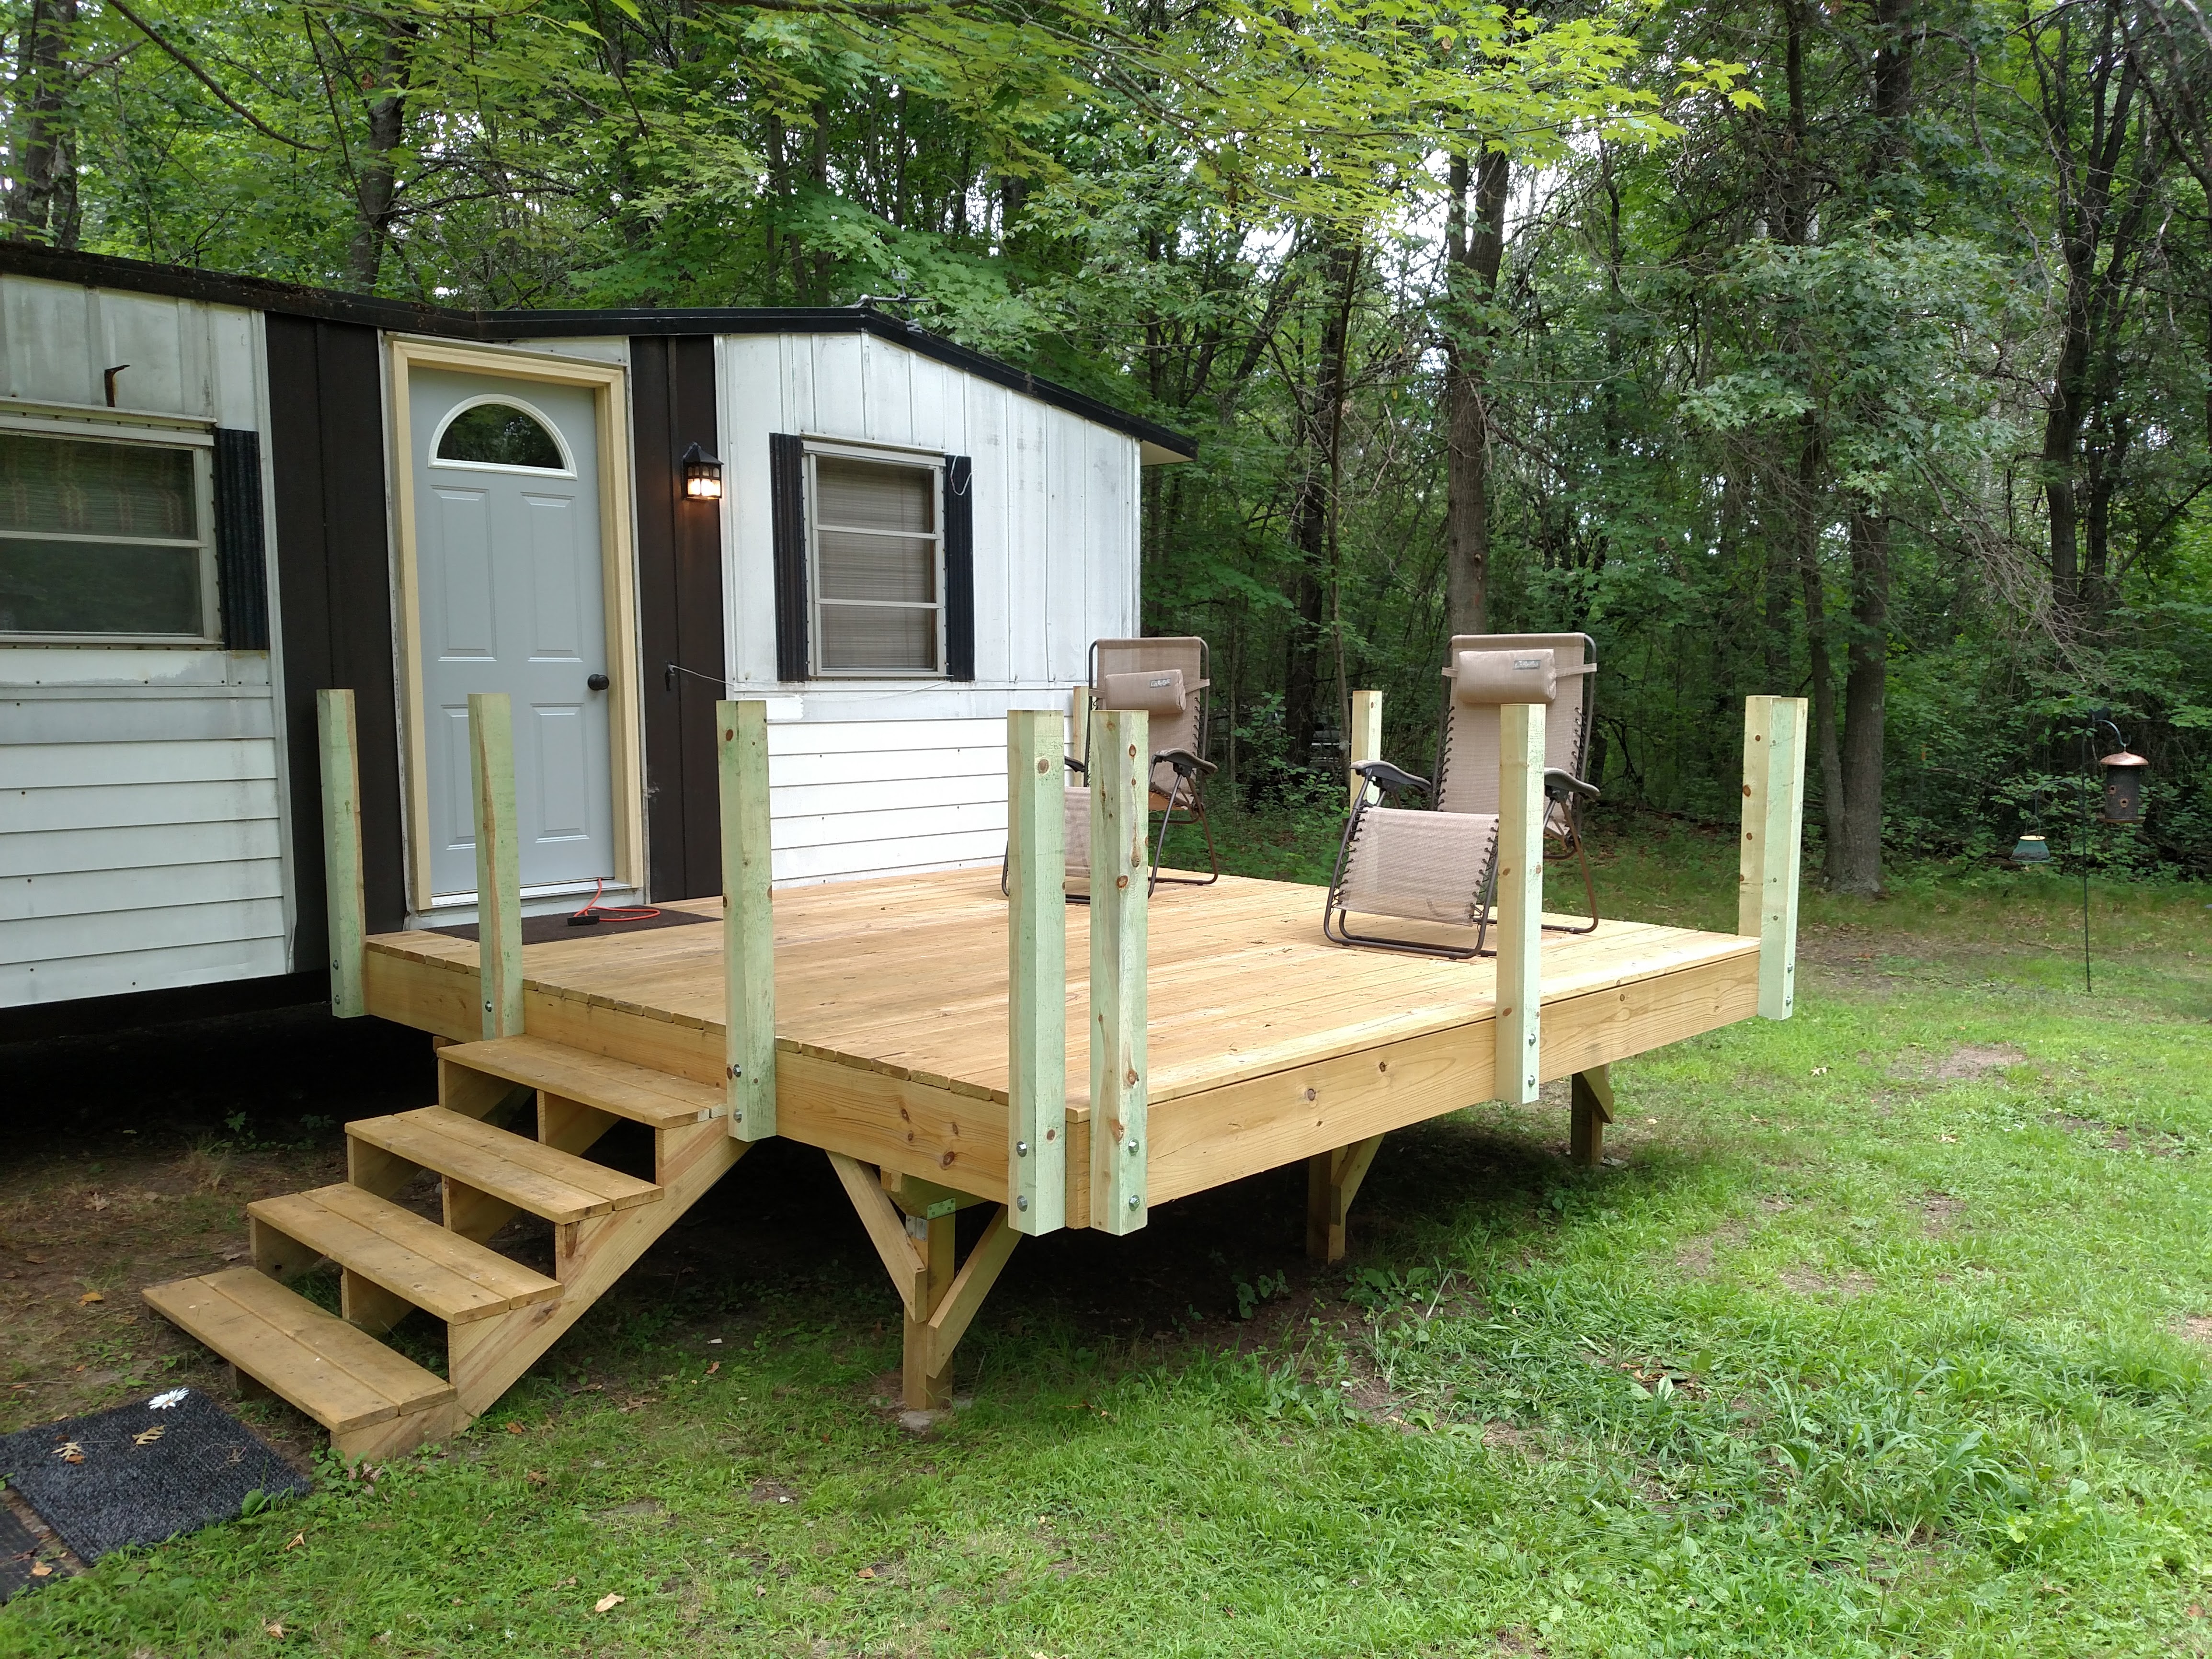
- All the posts installed. It was kind of a pain to do this solo, but it would have been downright impossible without bar clamps to hold the posts in place while I drilled into the deck frame. My new cordless impact wrench also came in handy when tightening the lag bolts.
-

- I used 2x4s as rails instead of 2x6s to keep the sight line as open as possible. The rail cap is the same planking material as the deck surface.
-
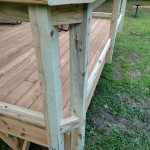
- The posts are offset from the deck corners by 1 1/2″, leaving a small opening to deal with. I cut 45 degree sections of 2×4 to continue the rail line. Combined with the rail cap, it really helps make the railing feel solid.
-
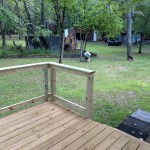
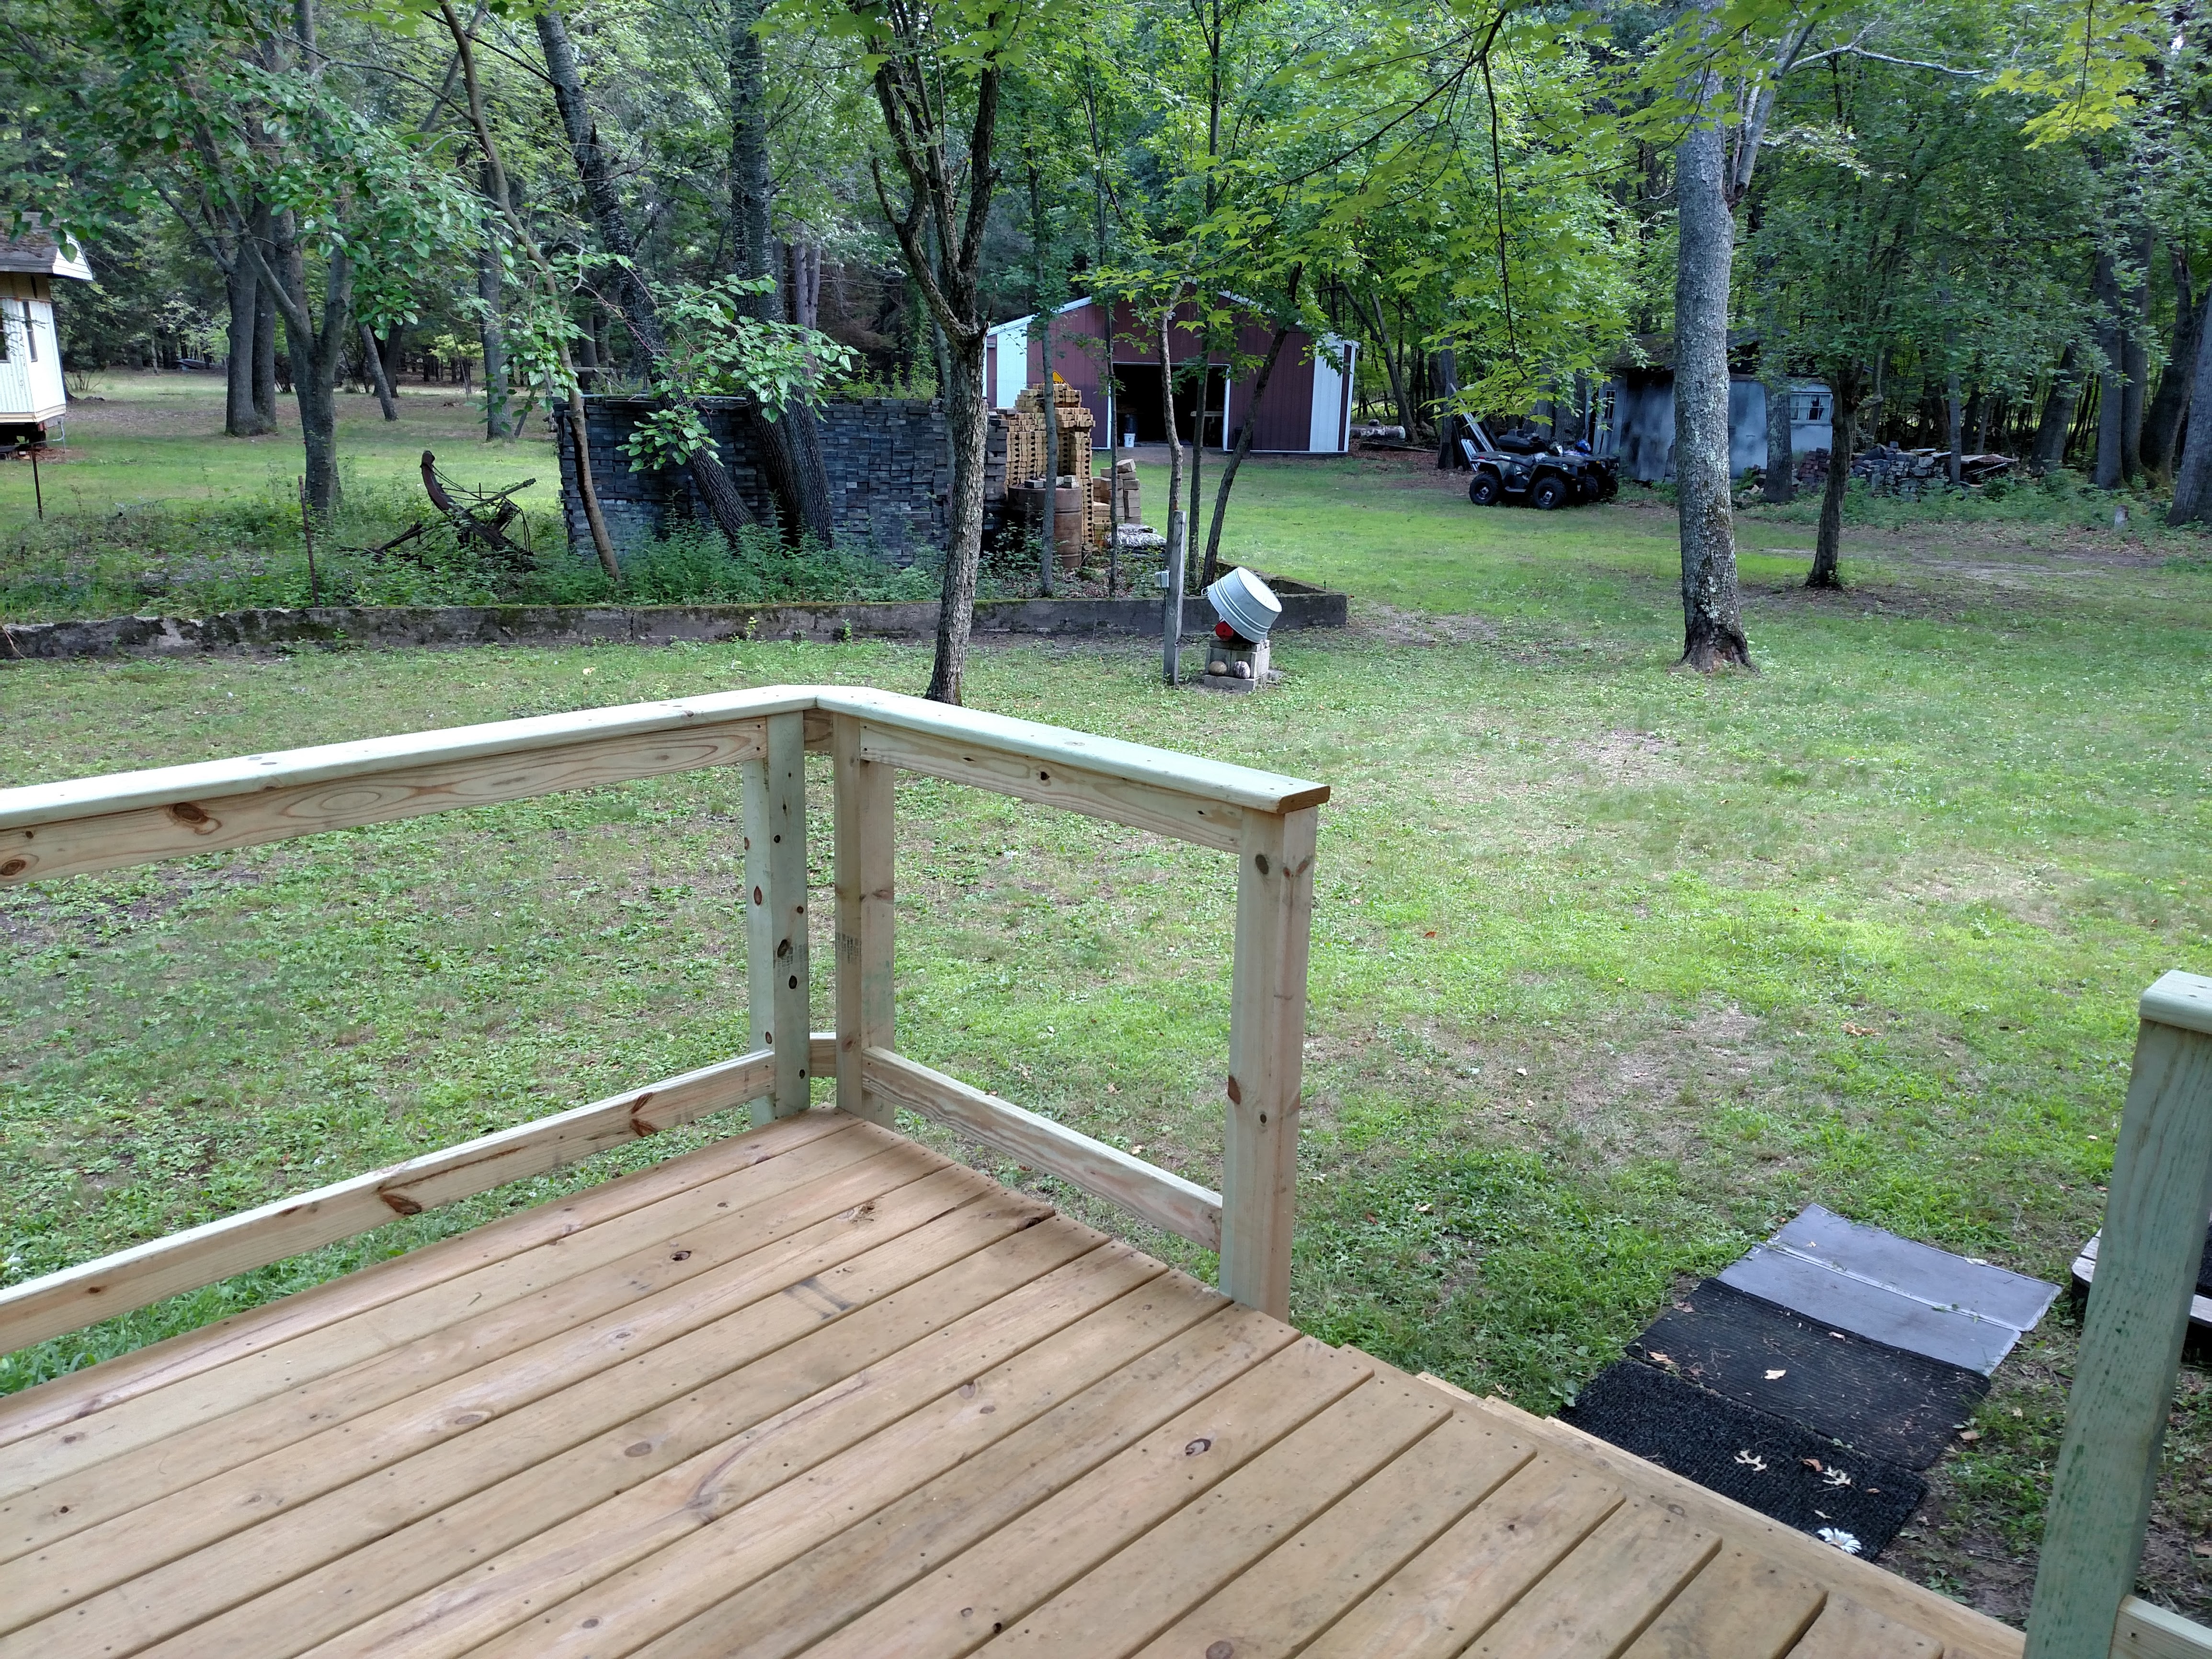
- The view from the deck. The rail makes the whole thing seem bigger, strangely enough. Maybe it’s becase you can walk to the edge without feeling like you’re going to fall off.

0 Comments
3 Pingbacks