Rolled in with the whole family after a 10:30 Aunt Judy’s breakfast. The truck’s full of paneling, lumber, and shelves for the Keep Furnace Space Reclamation Project, the only thing on my to-do list for the day.
The boys made a beeline for the pole barn and their Power Wheels, but they needed to be charged up. They seemed equally happy to make use of their new work gloves by gathering all the big fallen branches throughout the yard from last month’s storms. They did a great job of it. Lyssa fed the birds for me while I started in on the keep renovations.
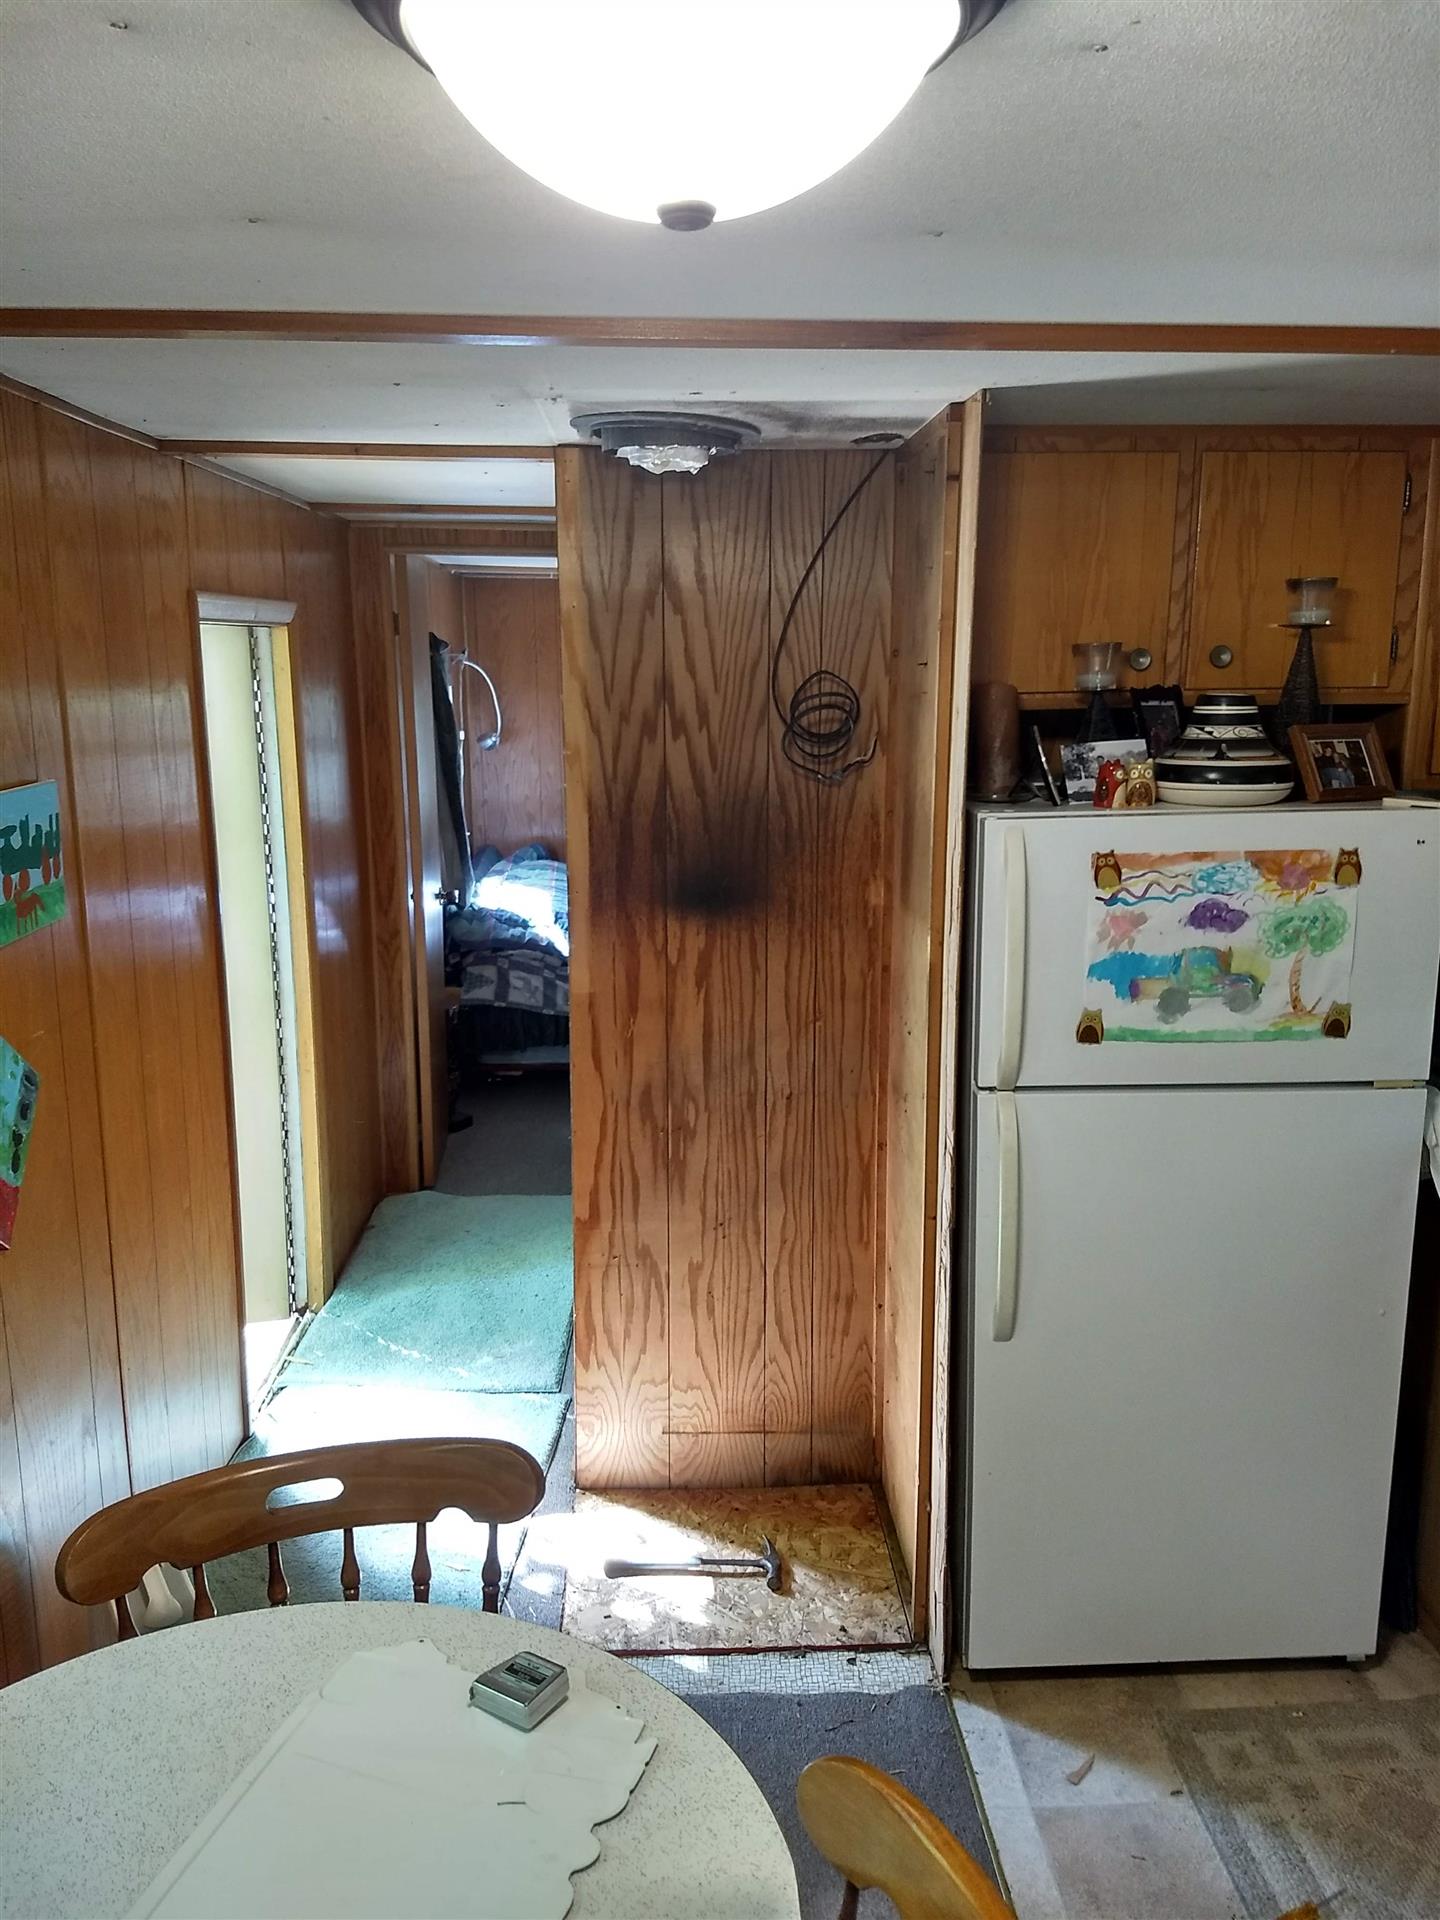
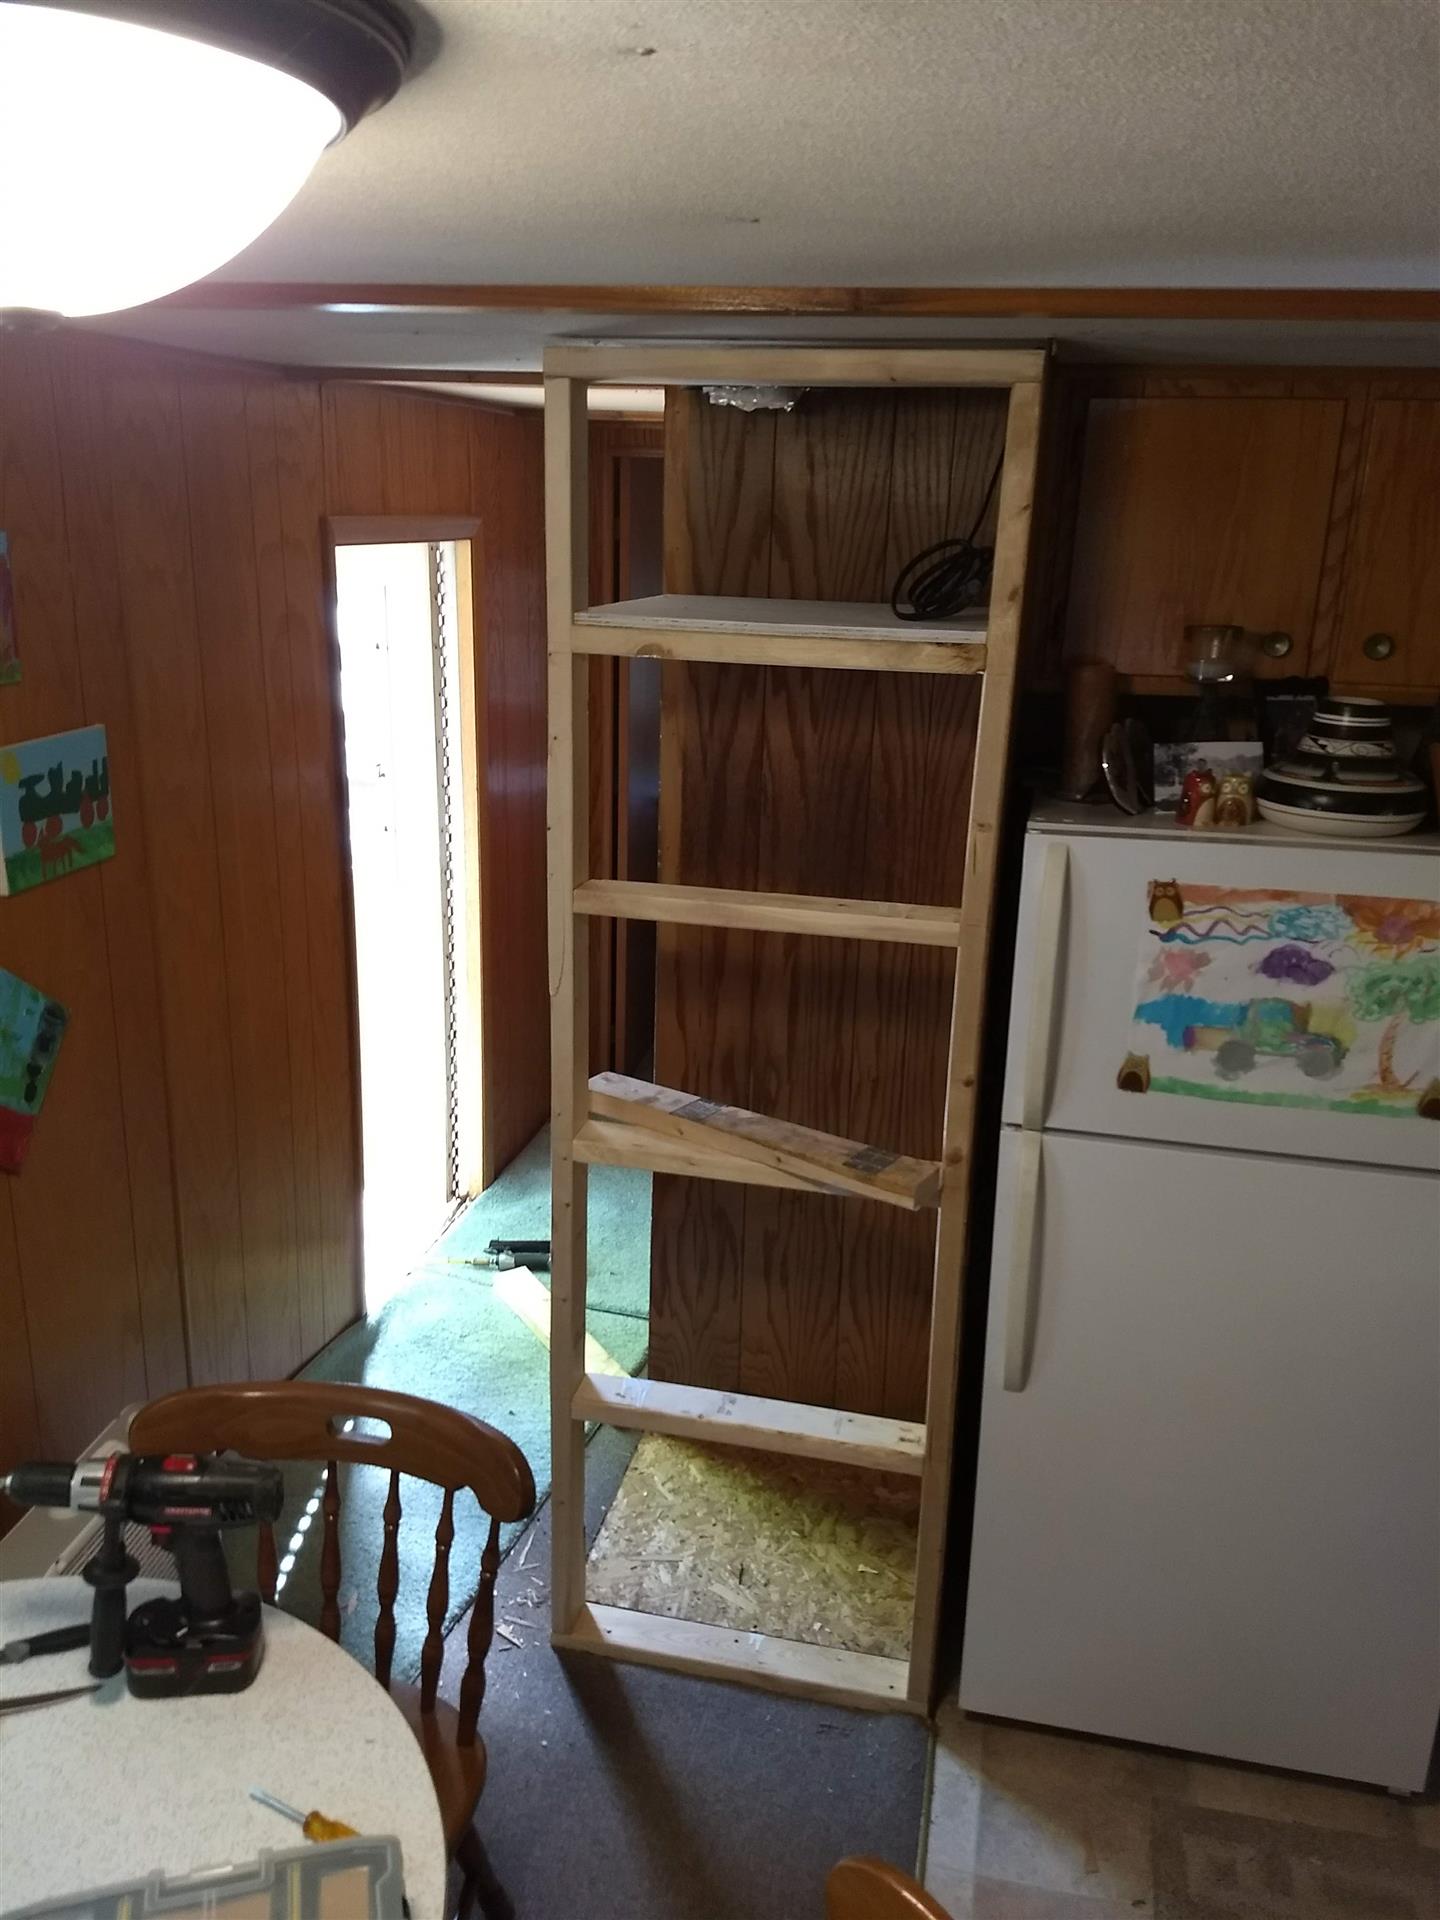
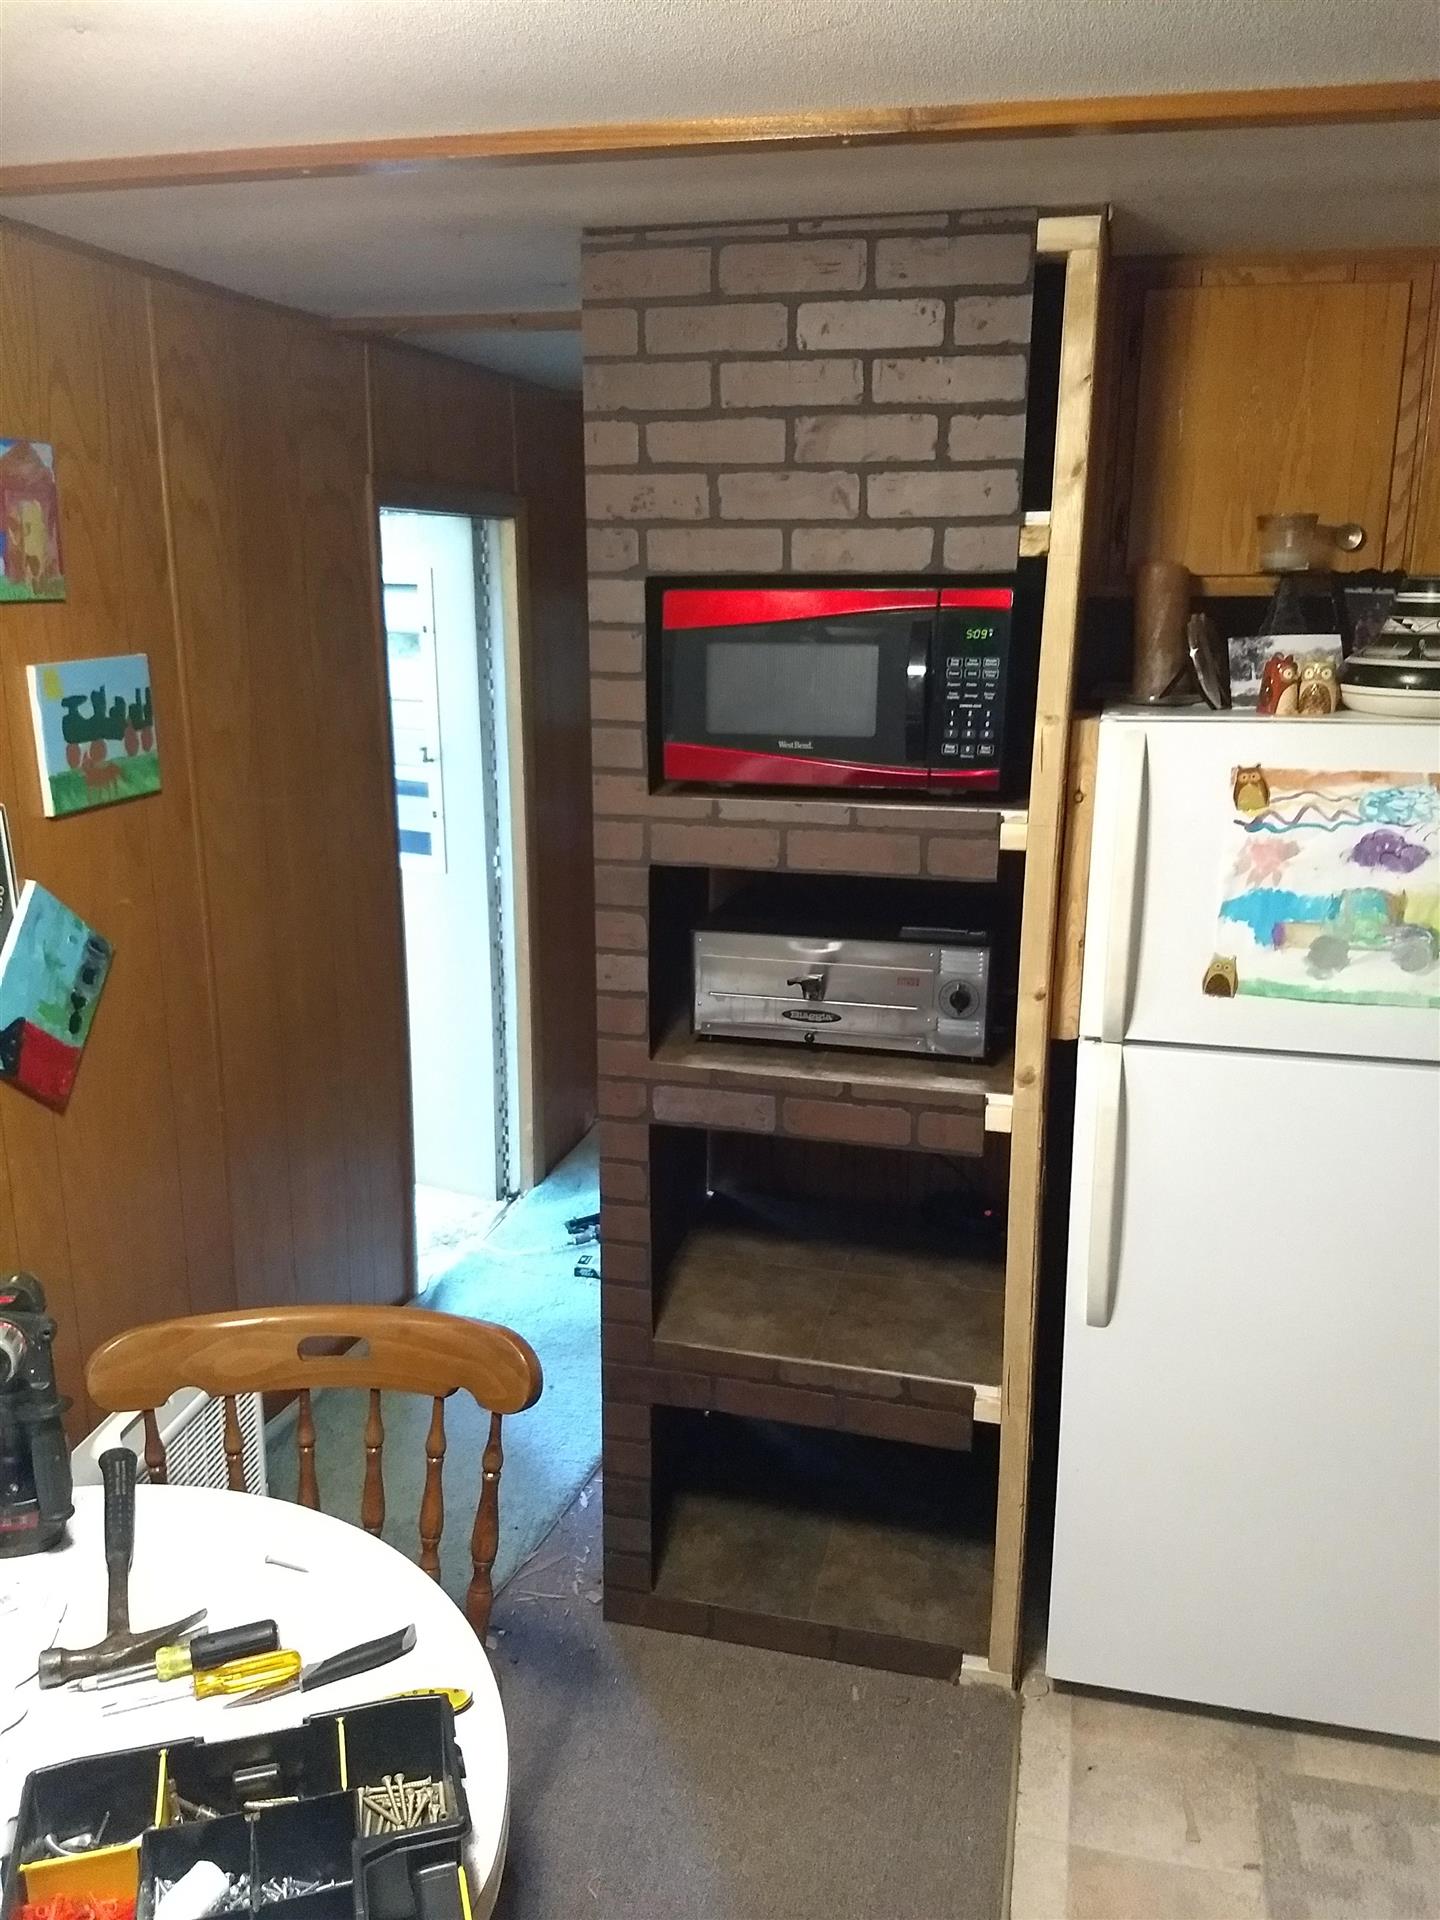
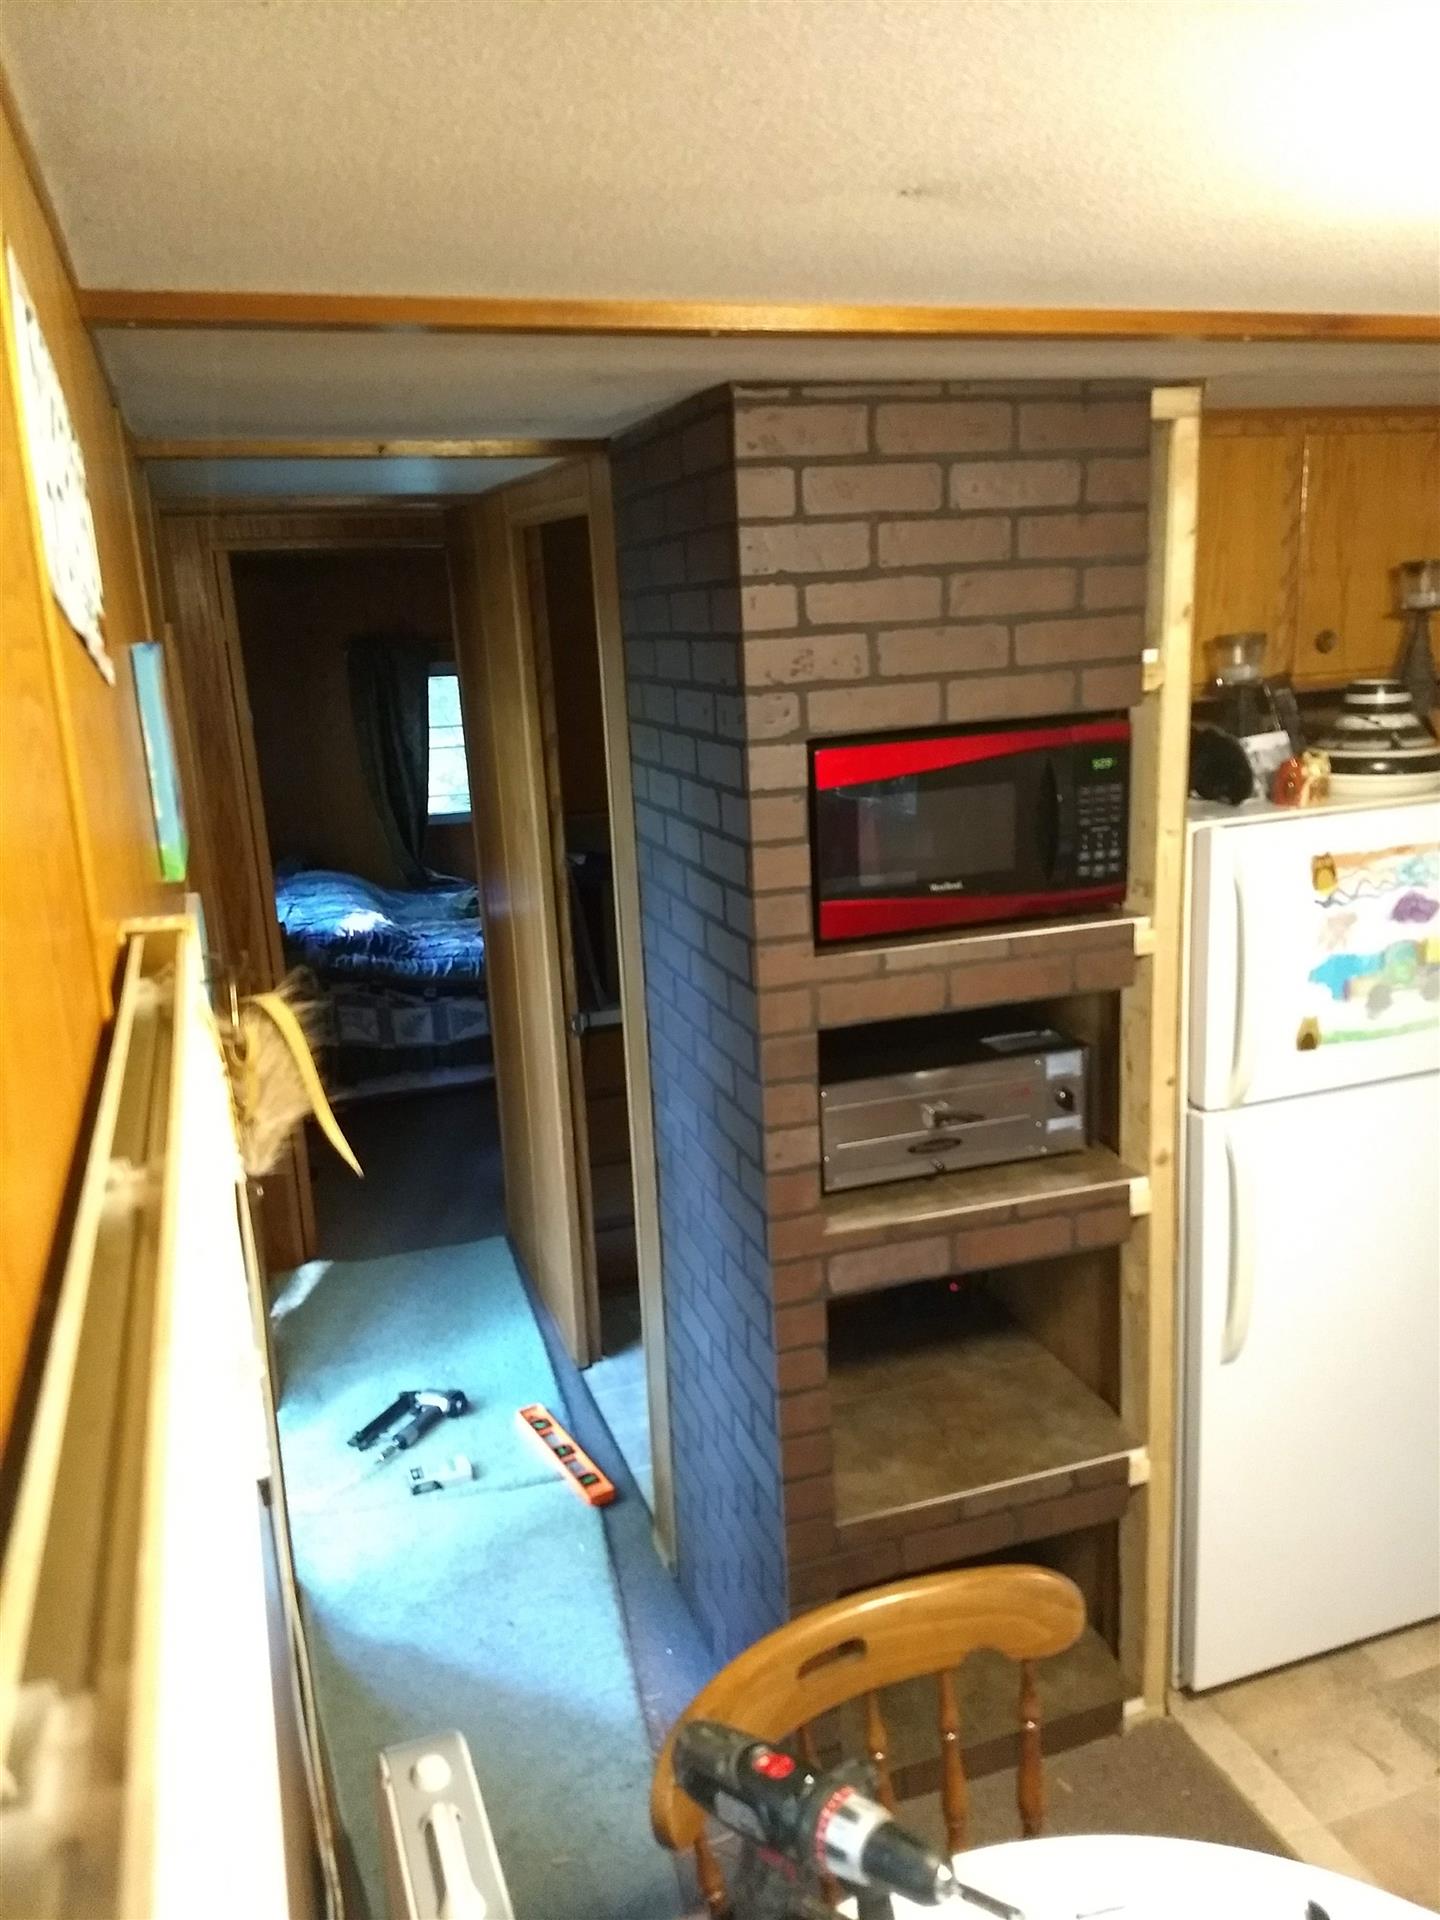
It was slow work getting the dividing wall out as the paneling facing the fridge was glued to it. I didn’t want to damage that piece, so I had to chisel my way down it with a flathead screwdriver. Once the panel was free, I only had to remove four screws to tip the wall out of the way. This left me with a clean, open area to build my new shelves. I used the old wall as a template for my 2×4 frame, setting shelf heights based on the dimensions of the microwave, required clearance of the pizza oven, and my tallest liquor bottles. I hauled the air compressor over from the pole barn and quickly assembled the frame with my nail gun. I screwed it into the floor and secured it to the fridge-facing wall panel with some trim nails.
-
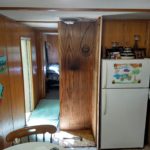
- I was relieved that the wall wasn’t glued to the ceiling.
-
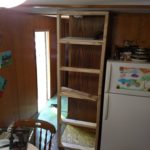
- I improvised and made a frame out of 2x4s.
-
- The shelf heights are based on the equipment. I wanted the microwave at range-top height.
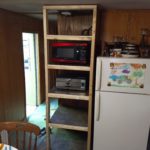
Back home, I had already cut and primed some 2′ x 2′ shelves made from 5/8″ plywood. I applied four self-adhesive vinyl tiles to each shelf and used a hole saw in the back-right corner of each for routing power cables. There was already some romex in this corner for powering the furnace and it’s on its own dedicated circuit breaker. I wired in an outlet and mounted it to the back wall. After cutting some small notches in the front of the shelf boards to clear my 2×4 frame, I started installing them. They’re secured to the back wall by floating 2x4s screwed into the studs and each shelf was levelled as it was mounted.
Lyssa kept the boys busy with some ATV rides (and kept Hannah busy as she tried to keep up) then got their freshly-charged Power Wheels out for them. Lyssa sat in the sun and caught up on some reading while Jake and Josh roamed the grounds and Hannah dug herself into some cool dirt at the edge of the pit.
-
- Just need some trim boards to finish things off.
-
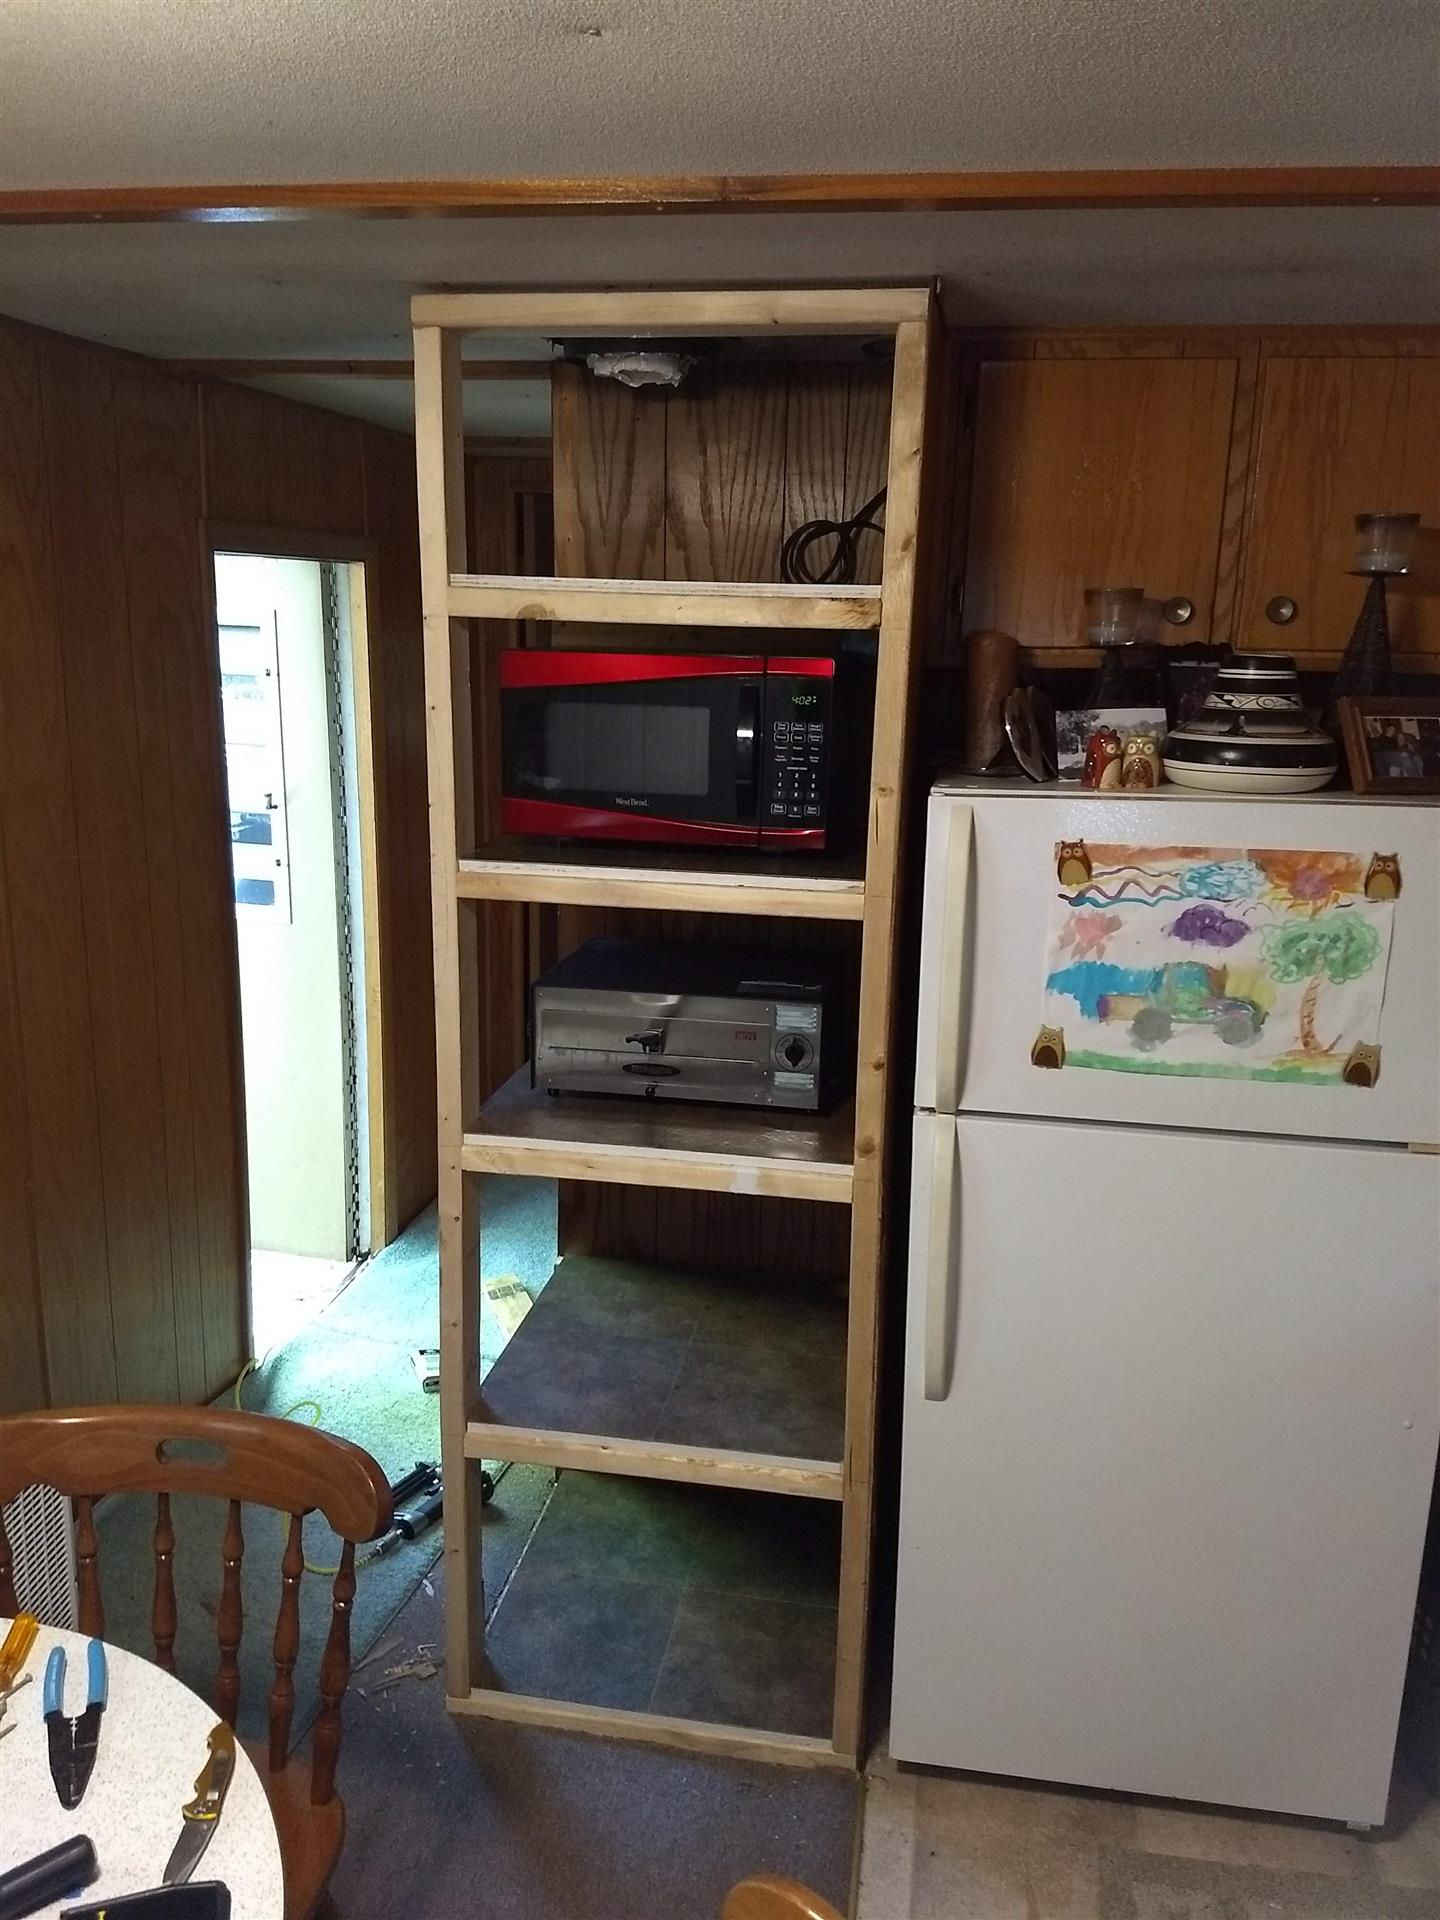
- The faux-brick was a gamble, but I think it fits the keep’s aesthetic.
-
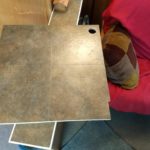
- I used the same self-adhesive tile on the shelves as I did on the island topper.

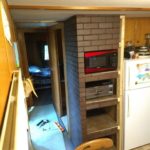
With the framework complete, it was time to finish things up. I cut my panelling down to height and set it in place. I went with a dark, fake-brick pattern on a whim. I figured it’d either look like a period-correct “high end” touch for this trailer, or so stupid that it’d be funny. It actually fits quite well. My microwave, pizza oven, and other assorted counter-cluttering items are now wrapped in ’70s-chic faux-brick. A single 4’x8′ panel wasn’t quite enough to cover the entire area, but that works out as I’ll need some transitioning trim pieces regardless. I’ll pick these up at Menards before the next trip up and probably paint them flat black.
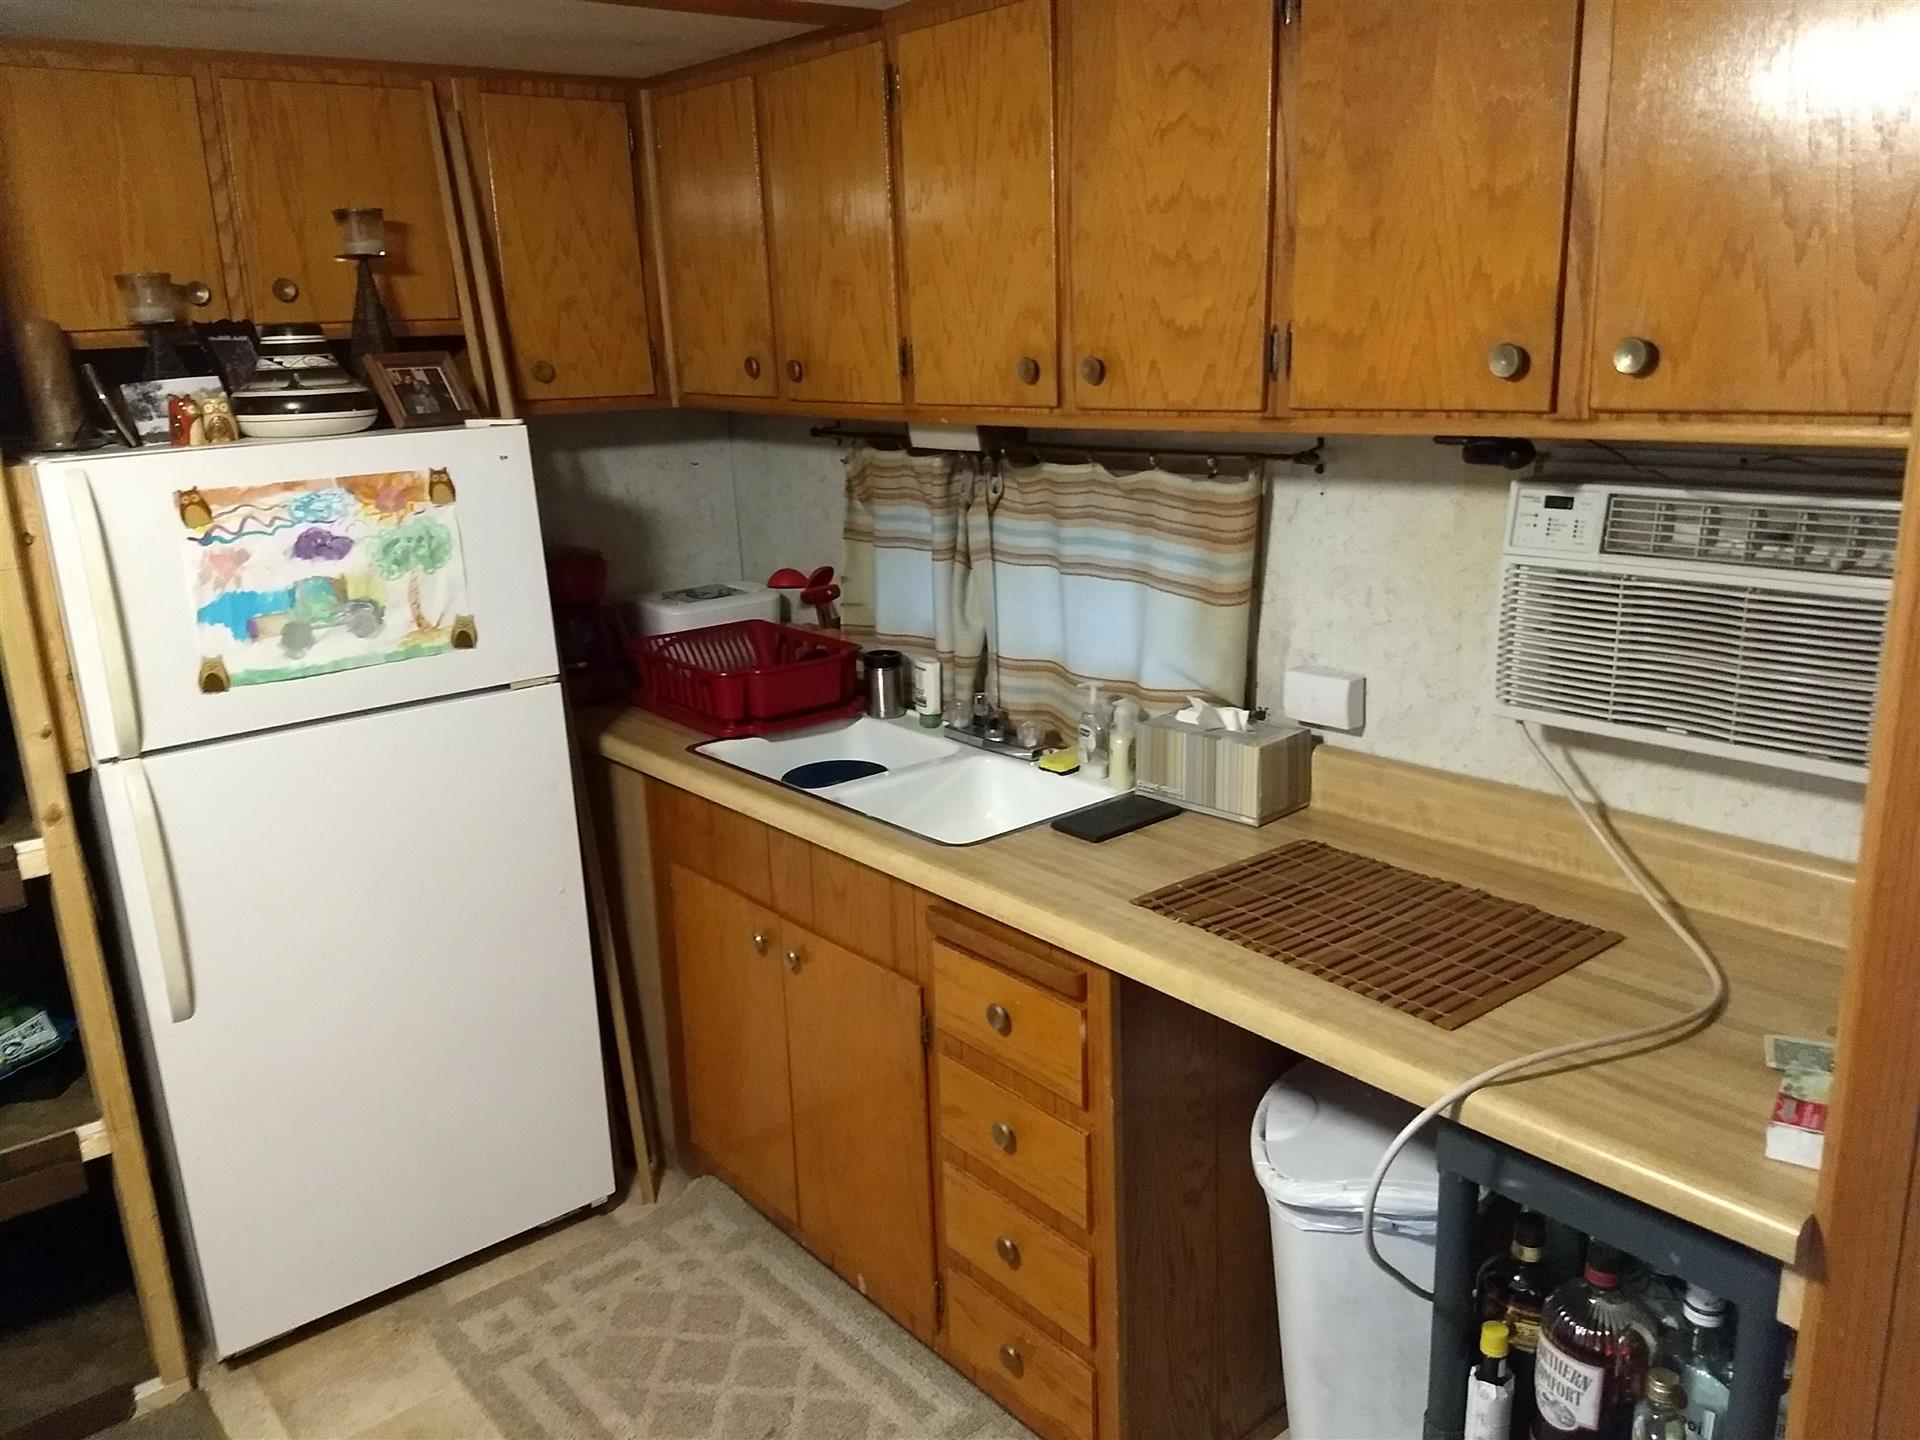
Counter space!!!
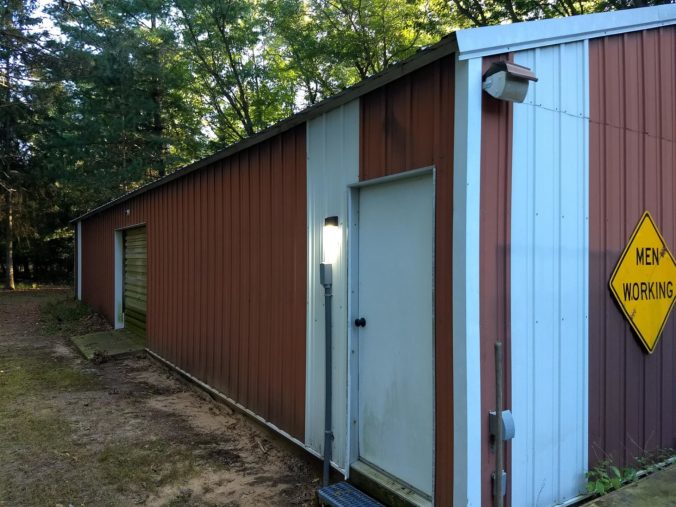
By the time I finished packing up all my tools and materials, it was after 5:00 pm. As I put things away, I noticed the outdoor wall light on the pole barn was drooping again, so I figured it’d be as good a time as any to try out one of the new flush-mount LED yard lights I picked up. It’s nice and bright and I’m excited to set up the other ones now. No more stumbling around the pole barn at night.
The first of several bright, low-profile, LED lights for the pole barn.
The dog was exhausted and the boys were getting hungry, so we gathered our things and were on our way home a little after 6:00. I’m really happy with how the new shelves turned out, especially for winging it.

0 Comments
1 Pingback